Tip: You can use filters for better results
-
Latest News
-
Getting Started
-
Work Place
-
-
-
- About Buttons
- Action Buttons
- Schedule Tickets
- Ticket Info and COMS Buttons
- Add Parts
- Assign Partners
- Remove Tickets from the Ticket Clipboard
- Inline Skill Editing
- Create Intervention Info
- Create Intervention Reports
- Cancel Tickets
- Cancel Appointments
- Clone Tickets
- Edit Ticket Details
- Edit Privat Notes
- Report Tickets
- Close Tickets
-
Admin Panel
-
FMA 2 App
-
Customer Portal
About Views Designer
The View Designer allows you by default to edit account views and also to edit private views which are only available for your usage. You can design different views for each of your displays or create views to flip to in certain use cases. Whatever you decide, you can customize your experience and Work place components and their interactions across Single or Multi-Screen displays based on your needs. Every user of the Work place can by default create and edit Account views and Private views if not adjusted otherwise. Views can be edited from the sidebar of Work place and permissions for different view types are granted inside the Admin panel.
You can learn more about the actual purpose of views using the link below.
Creating Views
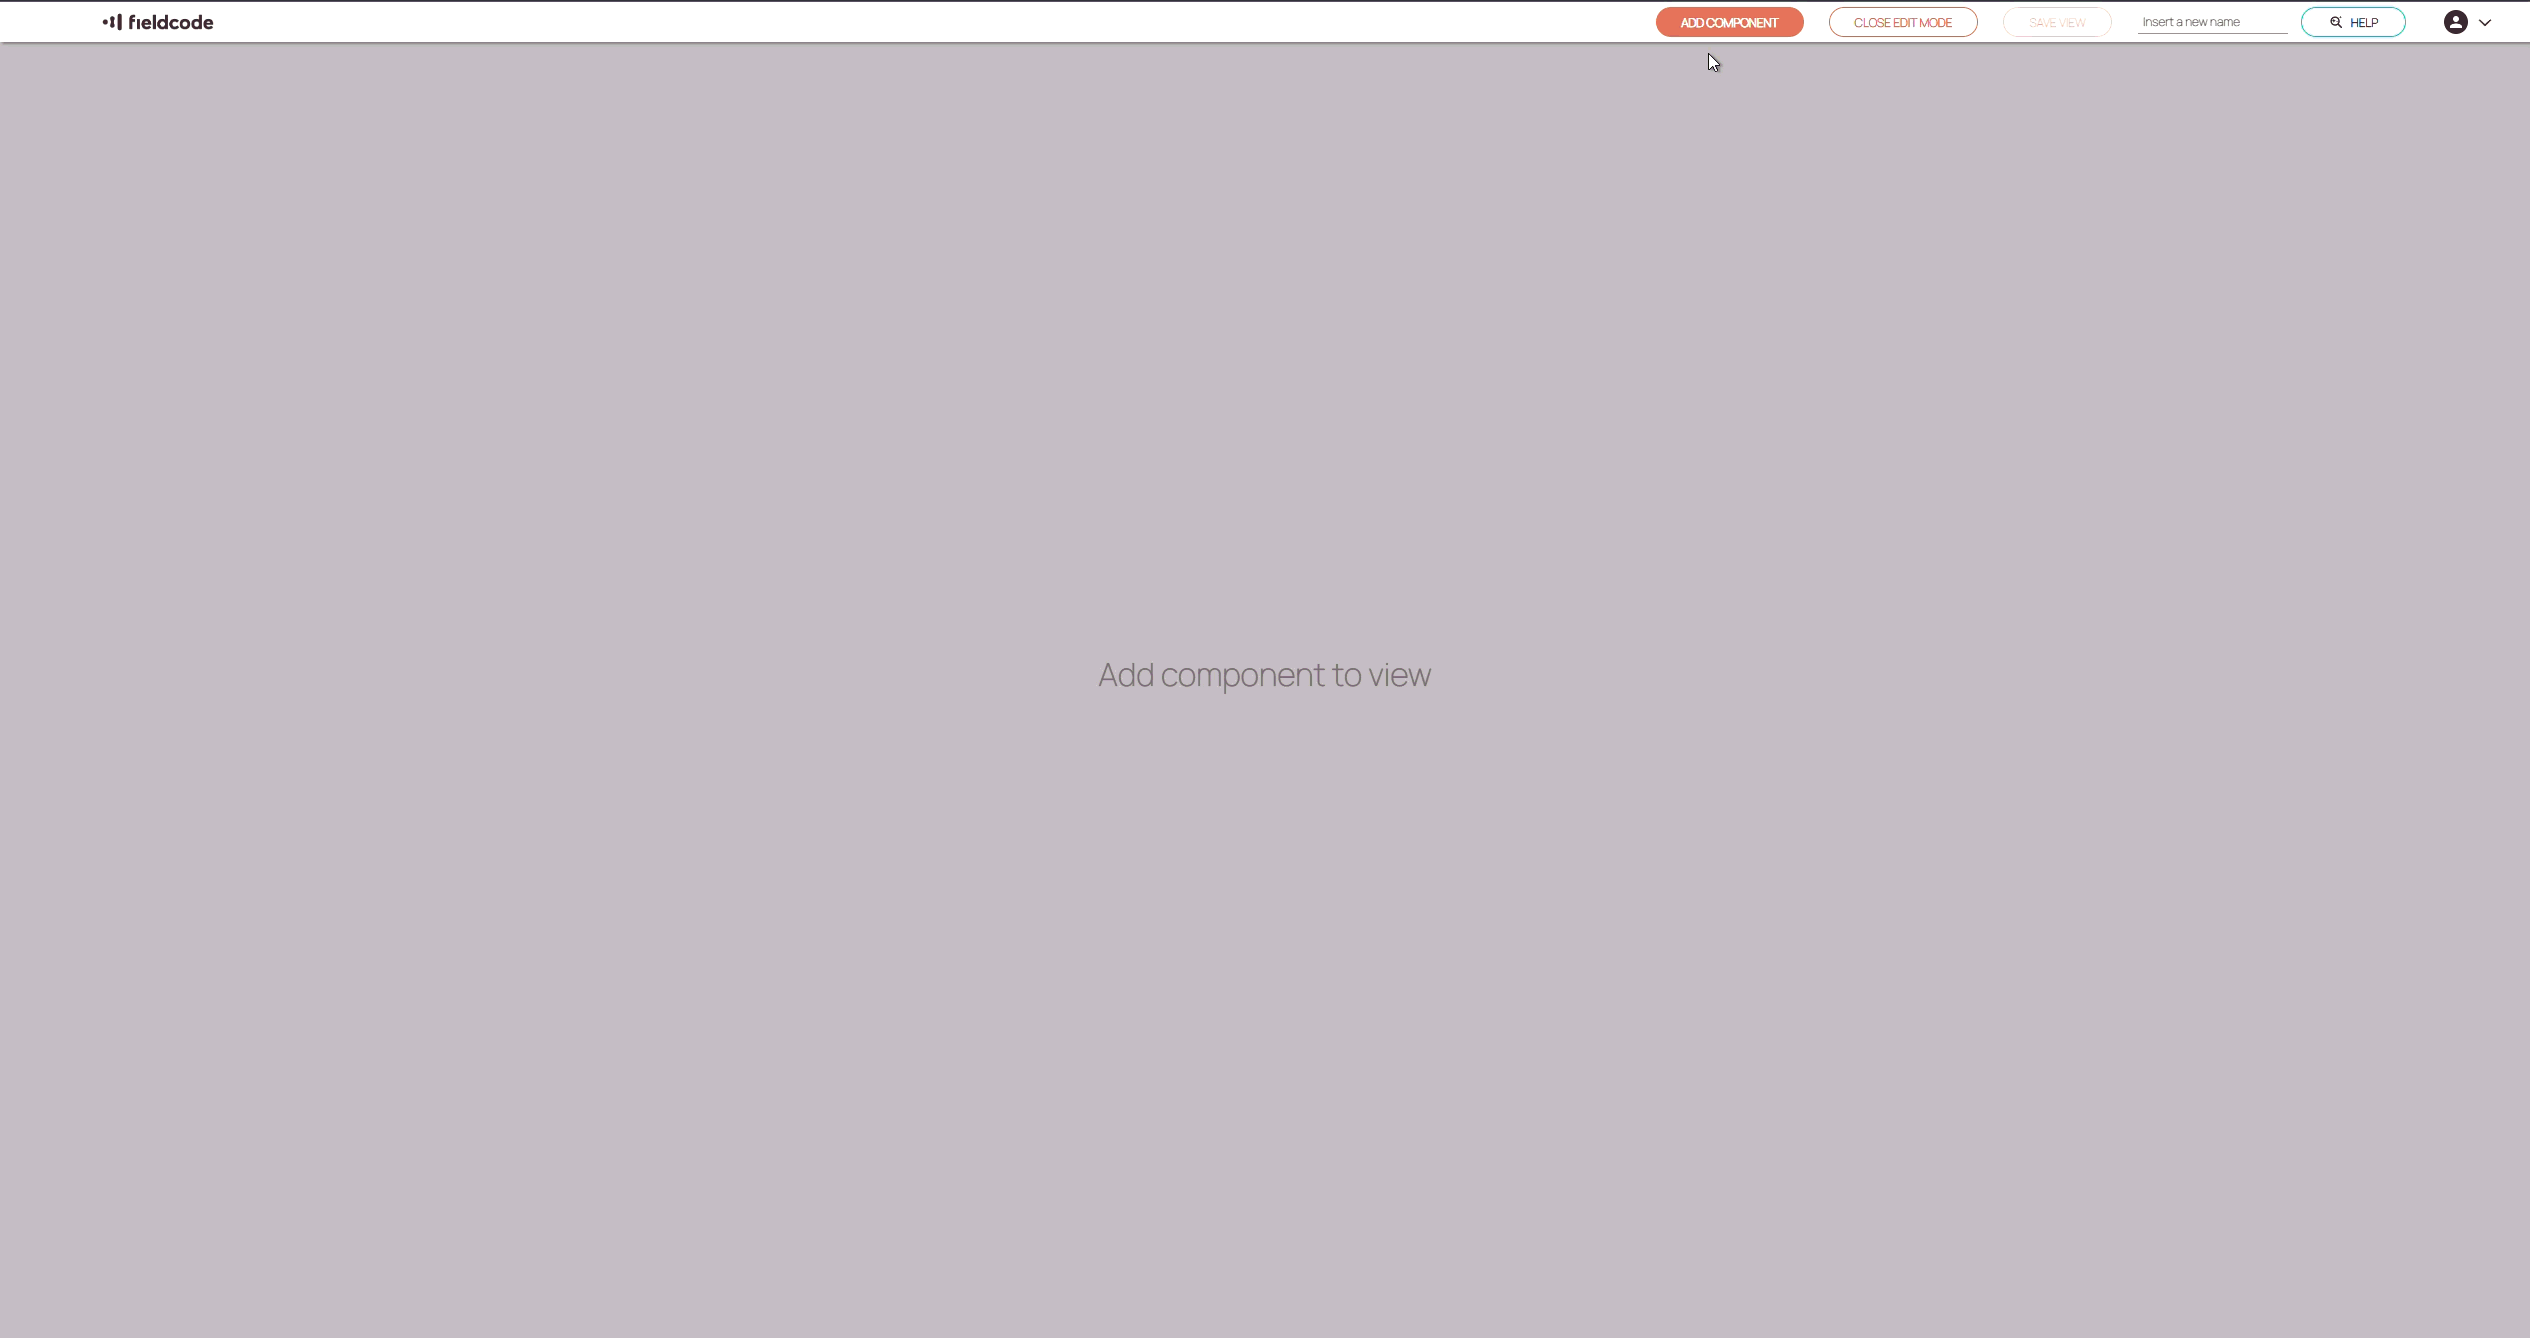
- Click on the View Designer button to reveal the Create new view button.
- Click on Create new view.
- Click on Add Component to select an element that is later going to be added to the view.
- Select the component you want to add. You can choose one of the five existing ones:
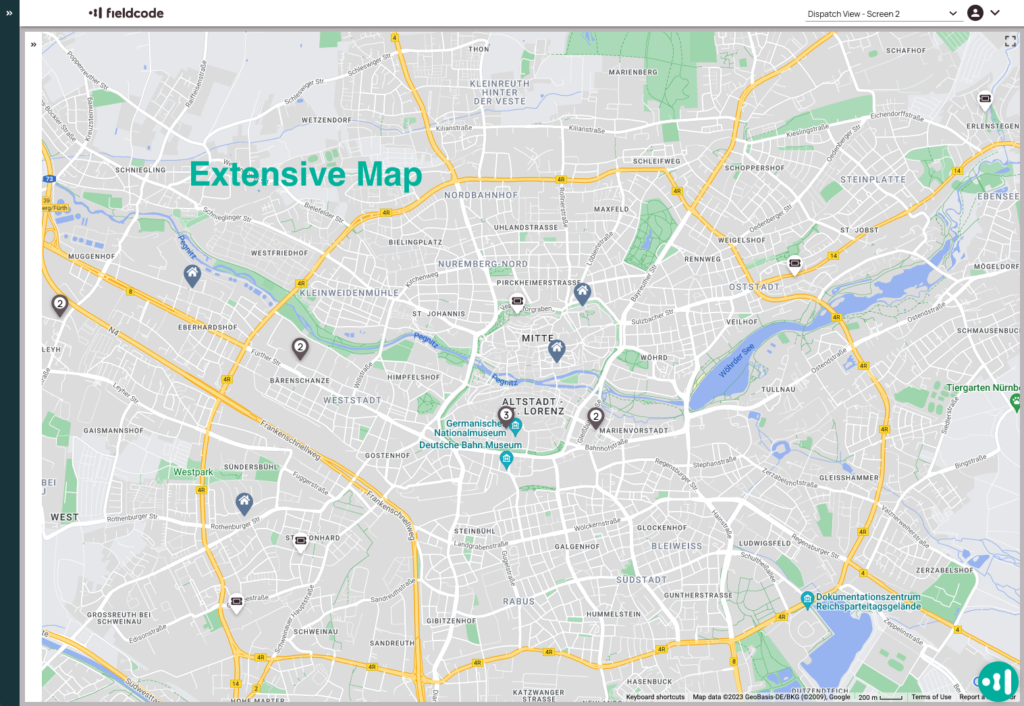
Map, Ticket Pool, Timeline, Ticket Details, Analytics, Workload Calendar
Drag the selected element to the target place and adjust the size to your needs. - You have three options now:
– You can either add more components by clicking Add Component.
– You can delete the component by clicking on X inside the component.
– You can save the view by entering a name and clicking Save View. - Click on Save. Once saved, then the new view will be displayed and also appear in the Views drop-down list for your usage.
Editing Views
Deleting custom views, however, is possible.
- Click on the View Designer button to reveal the options.
- Click on Edit current view.
- Click on Add Compoonent to select an element that is later going to be added to the view.
- Select the component you want to add. You can choose one of the five existing ones:
Map, Ticket Pool, Timeline, Ticket Details, Analytics, Workload Calendar - Drag the selected element to the target place and adjust the size to your needs.
You have three options now:
– You can either add more components by clicking on Add Component.
– You can delete the component by clicking on X inside a component.
– You can save the view by entering a name and clicking on Save View. - Click on Save. Once saved, the new view will be displayed and also appear in the Views drop-down list for your personal usage.
Multiple Displays
You can configure views for more monitors if you want to improve usability. For example, you could name and label a view with screen 1 and the other one with screen 2 or even screen 3 and screen 4. For making this work you must log in to the Fieldcode Work Place in another instance and select the other view. As described above in Default Views you can for example set up dispatch view – screen 1 and dispatch view – screen 2 on two monitors.

Deleting Views
Deleting custom views, however, is possible.
- Click the View Designer button in the sidebar.
- Click on Delete current view.
- A prompt to delete the current view should appear, confirm this prompt by clicking on DELETE.
- The view you have currently selected should be no longer in the view list and you will see the default Dispatch View displayed.
0 out of 5 stars
| 5 Stars | 0% | |
| 4 Stars | 0% | |
| 3 Stars | 0% | |
| 2 Stars | 0% | |
| 1 Stars | 0% |