Tip: You can use filters for better results
-
Latest News
-
Getting Started
-
Work Place
-
-
-
- About Buttons
- Action Buttons
- Schedule Tickets
- Ticket Info and COMS Buttons
- Add Parts
- Assign Partners
- Remove Tickets from the Ticket Clipboard
- Inline Skill Editing
- Create Intervention Info
- Create Intervention Reports
- Cancel Tickets
- Cancel Appointments
- Clone Tickets
- Edit Ticket Details
- Edit Privat Notes
- Report Tickets
- Close Tickets
-
Admin Panel
-
FMA 2 App
-
Customer Portal
Cloning Tickets
You can clone tickets to save time when creating follow-up tickets. Tickets can be cloned in two ways. You can either clone your ticket in general, for which you don’t have to configure anything else, and just press the matching action button within the Ticket details. Alternatively, you can clone specific ticket details of an existing ticket by pre-configuring the Clone form within the Form Designer and then using this form for your cloning process via the matching action button within the Ticket details. We will show you both ways in the following.
Ticket Cloning via Ticket Details
You can clone entire tickets from the Ticket details.
- Select the ticket you want to clone from the Ticket Pool.
- Inside the Ticket Details component, click on the clone button.

- Select the project to which the cloned ticket should be assigned from the Project dropdown.
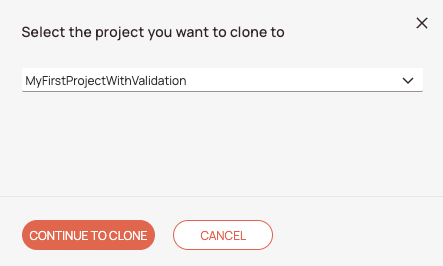
- Click on Continue to Clone.
- The ticket form will open, and you can double-check if all the entered data is correct. With this step, you also have the option to adjust the ticket, if required.
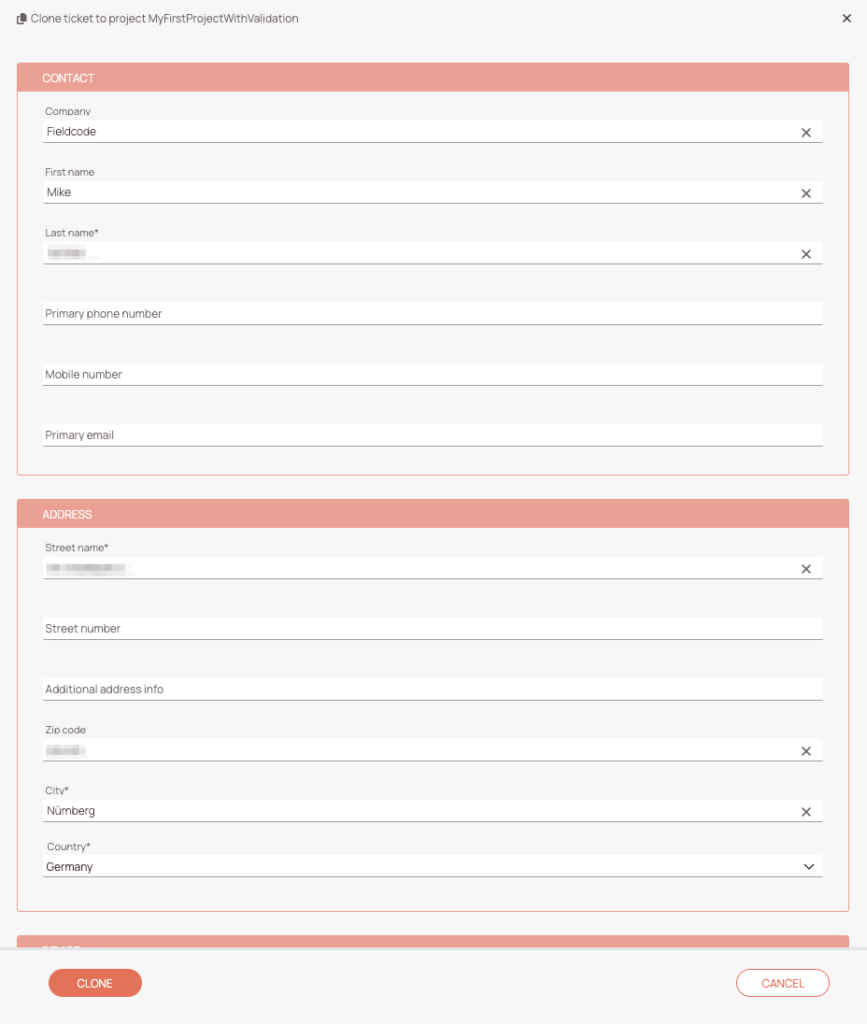
- If you are satisfied with the clone, click the Clone button.
- The cloned ticket should appear in the Ticket Pool.
Utilizing Clone Profiles
If you want to clone only particular data from a ticket you can create a “clone profile” inside the Forms Designer.
The concept is as follows:
- Go to the Forms Designer.
- Click on the “Create new form” button
- Fill in relevant form details, like the name, workflow to apply, and object (should be Ticket).
- In the form type field, you select “Clone”.
- The default clone form will open and you can now customize and create a “clone profile” and adjust which fields should be cloned according to your requirements.
- Click the Save button to save your “clone profile”.
- When you now clone a form and assign it to a project that has a custom clone profile behind it, only the fields in the clone profile will be carried over with data.
Do not confuse the Clone form button inside the Forms Designer with the Form type "Clone". They both serve a different purpose. The clone form button clones the current form in the Form Designer, while the Form type "Clone" helps you to create a custom clone profile.
0 out of 5 stars
| 5 Stars | 0% | |
| 4 Stars | 0% | |
| 3 Stars | 0% | |
| 2 Stars | 0% | |
| 1 Stars | 0% |