Tip: You can use filters for better results
-
Latest News
-
Getting Started
-
Work Place
-
-
-
- Add Parts
- Assign Partners
- Interaction Buttons
- Workflow Buttons
- Ticket Info and COMS Buttons
- Schedule Tickets
- Edit Ticket Details
- Cancel Tickets
- Remove Tickets from the Ticket Clipboard
- Report Tickets
- Create Intervention Info
- Create Intervention Reports
- Cancel Appointments
- Clone Tickets
- Edit Privat Notes
- Inline Skill Editing
-
Admin Panel
-
Fieldcode FMA app
-
Customer Portal
How to resize components
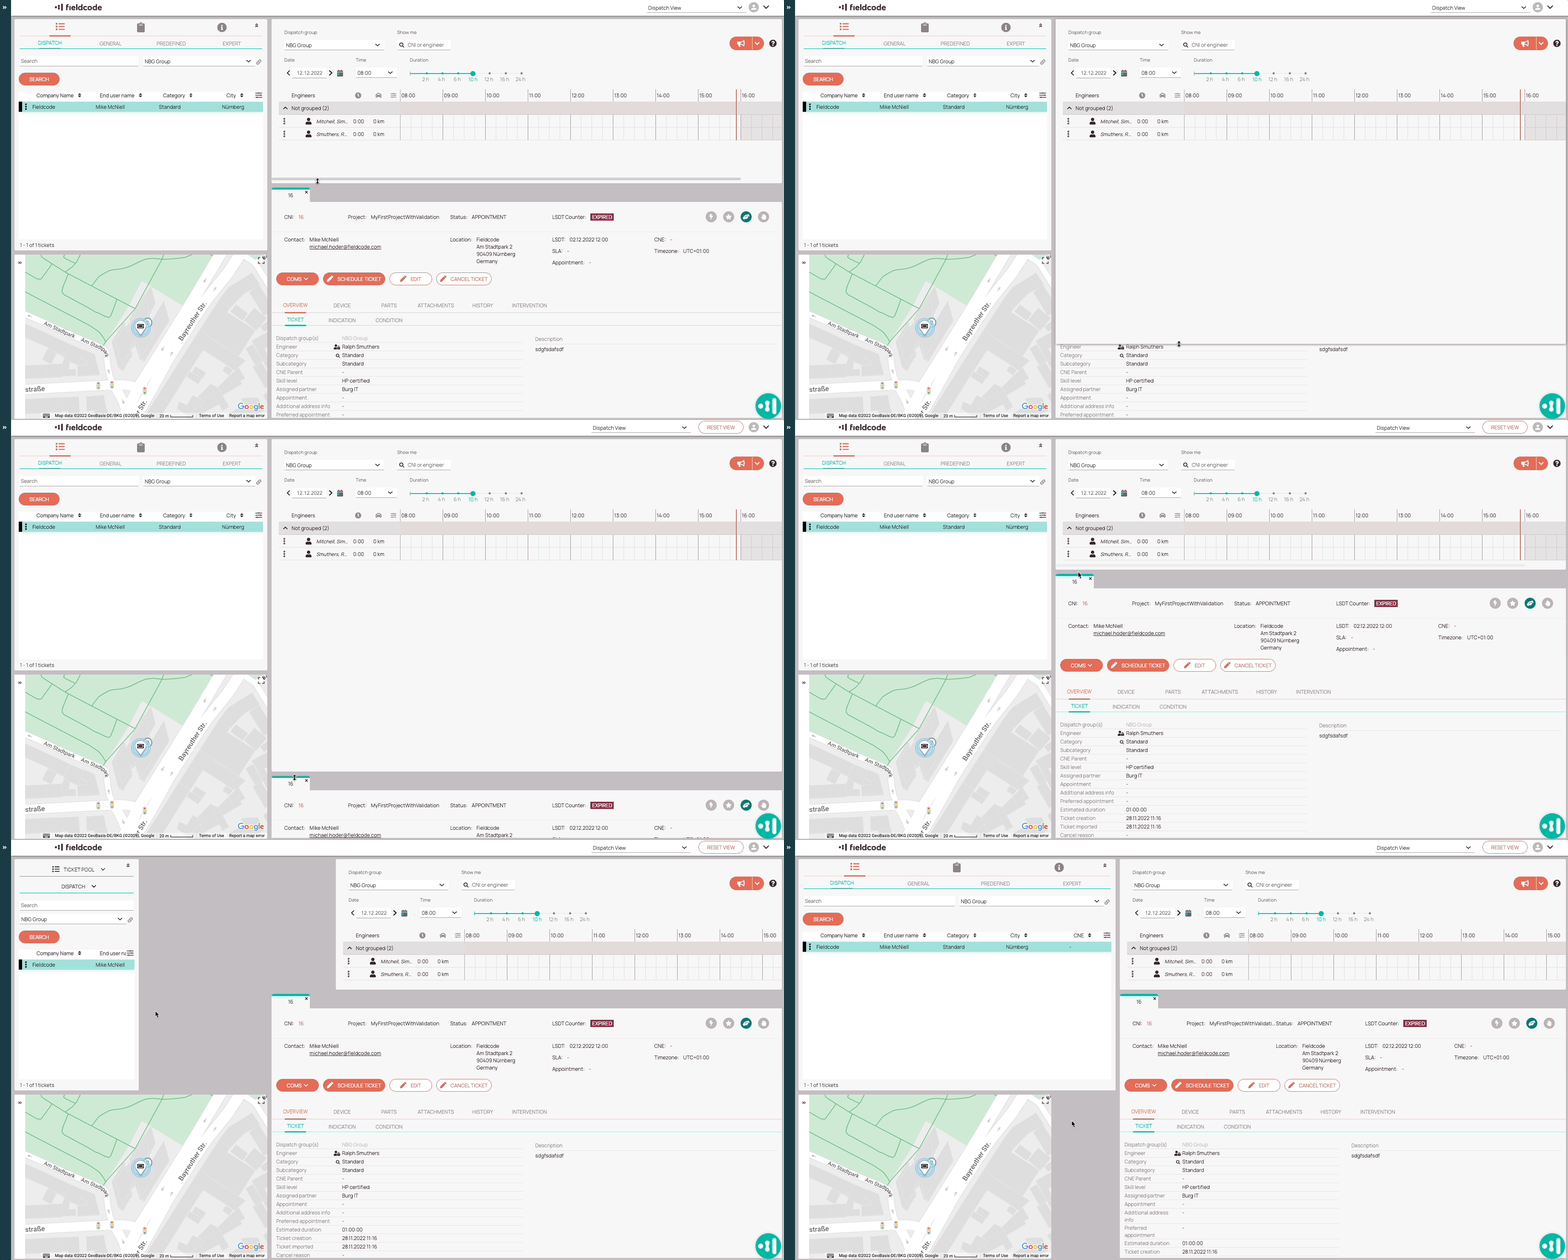
You can adjust the size of individual components by intuitively dragging and dropping them from the vertical or horizontal borders.
This allows you to configure the currently used view to your needs.
For example, it could be the case that you have a lot of engineers on the Timeline and therefore you want the Timeline to display more of them while you do not need to see all the Ticket Details.
In this case, you would enlarge the Timeline component and shrink the Ticket Details component.
- Decide if you want to enlarge or shrink the component vertically or horizontally.
- Move your cursor over the border of the component.
- Drag & Drop the component to your desired spot.
- Neighboring components should adjust accordingly.

How to reset resized components
It could be the case that you are not satisfied with how you resized the components.
In this case, you can click the Reset button in the header to reset to the original view.
Please note that the button is only visible if you have previously resized components.

0 out of 5 stars
| 5 Stars | 0% | |
| 4 Stars | 0% | |
| 3 Stars | 0% | |
| 2 Stars | 0% | |
| 1 Stars | 0% |
