Tip: You can use filters for better results
-
Latest News
-
Getting Started
-
Work Place
-
-
-
- About Buttons
- Action Buttons
- Schedule Tickets
- Ticket Info and COMS Buttons
- Add Parts
- Assign Partners
- Remove Tickets from the Ticket Clipboard
- Inline Skill Editing
- Create Intervention Info
- Create Intervention Reports
- Cancel Tickets
- Cancel Appointments
- Clone Tickets
- Edit Ticket Details
- Edit Privat Notes
- Report Tickets
- Close Tickets
-
Admin Panel
-
FMA 2 App
-
Customer Portal
About Permissions
The Permissions section allows administrators to define what users can see and do within the Fieldcode platform. You can assign predefined roles or create custom roles with granular access control across different modules.
The three standard roles cannot be edited; instead, you have to create new custom roles if you want to have more granular control. However, creating custom roles is also pretty straightforward, as you can easily start from an existing role to make your new custom role.
Accessing the Permissions Page
Navigate to Projects and More → Permission to view and manage application permissions.
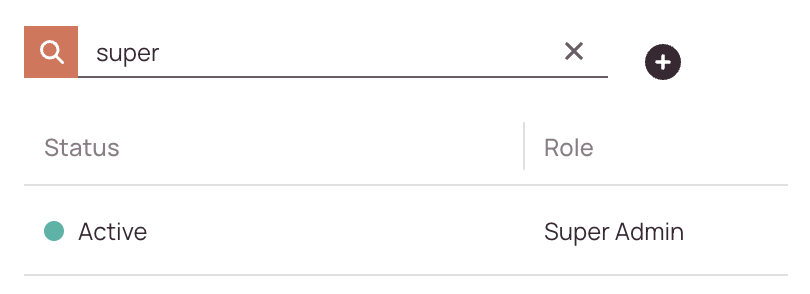
Searching for Permissions
How to search:
- Navigate to Admin Panel → Permissions.
- Use the search bar at the top of the roles list.
- Enter keywords such as:
- Role name (e.g., “Engineer”, “Dispatcher”)
- Assigned user name
- Permission type (e.g., “Edit Tickets”, “View Dashboard”)
The list will automatically filter to match your input.
- Use partial keywords to broaden your search. For example, typing “man” will show roles like “Manager” and “Maintenance Lead”.
- Combine search with sorting options (e.g., by creation date or number of assigned users) for better visibility.
- If no results appear, check for typos or try a more general term.
Understanding Roles
Roles determine the level of access a user has within Fieldcode. Each role defines permissions for viewing, editing, and interacting with system components.
If a user has been assigned multiple roles and permissions overlap, the superior permission has priority for this user compared to the same permission of the other role. If you assign more roles to a user, permissions from other roles will also apply to this user.
Example: Let’s assume the user John Doe has the admin role and the dispatcher role assigned. The dispatcher has view rights for the Timeline, while the Admin has view + edit rights. As the Admin role has stronger (view + edit) permissions, the admin permissions (view+edit) will apply to the user for the above-mentioned situation.
If multiple roles have been assigned to a user and filters are activated, the role with a filter has a higher priority in the system than the role without a filter and the filter is therefore applied for this user with multiple roles.
Example: Let’s assume the user Jane Doe has the admin role and a custom engineer role with a ticket filter active for the engineer role that only tickets for MyFirstProject should be assigned.
As the user has the admin role and the custom engineer role with a ticket filter active, the ticket filter will be active for this user, regardless of the activated admin role, because filters have superior priority.
Default Roles
Fieldcode provides three standard roles:
Admin
- Full access to all system settings and data.
- Can manage users, configure system behavior, and view/edit all account information.
Engineer
- Designed for field service technicians using the FMA app.
- Can view and report tickets assigned to them.
- Default filter: “Only see tickets assigned to me.”
Manager
- Designed for dispatchers and service managers.
- Can view, dispatch, and report tickets across all dispatch groups.
To customize access, create a new role.
Creating Custom Roles
To create or edit a custom role:
- Go to Admin Panel -> Permissions.
- Click on the plus button to open the New user form.
- Configure the following tabs:
- Basic: Role name, description, and activation status.
- Security Resources: Define view/edit permissions per application.
- Filters: Apply visibility filters.
- Users: Assign users to the role.
Starting from a Preset
You can base a custom role on an existing preset (e.g., Engineer) and modify its permissions.
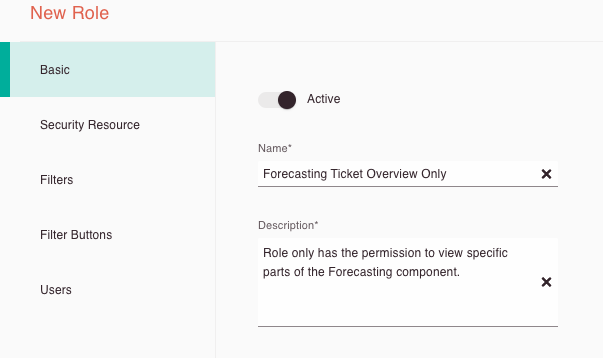
1. Basic tab
- Select if your new or existing role should be active in the system.
- Enter a name for your new or existing role.
- Enter a description for your new or existing role.
2. Security resources tab
In the Security Resources tab:
- Choose between View and Edit permissions.
- Assign permissions per application (Admin Panel, Work Place, FMA app).
- Use checkboxes to enable or disable specific actions.
Allows the selected role to view something on his system (eg, a component the role needs for his workflow).
Allows the selected role to interact with something on his system (eg, interact with the Ticket Pool component).
Bulk Permission Management
To speed up configuration:
- Use the bulk-permit feature to apply permissions to multiple items at once.
- Select a group of permissions and apply view/edit rights collectively.
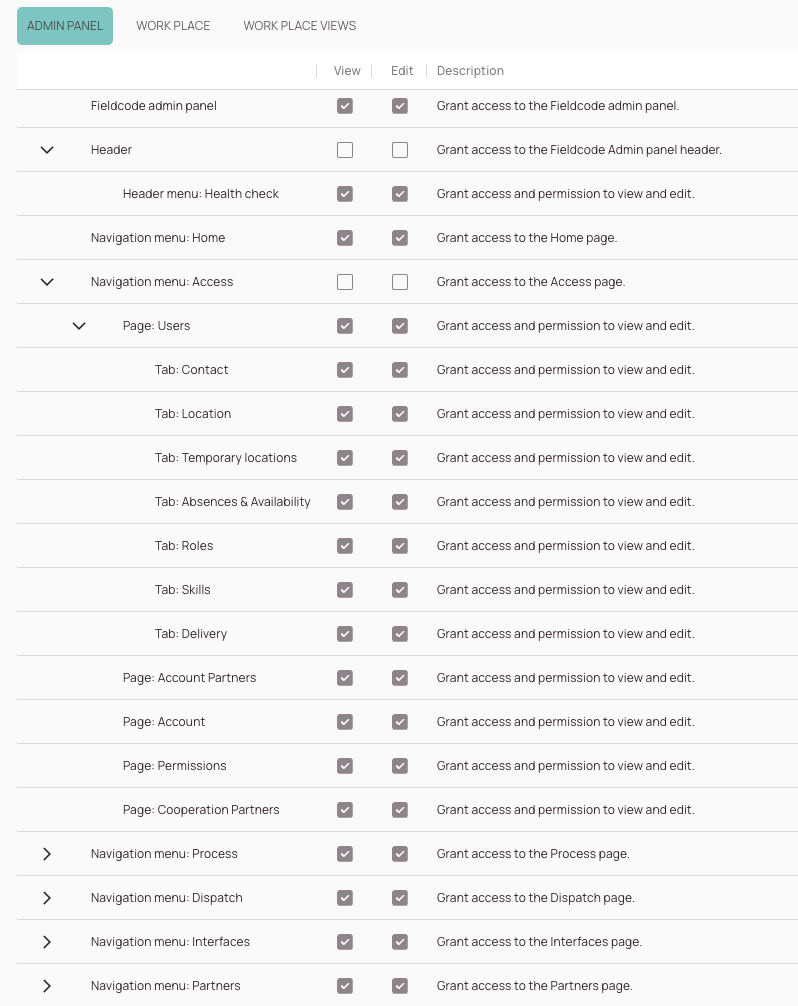
Admin panel permissions
You can set permissions for the Admin panel in general, individual navigation menus, individual pages, and individual tabs.
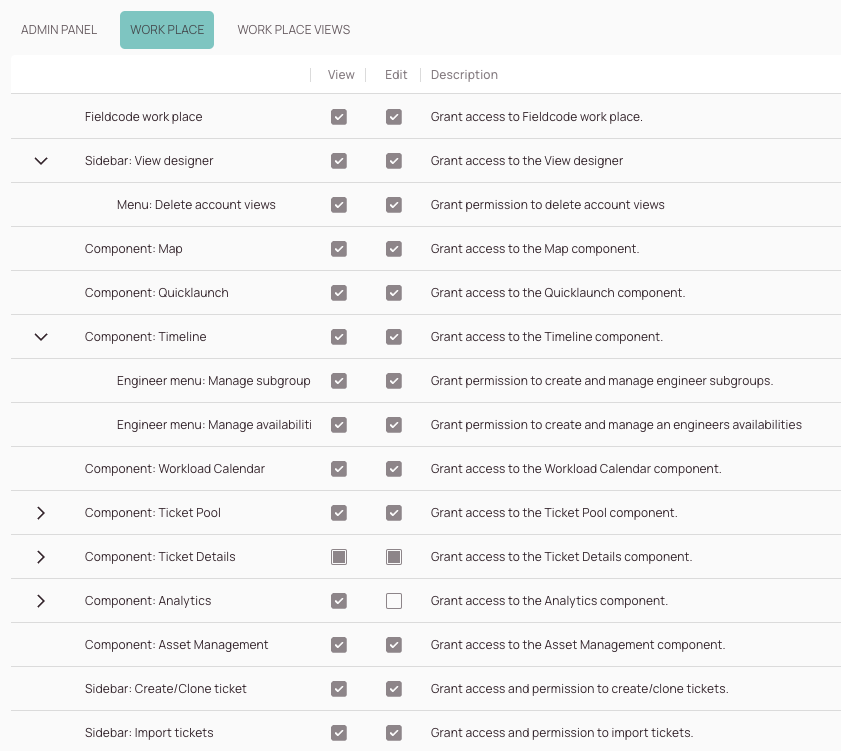
Work place permissions
You can set permissions for Work place in general, individual components, individual menus, and individual buttons.
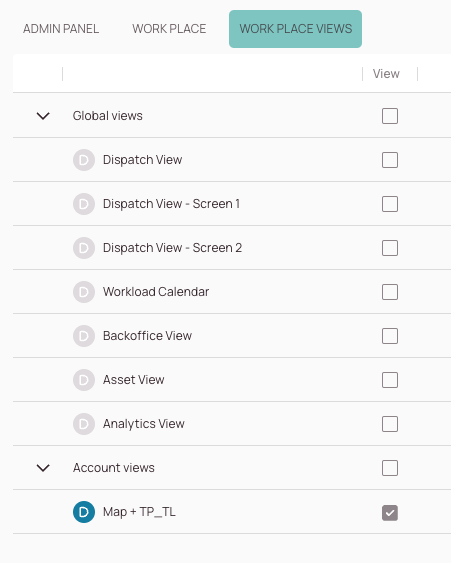
Work place view permissions
You can set Work place view permissions for global, account, and private views. You also have the option to define default views for Account views and Private views. Default views are the views that are pre-selected by default when the user opens Work place.
3. (Optional) - Filters tab
Filters control what data a user can access. For example:
- Engineers may only see tickets assigned to them.
- Managers may see tickets across multiple dispatch groups.
Filters can be customized in the Filters tab when creating or editing a role.
Filter: ProjectName (Condition) is equal to Demo Project (Comparison value).
Filter: AffectedCountry (Condition) is equal to Germany (Comparison value).

4. (Optional) - Filter buttons tab
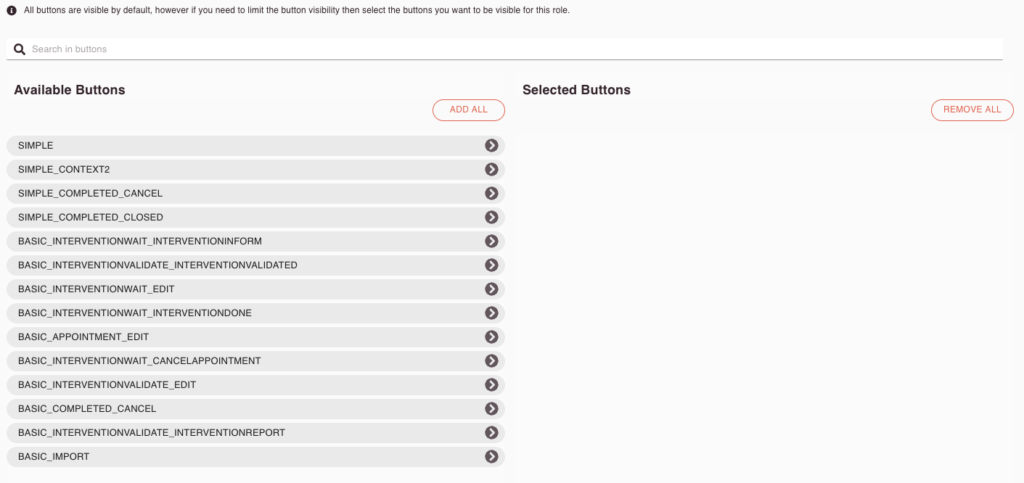
To filter buttons, it is required that activate the view and edit permissions under the Security resource tab. Otherwise, you cannot filter out buttons because you don’t have superior permissions.
Path: Security Resource tab/WORK PLACE Component: Ticket Details/Button: Workflow buttons
By default, all buttons are visible if you don’t assign any buttons to the right side. However, as soon as you assign one button to the right, only the right-assigned button will be visible for the role.
You can restrict the visibility of some buttons for your custom role. This could be for example useful if you don’t want to overwhelm a new dispatcher with unnecessary buttons that might not be helpful for him to fulfill the job.
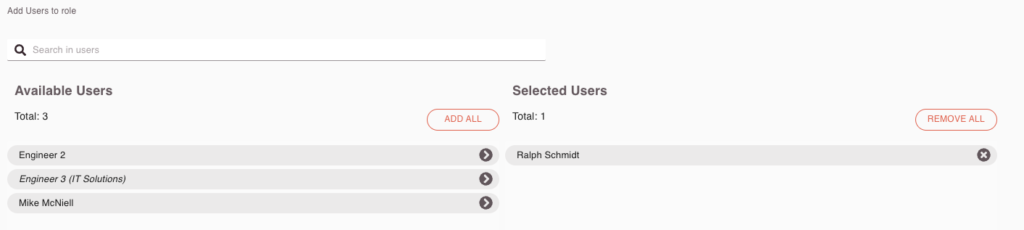
5. Users tab
In the final step, you assign your users to the role. This is done by drag & drop or by clicking on the user you want to add to the role. You are also able to bulk-add or bulk-remove users by using the buttons. If you cannot find a user or the list is too big, you can also search for specific users by inserting a keyword into the search bar.
Best Practices
- Use default roles for standard access needs.
- Create custom roles for specialized workflows or limited access.
- Regularly review role assignments to ensure compliance and security.
- Document role descriptions clearly to avoid confusion.
5 out of 5 stars
1 rating
| 5 Stars | 100% | |
| 4 Stars | 0% | |
| 3 Stars | 0% | |
| 2 Stars | 0% | |
| 1 Stars | 0% |