Fieldcode Manual
Tip: You can use filters for better results
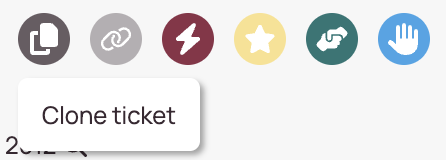
The action buttons are located in the top right corner of the ticket header and give you the option to clone tickets, copy ticket links, add/remove escalation flags, add/remove VIP flags, assign/un-assign partners, and grab/un-grab tickets.

- Inside the Ticket Details of the ticket you want to clone click the clone ticket button.
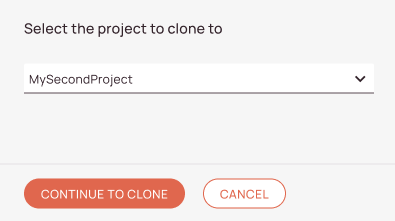
- Select the project into which the ticket should be cloned from the dropdown.
- Click on the Continue to clone button.
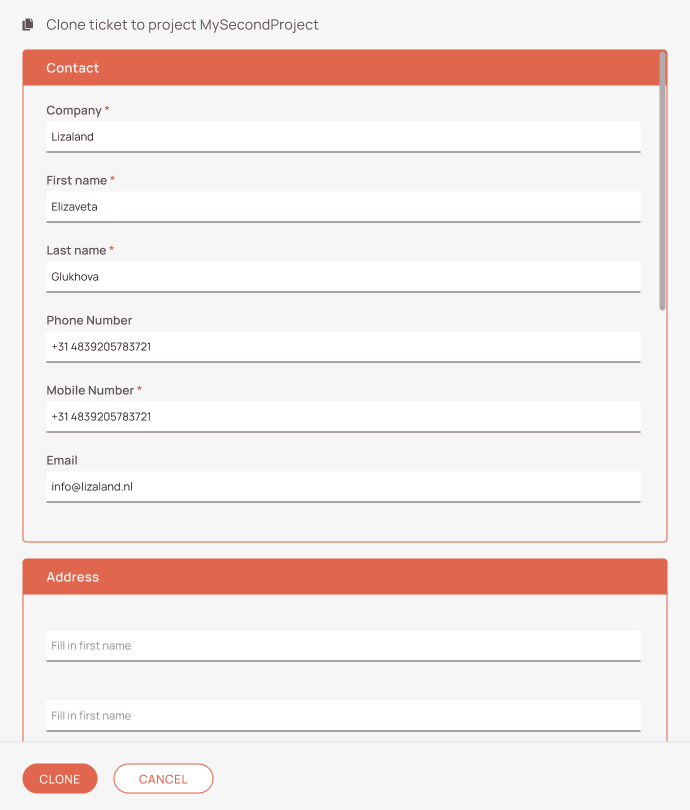
- Double-check the Ticket Details that are cloned. You can also edit fields in this step, in case you want to change some information for the to-be-cloned ticket.
- Click on Clone.
- The newly cloned ticket should appear inside the Ticket Pool.
- Inside the Ticket Details of the ticket you want to share click the share button.
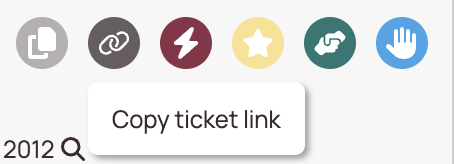
- You will get a notification at the top of Work place saying that the link has been copied correctly to your clipboard.

- Now you can paste the link into a chat, email, etc. by clicking Control+V (Windows)/Command+V (Mac).

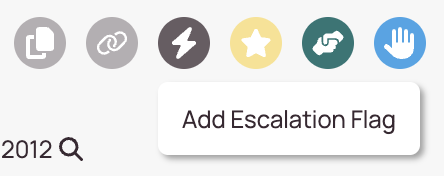
- To add an escalation flag, click on the Escalation button.
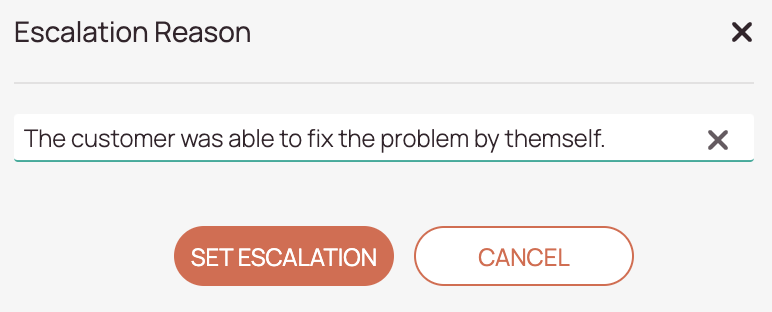
- Provide an escalation reason.
Please note: The reason stated has to contain at least 5 characters. - Click on the Set Escalation button.
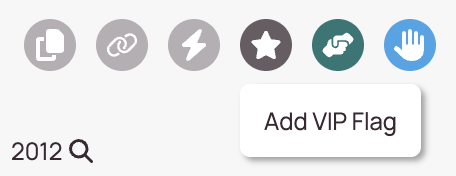
- To add a VIP flag to a ticket, and therefore give the ticket special attention, click the VIP flag button.
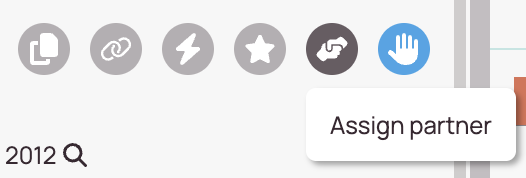
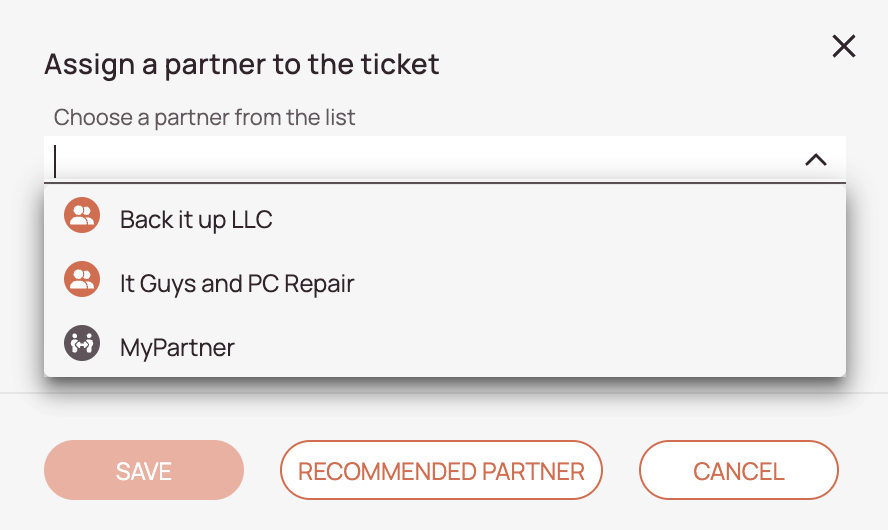
- To add a partner engineer for the ticket click on the Assign partner button.
- You will then be able to select a partner from the drop-down list.
- Click on Save after you have selected the partner which should take over the ticket.
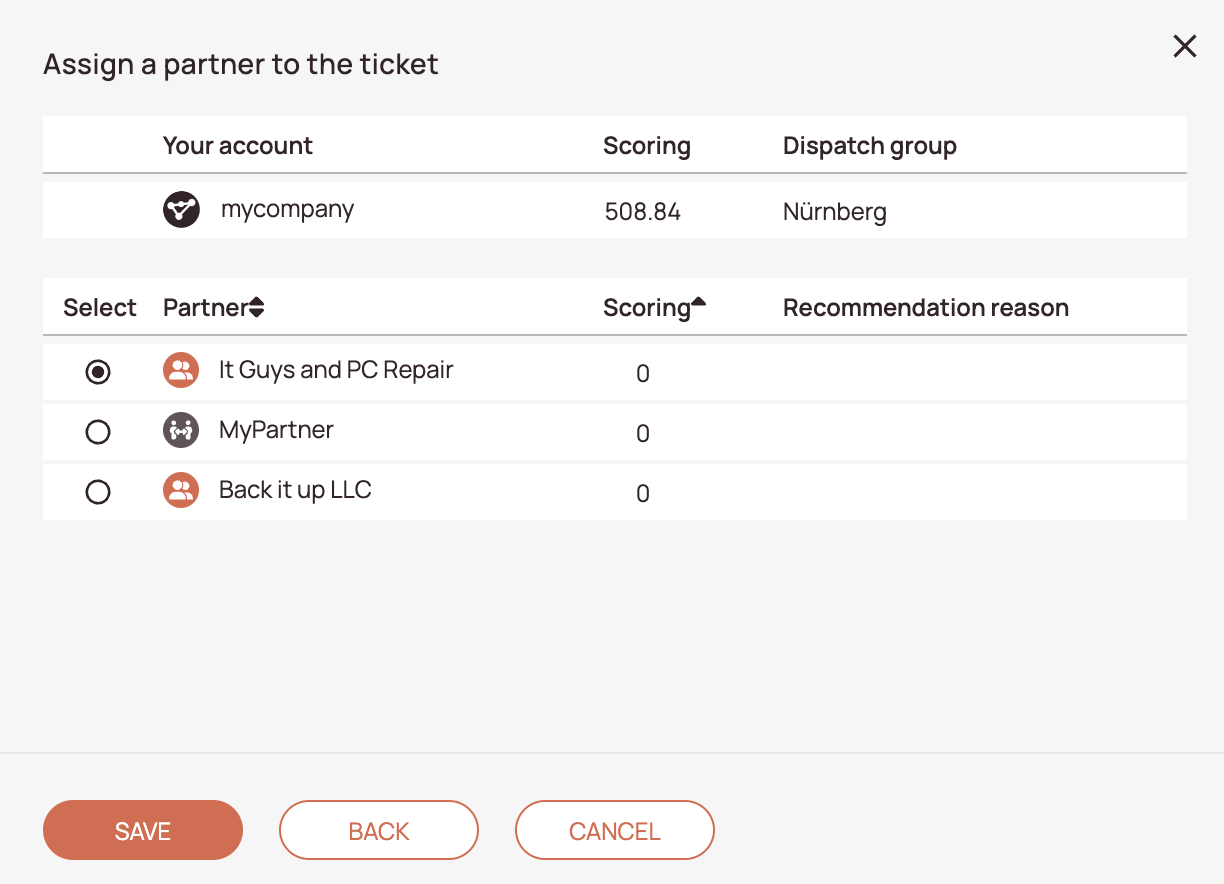
- (Alternative) - You can also rely on the recommended partner feature, by clicking on the Recommended Partner button. Select the Recommended Partner button to do so.
- Select the best-fitting partner for the ticket, the higher the score, the better.
- Click on Save.
- To grab a ticket click on the Grab it button.
- The ticket should be grabbed which is indicated by the button inside the Ticket Details, and as indication inside the Ticket Pool.
