Tip: You can use filters for better results
-
Latest News
-
Getting Started
-
Work Place
-
-
-
- About Buttons
- Action Buttons
- Schedule Tickets
- Ticket Info and COMS Buttons
- Add Parts
- Assign Partners
- Remove Tickets from the Ticket Clipboard
- Inline Skill Editing
- Create Intervention Info
- Create Intervention Reports
- Cancel Tickets
- Cancel Appointments
- Clone Tickets
- Edit Ticket Details
- Edit Privat Notes
- Report Tickets
- Close Tickets
-
Admin Panel
-
FMA 2 App
-
Customer Portal
Creating Intervention Reports
You can easily create intervention reports automatically, which will then be visible and downloadable in the Attachments tab of the Ticket Details.
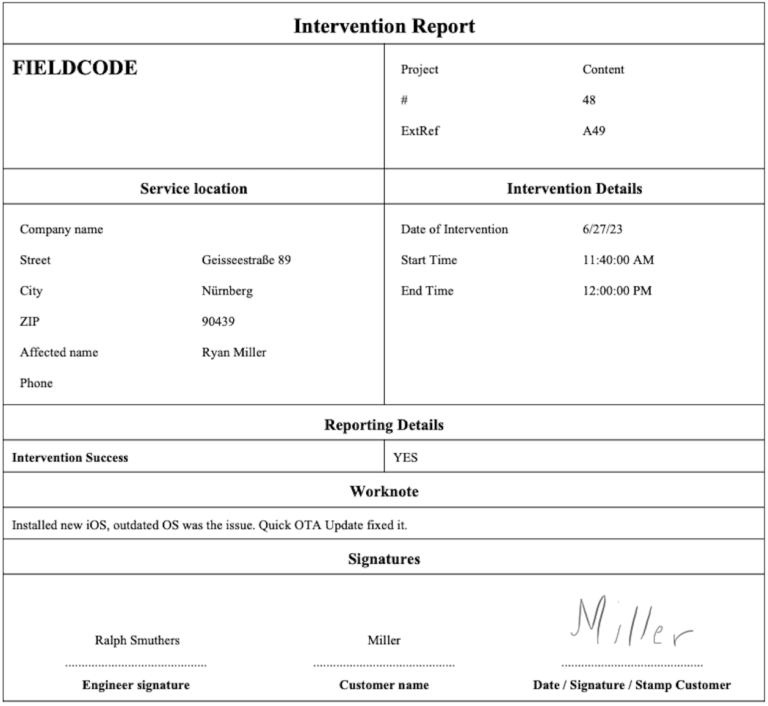
Intervention Reports contain crucial intervention details, like the service location, reporting details, work notes, and signatures of all parties, and can therefore assist with the organizational tasks of your company. When you create intervention info via the Create Intervention Report workflow button, a history entry will be created and the auto-generated intervention report will start to be visible and downloadable in the Attachments tab. The format of the intervention report will be in .pdf.
- If the ticket published and resolved by the engineer you should be able to create Intervention reports.
- Inside the Ticket Details click on the Create Intervention Report workflow button.
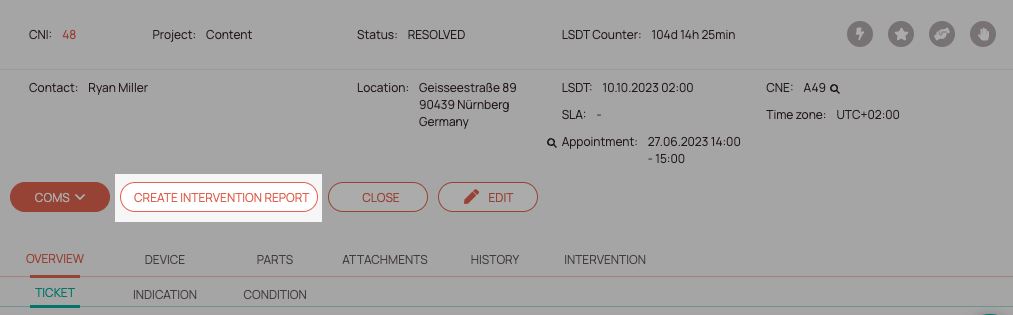
- The Intervention Report will be publicly visible and downloadable inside the Attachments tab of the Ticket Details component.

- You can then download and view the Report and use it for further organizational tasks.
-
Company name
-
Project infos
-
Service location infos
-
Intervention details
-
Reporting details
-
Worknote
-
Signatures of all parties
0 out of 5 stars
| 5 Stars | 0% | |
| 4 Stars | 0% | |
| 3 Stars | 0% | |
| 2 Stars | 0% | |
| 1 Stars | 0% |