Tip: You can use filters for better results
-
Latest News
-
Getting Started
-
Work Place
-
-
-
- About Buttons
- Action Buttons
- Schedule Tickets
- Ticket Info and COMS Buttons
- Add Parts
- Assign Partners
- Remove Tickets from the Ticket Clipboard
- Inline Skill Editing
- Create Intervention Info
- Create Intervention Reports
- Cancel Tickets
- Cancel Appointments
- Clone Tickets
- Edit Ticket Details
- Edit Privat Notes
- Report Tickets
- Close Tickets
-
Admin Panel
-
FMA 2 App
-
Customer Portal
How to use the Quicklaunch component
When it comes to Field Service, ticket processing and ticket tracking are important tasks that need to be resolved. This is usually achieved by back-office persons.
These duties include tasks like scanning documents after the ticket has been created, tasks like scanning documents after the ticket has been reported, and more tasks where bulk-action and bulk-editing is required to fulfill the requirements.
The Quicklaunch component is capable of helping back-office persons with those tasks as it features the required functionality.
The Quicklaunch component displays the current active form, which is based on the status of the ticket. Also supported are Custom Forms.
You are a back-office agent, that needs to prepare tickets from the "General tab" to fulfill a given company standard. Let's assume that the company standard is that every newly created ticket requires an internal code (provided by the back-office person) in the problem description of the ticket. This code is used by engineers to quickly process and solve problems. This is achieved by an internal document that only the engineer can access.
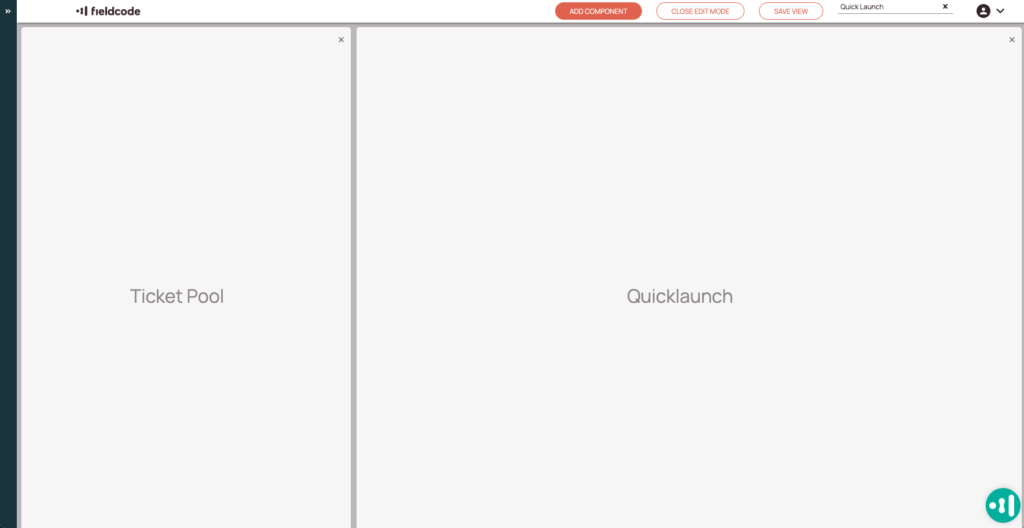
You, the back-office agent, would preferably use a view where the Ticket Pool component and Quicklaunch component are side-by-side.
- The back-office person clicks on the Views editor inside the Fieldcode Work Place.
- The back-office person creates a view with the Ticket Pool and Quicklaunch.
- The back-office person saves this view with the name “Quicklaunch”.
The back-office agent now may want to edit ticket details one-by one to fulfill his job.
- The back-office agent clicks on the first ticket.
- The back-office agent scrolls to the problem description.
- The back-office agent enters the new required details.
- The back-office agents proceeds in the same way with the next tickets.
0 out of 5 stars
| 5 Stars | 0% | |
| 4 Stars | 0% | |
| 3 Stars | 0% | |
| 2 Stars | 0% | |
| 1 Stars | 0% |