Tip: You can use filters for better results
-
Latest News
-
Getting Started
-
Work Place
-
-
-
- About Buttons
- Action Buttons
- Schedule Tickets
- Ticket Info and COMS Buttons
- Add Parts
- Assign Partners
- Remove Tickets from the Ticket Clipboard
- Inline Skill Editing
- Create Intervention Info
- Create Intervention Reports
- Cancel Tickets
- Cancel Appointments
- Clone Tickets
- Edit Ticket Details
- Edit Privat Notes
- Report Tickets
- Close Tickets
-
Admin Panel
-
FMA 2 App
-
Customer Portal
About Ticket Durations
Setting up ticket durations allows you to define the default amount of time an engineer is expected to spend on a ticket. The time you set here is later used as the ticket’s duration when the ticket is added to the Timeline manually, through optimization, auto-dispatch, or other scheduling recommendations. Setting up conditions can further help to specify which tickets should be affected by the time preset. Enabling historical data allows for a smart way of determining a good default time duration, as it takes averages from previous tickets.
Accessing the Ticket Durations Page
Navigate go to Projects and More → Ticket Duration to add/edit ticket durations.
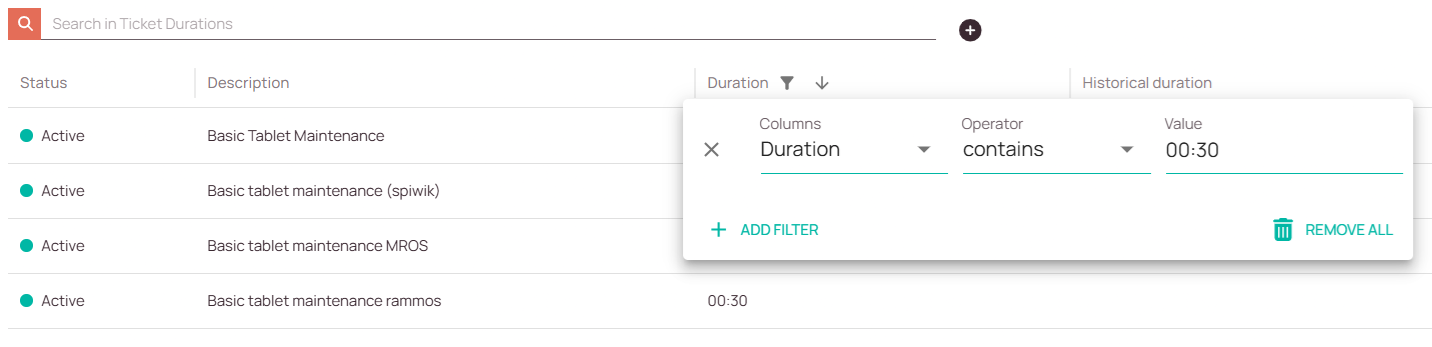
Searching in Ticket Durations
How to search:
- Navigate to Projects and more → Ticket Duration.
- Use the Column based filtering available at the top of each column to filter and refine the displayed data.
Creating/Editing Ticket Durations
- Click on the plus button to open the creation form.
- Fill in the Basic, Filters and Historical data tabs.

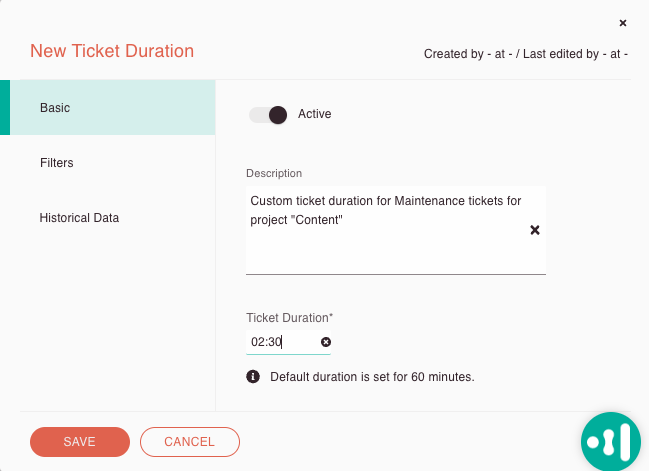
1. Basic tab
- Decide if your new or existing ticket duration should be set to active in the system.
- (Optional) Insert a description for your ticket duration.
- Set a ticket duration in minutes. The default ticket duration (if nothing else is set) is 60 minutes.
- Click Save.
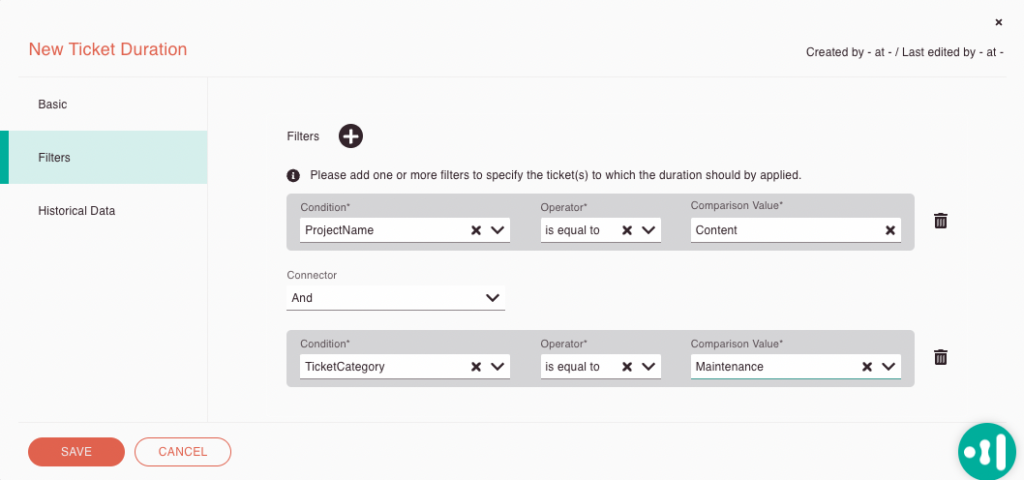
2. (Optional) Filters tab
The filters tab lets you determine which tickets should be affected by the time duration.
Filters: Allow you to configure criteria more precisely using comparison and logical operators.
Condition: Defines a condition for your filter criteria.
Operator: Compares the condition value using the selected comparison operator (IS EQUAL TO, IS NOT EQUAL TO, IS LIKE, IS NOT LIKE, IS NULL, IS NOT NULL, or IN).
Comparison Value: Defines with which value the condition is compared.
Connector: Allows you to combine multiple filters using logical operators (AND, OR) to create more advanced filtering conditions.
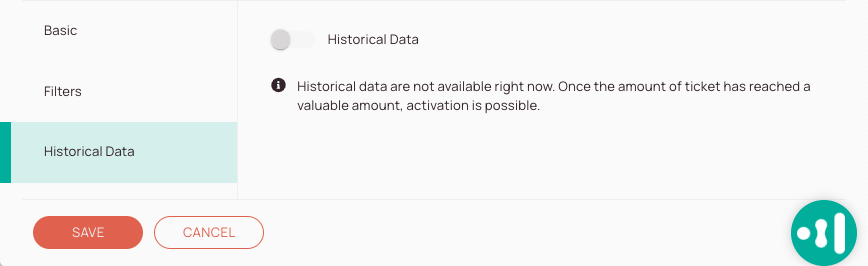
3. (Optional) - Historical data tab
The Historical Data tab may be grayed out. If this is the case, you will need to reach a higher ticket count for smart estimations to be enabled and start working.
Enabling historical data allows the system to smartly estimate the ticket duration automatically.
Based on historical data the ticket duration will be adjusted automatically for future tickets without the user needing to enter a ticket duration.
- (Optional) Toggle the switch to the right to enable smart ticket duration estimation.
FAQ Ticket Durations
The default ticket duration if not configured differently is 60 minutes.
The Overwrite Ticket Duration setting applies to newly created manual tickets and interface tickets, where the ticket duration can be configured in the ticket creation form.
If no ticket duration is specified during ticket creation, the system determines the duration as follows:
If no duration rules exist or no rules match, the default ticket duration is 60 minutes.
If one duration rule matches, the duration defined by that rule is applied.
If multiple duration rules match, the ticket duration is calculated as the average duration of all matching rules.
If a ticket duration is already specified during ticket creation, the result depends on whether the Overwrite Ticket Duration setting is enabled:
If overwrite is enabled, the configured duration rules can replace the specified ticket duration.
If overwrite is disabled, the specified ticket duration is preserved.
Examples:
A ticket is created with a duration of 50 minutes:
If no duration rules exist or no rules match, the duration remains 50 minutes.
If one matching rule defines a duration of 30 minutes:
with overwrite enabled → the duration becomes 30 minutes
with overwrite disabled → the duration remains 50 minutes
If multiple duration rules match:
with overwrite enabled → the duration becomes the average duration of all matching rules
with overwrite disabled → the duration remains 50 minutes
If the ticket creation form does not include a ticket duration field or slider, enabling the overwrite option may not be necessary.
Users can update the ticket duration at any time in the Ticket Details section.
If multiple Admin Panel rules match the ticket, the following applies:
- The summary of the rules is calculated, and the calculated average time will be used as the ticket duration.
- Example:
Rule 1=25 minutes
Rule 2=35 minutes
Rule 3=15 minutes
25+35+15=75 minutes
75 minutes/3 rules=25 minutes
0 out of 5 stars
| 5 Stars | 0% | |
| 4 Stars | 0% | |
| 3 Stars | 0% | |
| 2 Stars | 0% | |
| 1 Stars | 0% |