Tip: You can use filters for better results
-
Latest News
-
Getting Started
-
Work Place
-
-
-
- About Buttons
- Action Buttons
- Schedule Tickets
- Ticket Info and COMS Buttons
- Add Parts
- Assign Partners
- Remove Tickets from the Ticket Clipboard
- Inline Skill Editing
- Create Intervention Info
- Create Intervention Reports
- Cancel Tickets
- Cancel Appointments
- Clone Tickets
- Edit Ticket Details
- Edit Privat Notes
- Report Tickets
- Close Tickets
-
Admin Panel
-
FMA 2 App
-
Customer Portal
How to configure custom fields
Under this tab, you can create your custom fields for a personalized Work place experience.
Inside the Admin panel go to Plus -> Custom fields
Expand the menu by clicking the expand arrow in the navigation ![]() or click directly on the Plus button to reveal all options.
or click directly on the Plus button to reveal all options.
The custom fields functionality allows you to create your fields within the application. Custom fields find their useful purpose inside custom forms.
Custom fields are an element inside a custom form and are displayed throughout the system for informational purposes.
Therefore it’s smart to first create the required custom fields and then create custom forms afterwards.
Custom fields are always stored inside the same type. You decide the object type already while creating the custom field. The corresponding type can be found inside the Forms creator. If you create a field with the type device, the created custom field device will be displayed under the device.
The unique name of a custom field = database name
The label of a custom field = name the user decided for, not relevant for the database
The following requirements are to be considered when picking a name for a custom field:
- Special characters are not allowed
- Field names cannot contain spaces between words
- Field names cannot contain the null character
- The maximal character length is 120
Yes, they can and will!
Feel free to contact them anytime via the email if you have special requirements/questions regarding custom fields/custom forms.
How to create & edit custom fields
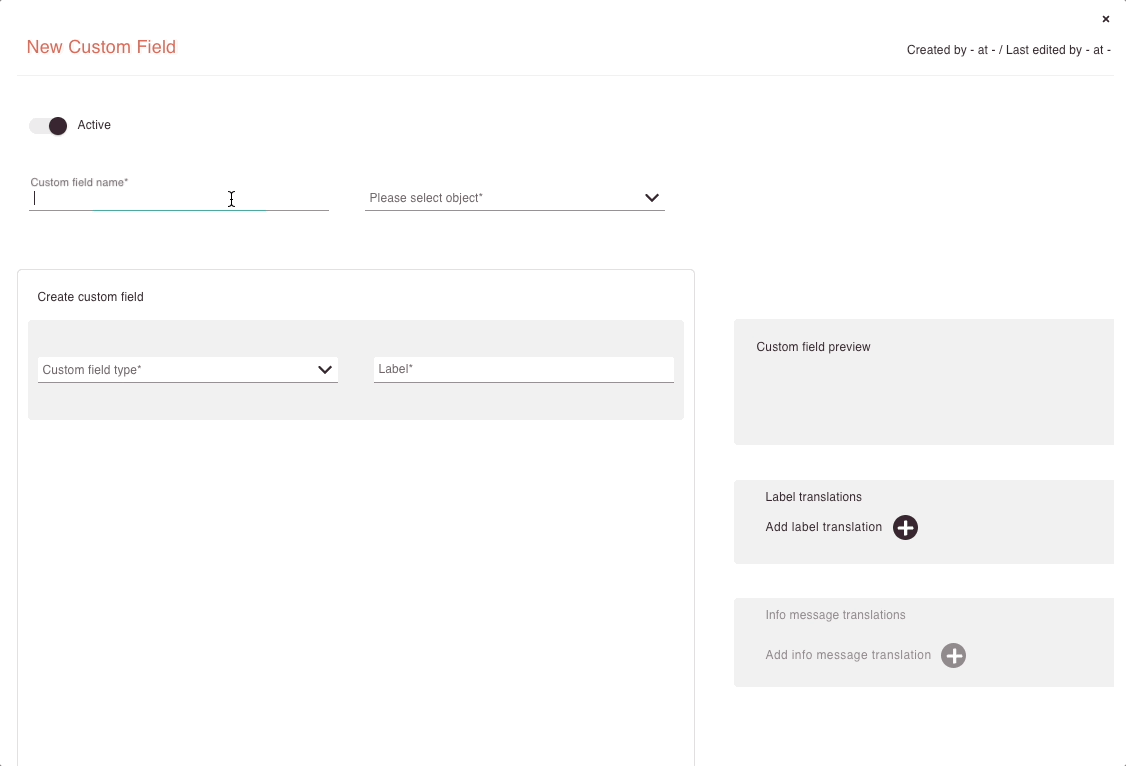
- Click on the plus button right next to the search bar to add a new custom field.
- Decide if your field should be visible after creation with the Active toggle.
- Insert a Custom field name for the custom field
- Select the object, where your custom field should appear, you have the choice between the objects described further below.
- You can now select between the custom field types described below.
- (Optional) While you set up your custom fields you have various Input field settings, depending on the field type you selected.
- (Optional) You can also add translations to other languages for your custom fields and info messages by hitting the corresponding Add label translation button.
Deleting translations is always possible with the trash bin button. - Click Save.
Object types
| Object | Purpose | Where it appears |
|---|---|---|
| Ticket | Adds customized information to the Ticket. | Ticket Details - Overview tab |
| Report | A field that can be added to reports. This field appears on all reports, even when left empty. | Report and Edit forms, if added Ticket Details - Intervention tab, after a ticket is reported |
| Device | Adds customized information for the device. | Ticket Details - Device tab |
| Part | A field for adding additional details about parts. | Parts form Ticket Details - Parts tab |
| User | Adds additional administrative information for a user. | Admin Panel - Add and Edit Users forms in Contact tab |
| Checklist | Additional fields for reports that only appear when appropriate. This field will only appear on a report if it is filled out. | Report and Edit forms, if added Ticket Details - Intervention tab, after a ticket is reported |
Field types
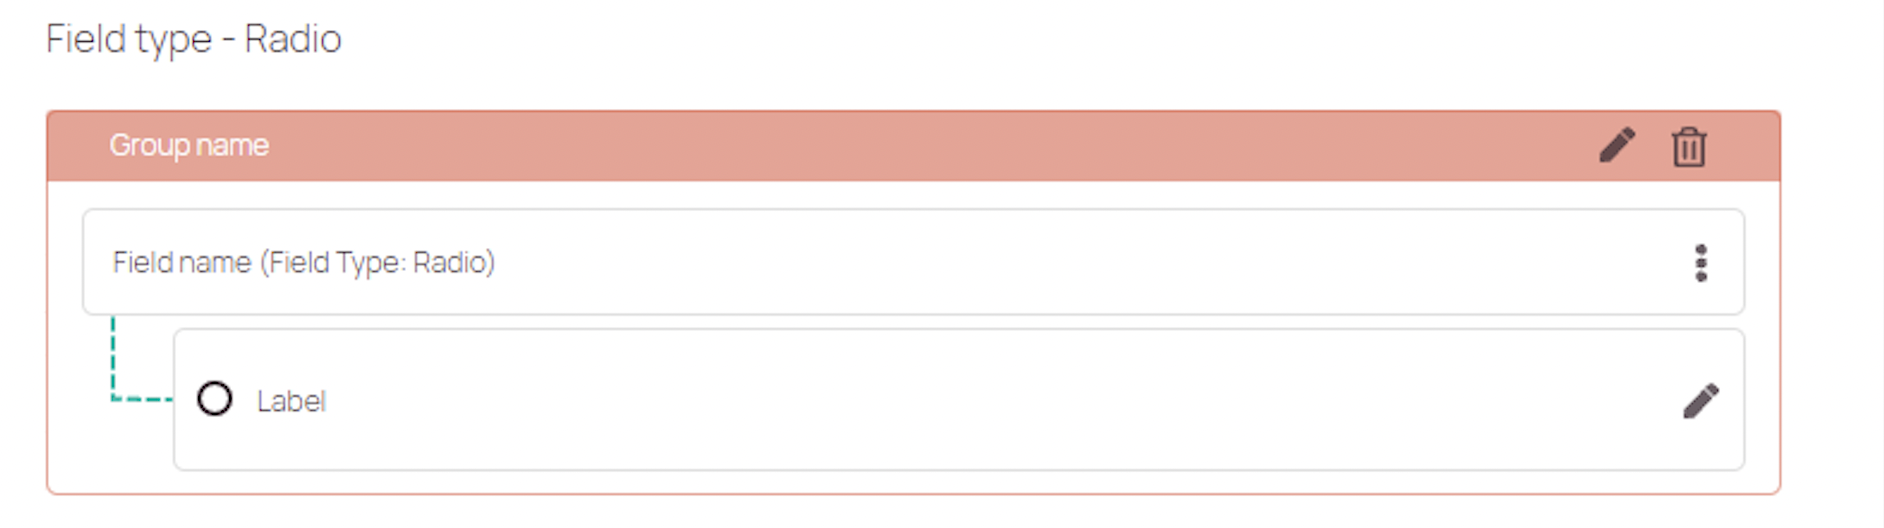
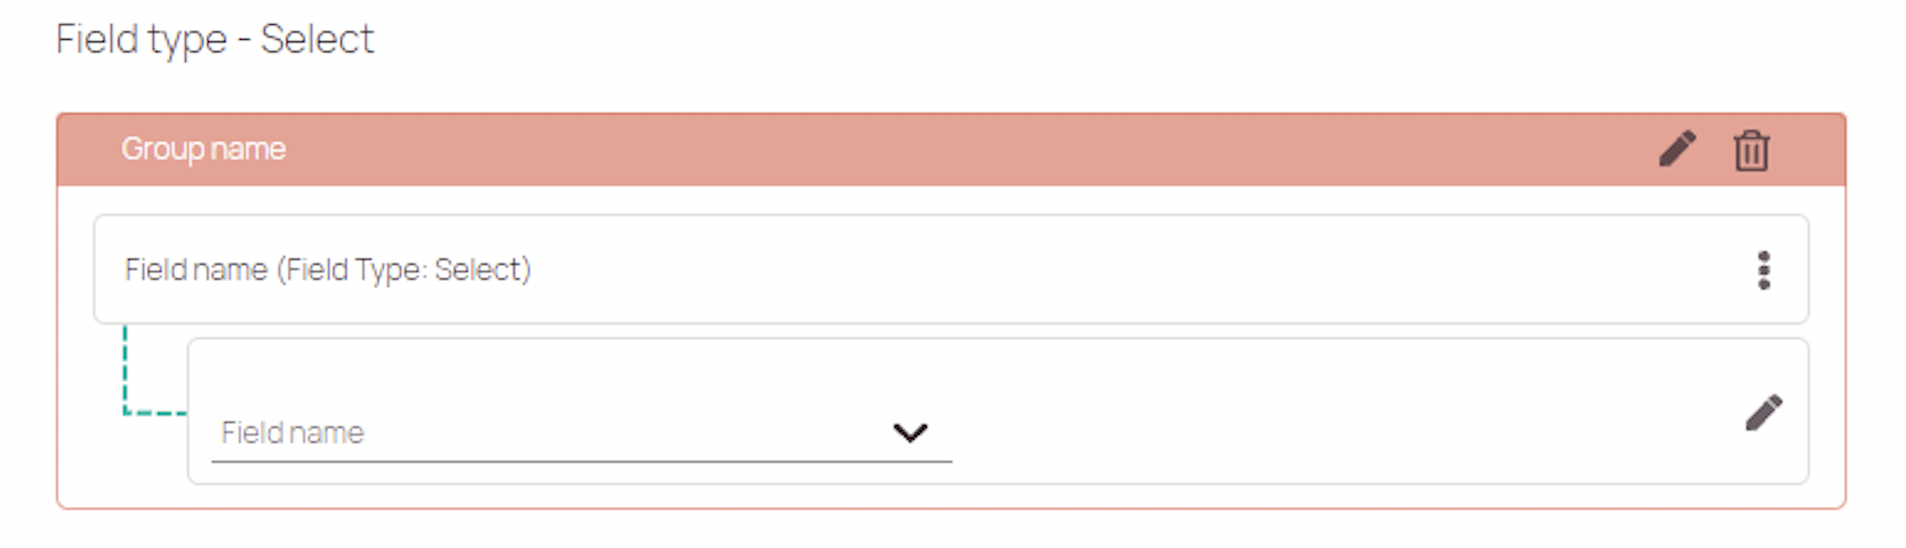
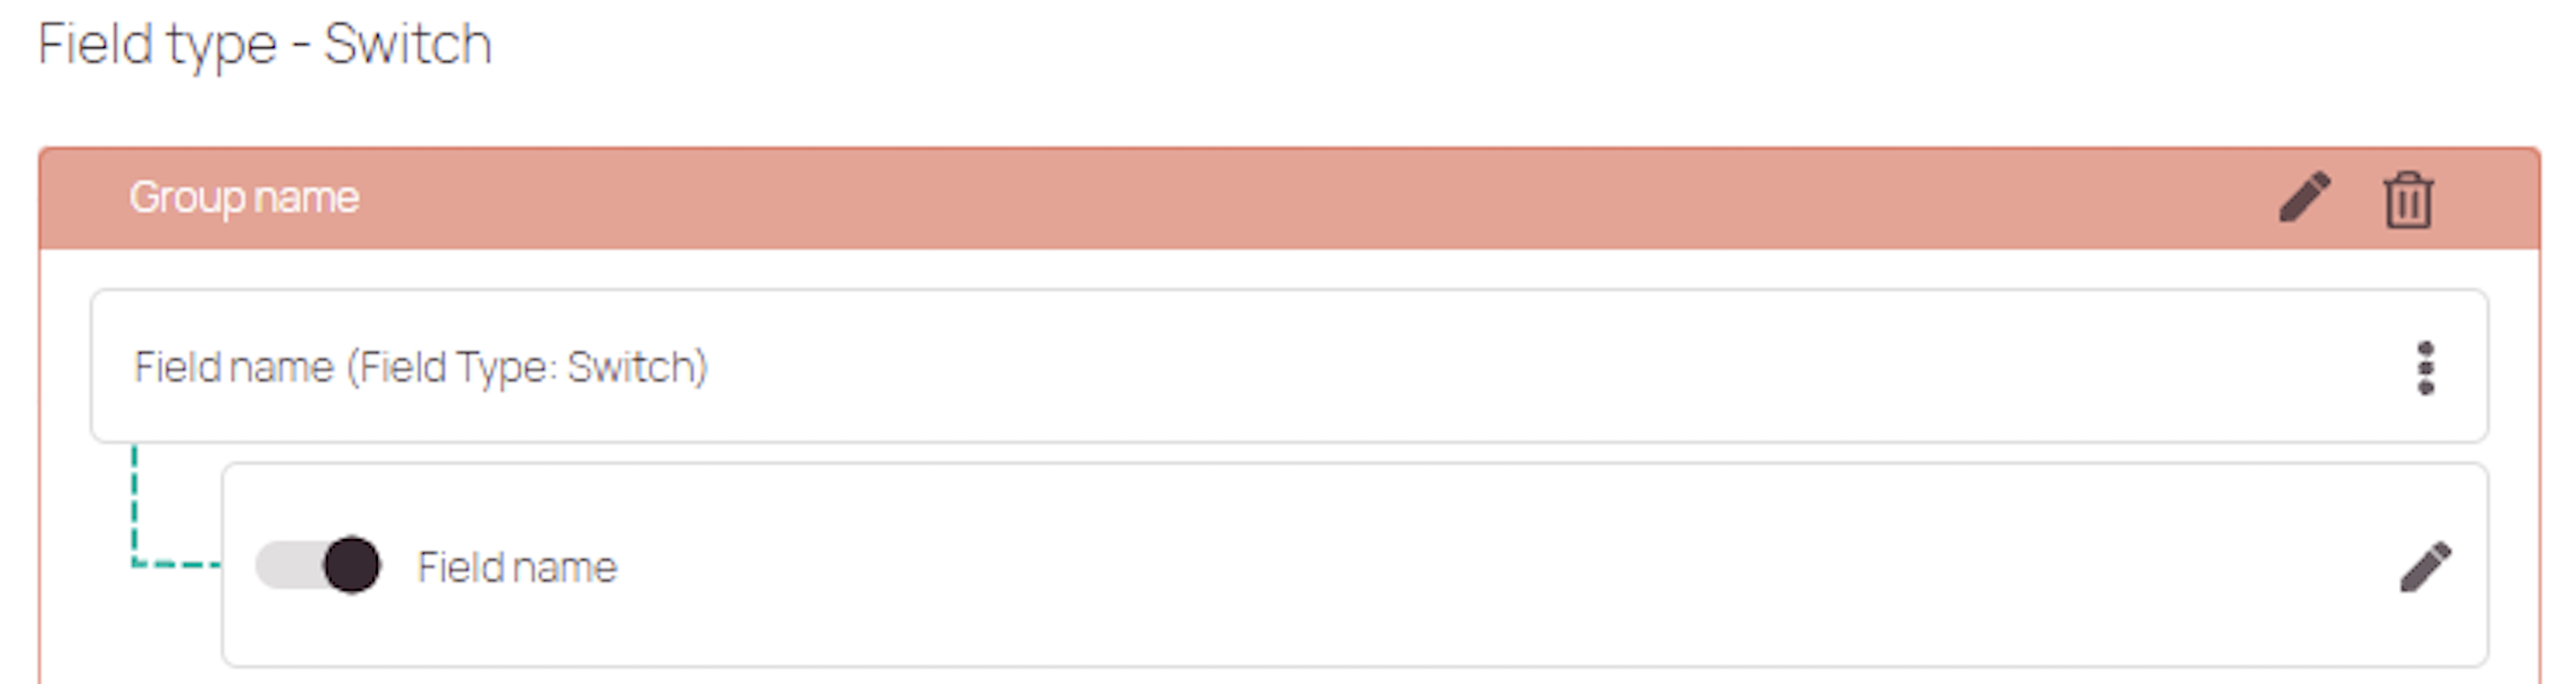
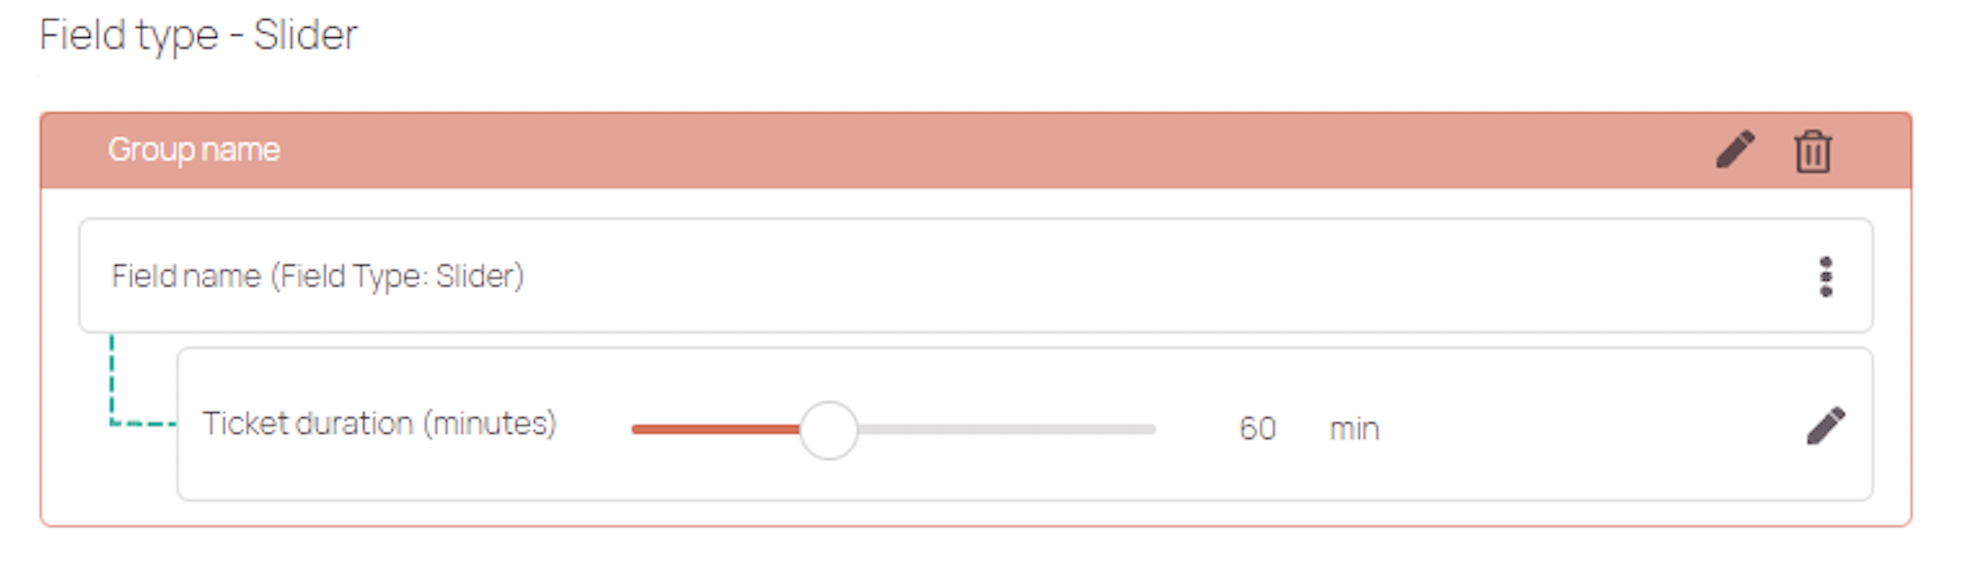
| Field type | Explanation | Adjustable settings |
|---|---|---|
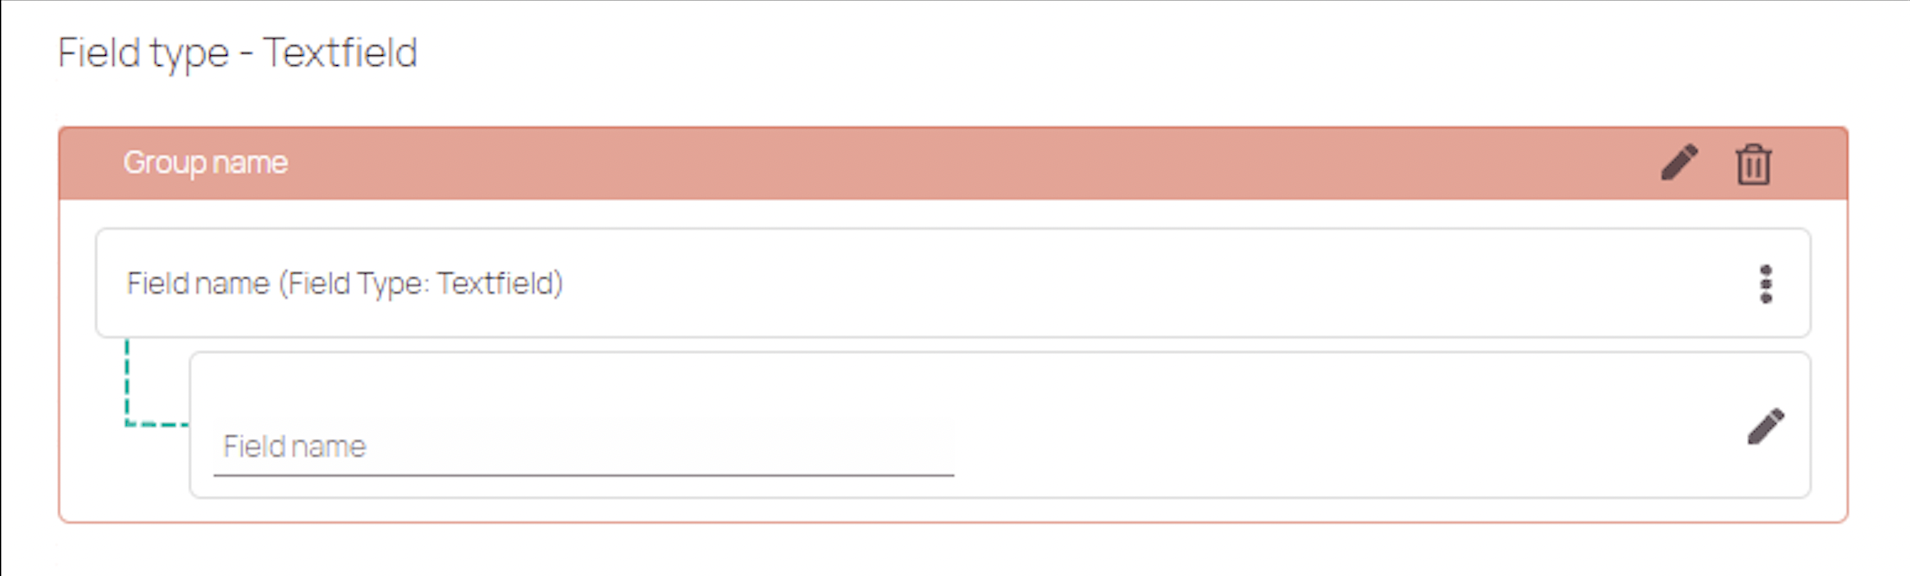
| Input | A input field lets users input characters or numbers. The maximal character count for an input fields is 50. | Mandatory/Optional; Hide/Unhide field; Read only/Interactive; Allow/Not allow scanner input; Select default, Field filters; Field validations |
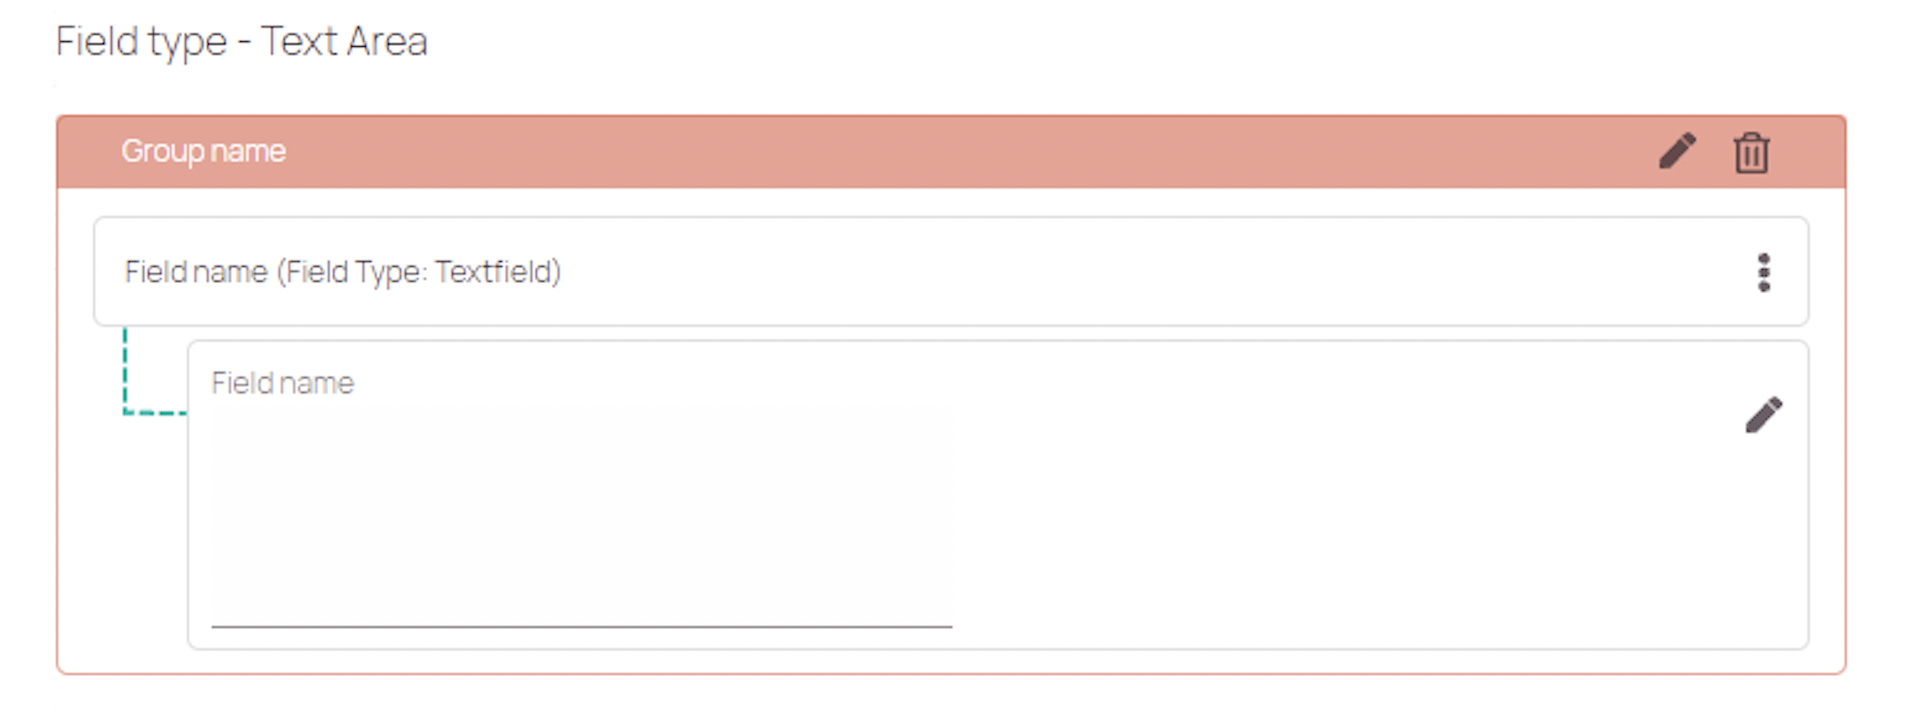
| Simple Paragraph Text | A simple paragraph text field lets users input characters or numbers. | Mandatory/Optional; Hide/Unhide field; Read only/Interactive; Allow/Not allow scanner input; Select default, Field filters; Field validations |
| Drop down | A dropdown field lets users select a field from the dropdown. You can give users a choice between different selections. | Mandatory/Optional; Hide/Unhide field; Read only/Interactive; Value Set option; Visibility option; Default value option; Field filters; Field validations |
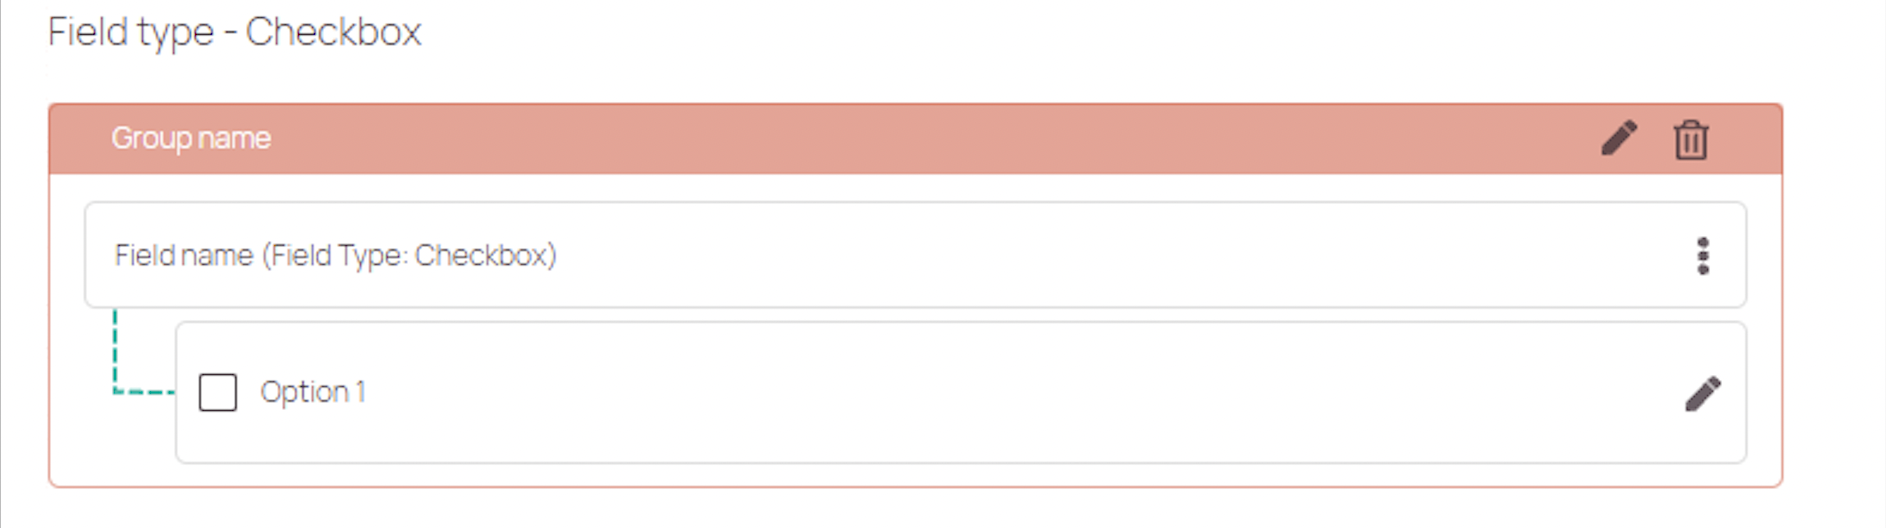
| Checkbox | A checkbox field lets users select a checkbox from different checkboxes. You can give users a choice between different selections. | Mandatory/Optional; Hide/Unhide field; Read only/Interactive; Value Set option; Visibility option; Default value option; Field filters; Field validations |
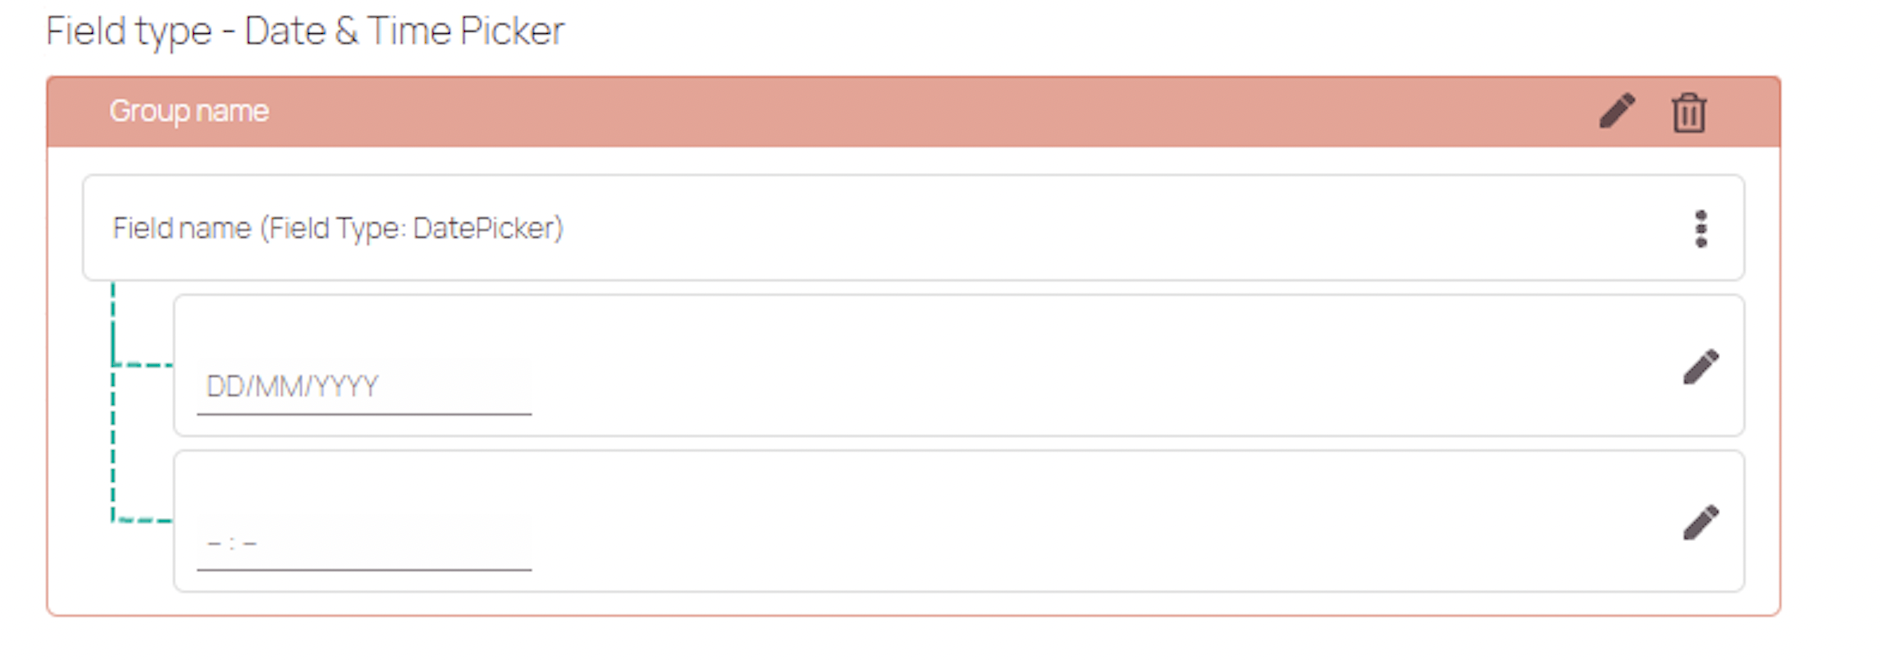
| Date & Time | A date & time field lets users fill in a date & time manually. The date is in DD/MM/YYYY format. | Mandatory/Optional; Hide/Unhide field; Read only/Interactive; Value set options; Default value option; Field filters, Field validations |
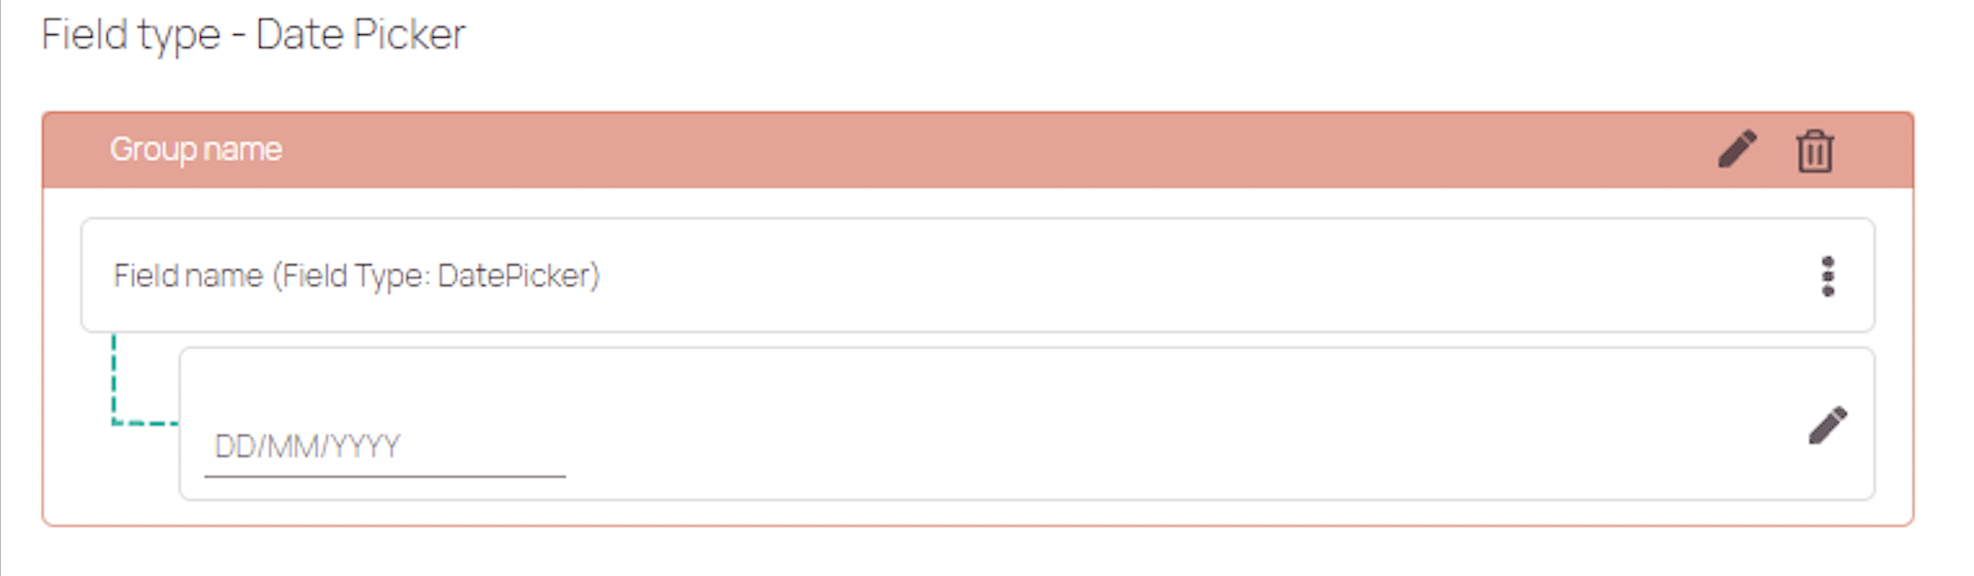
| Date | A date field lets users fill in a date manually. The date is in DD/MM/YYYY format. | Mandatory/Optional; Hide/Unhide field; Read only/Interactive; Value set options; Default value option; Field filters, Field validations |
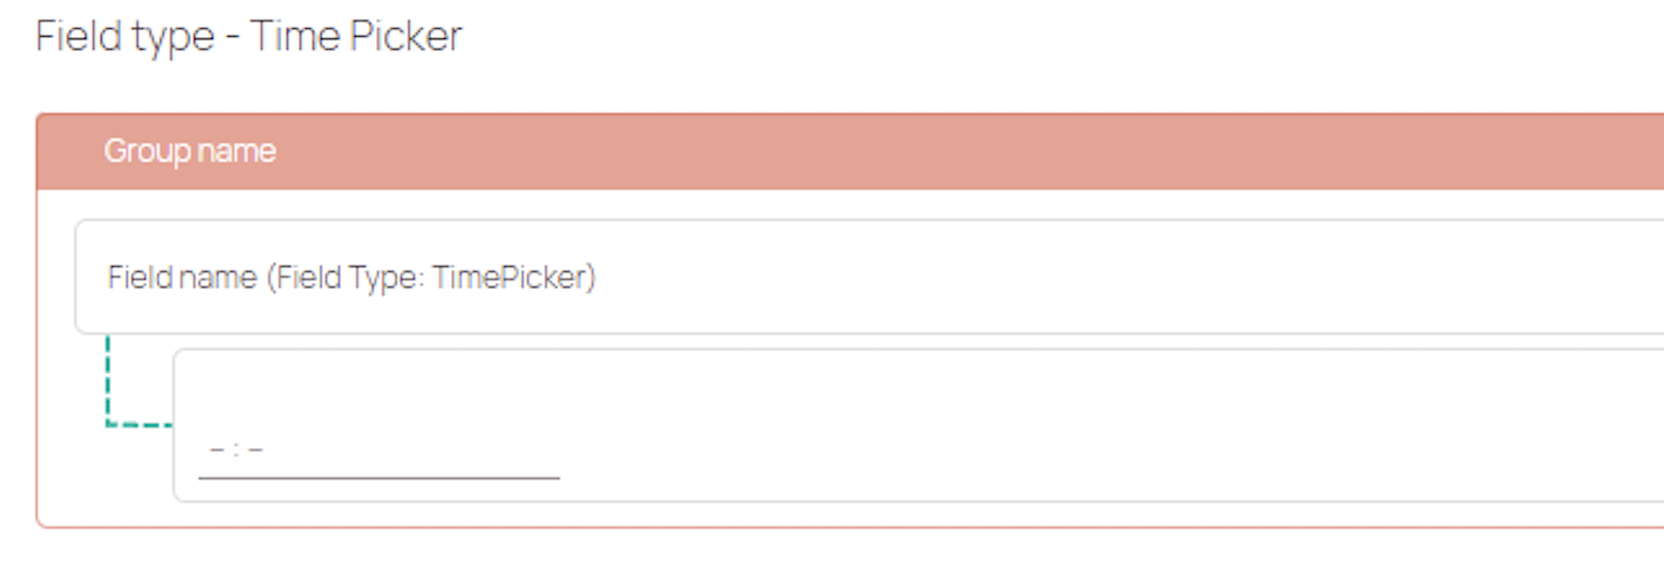
| Time | A time field lets users fill in a time manually. | |
| Static Text | A read only text field for providing additional information or instructions | Hide/Unhide; Value; Typography; Color; Field Filters |
| Attachment Upload | The Attachment Upload field lets users add attachments up to 15 MB size. Uploaded attachments will be visible inside the Attachments tab of Work place. | Mandatory/Optional; Label; Attachment categorization; Field filters, Field validations |
Translation settings
| Translation setting | Description |
|---|---|
| Label translation | Select a language, insert the translation, add other language, if wished. |
| Add info message translation | Select a language, insert the translation, add other language, if wished. |
How to deactivate custom fields
You are able to deactivate custom fields by toggling the Active toggle of the field to Off state.
- Select the field you want to deactivate from the custom field list.
- In the Custom field tab toggle the Active toggle to Off state.
0 out of 5 stars
| 5 Stars | 0% | |
| 4 Stars | 0% | |
| 3 Stars | 0% | |
| 2 Stars | 0% | |
| 1 Stars | 0% |