Tip: You can use filters for better results
How to search:
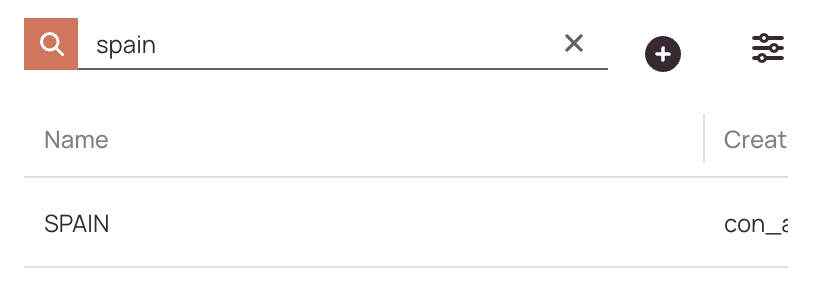
- Navigate to Dispatch → Dispatch Groups.
- Use the search bar at the top of the dispatch groups list.
- Enter any of the following:
- Dispatch Group Name
- Creator
- Status (e.g., active, inactive)
-
As you type, the list will automatically filter to match your query.

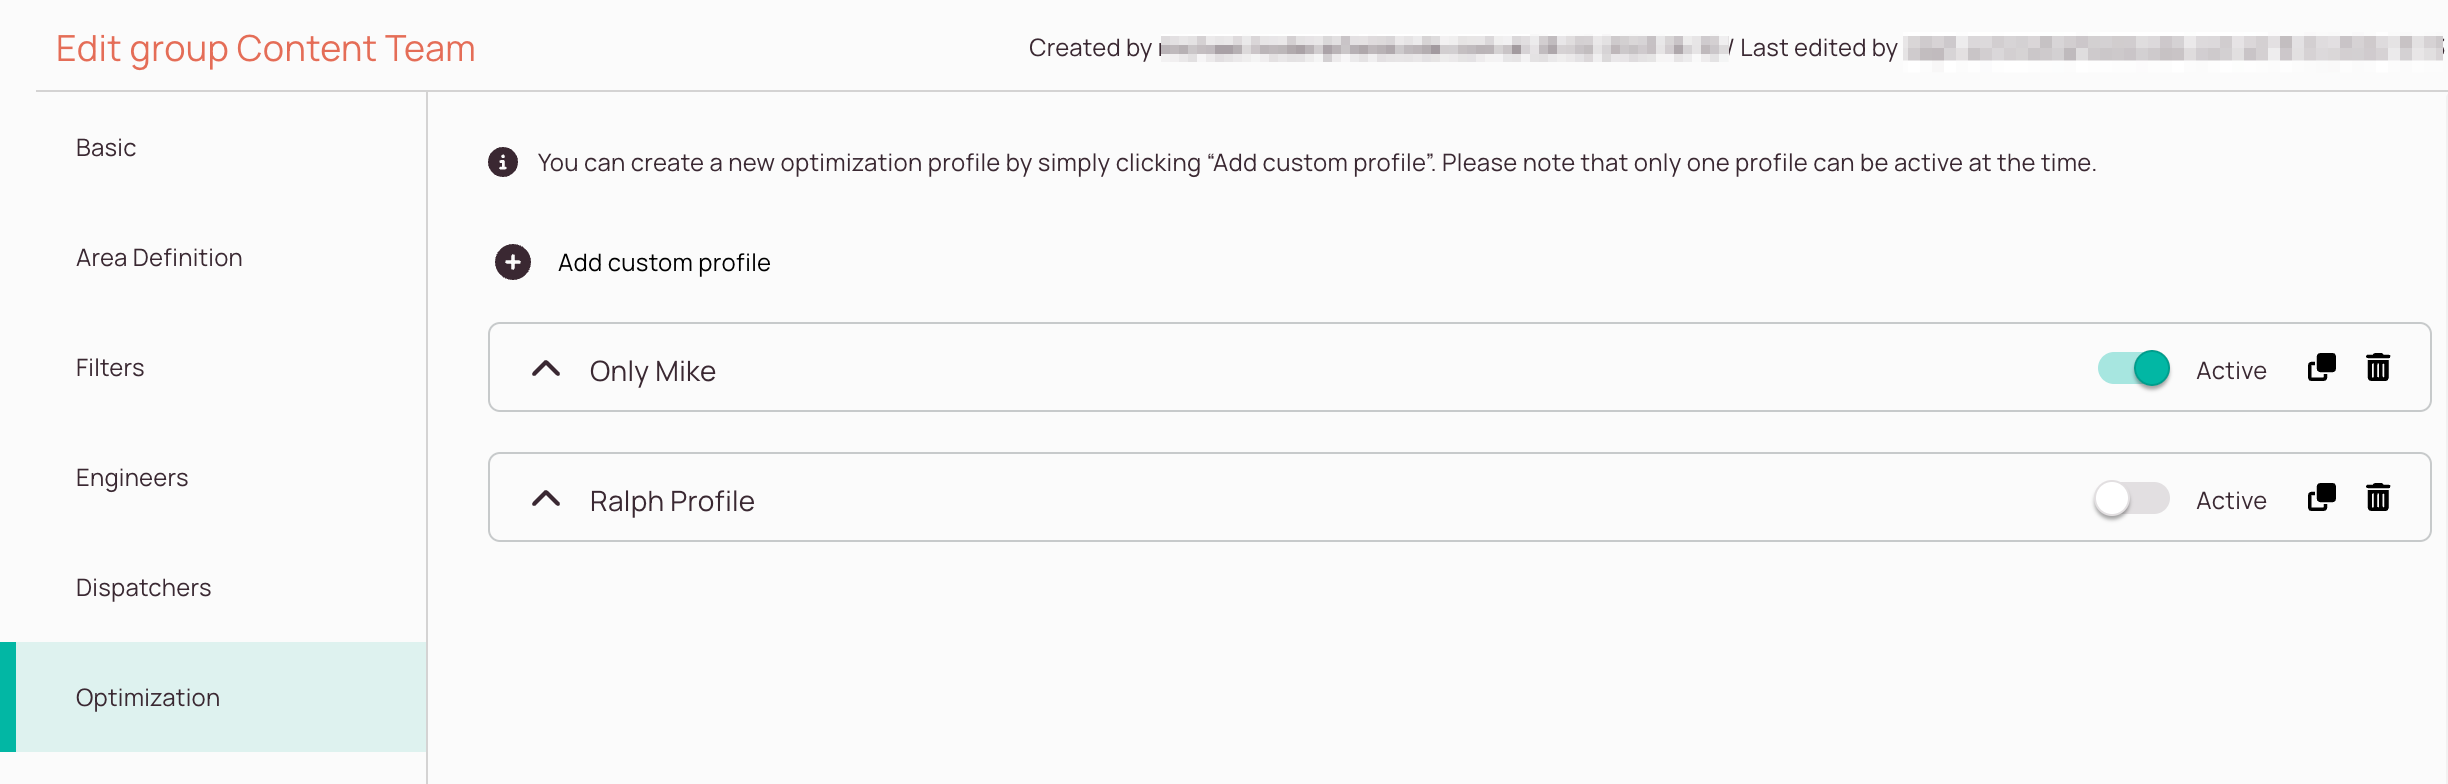
Fully automated dispatching is only available for customers with an Enterprise plan.
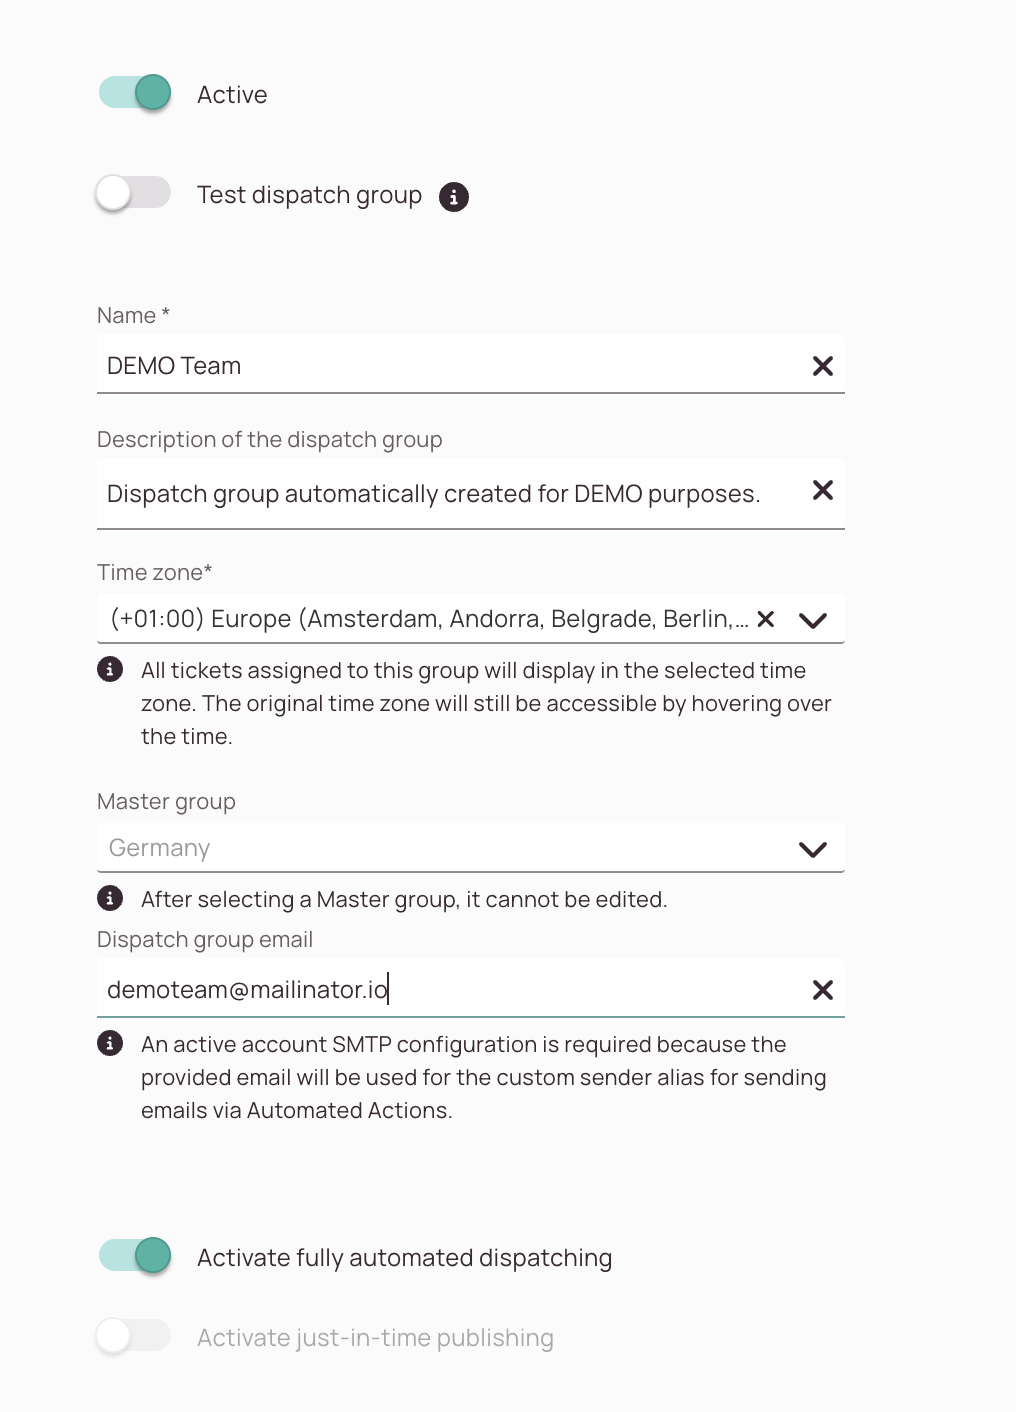
- Toggle the Active toggle to the right to mark the user as active (that means the group is displayed inside Work place).
- (Optional) - Turn your dispatch group into a test dispatch group by flipping the Test dispatch group toggle to the right.
Test dispatch groups do not share data with the Analytics component and therefore have no impact on your reporting, analytics, or forecasting. - Enter the name of your new or existing group.
- (Optional) - Enter a description of your new or existing group for better recognition.
- Select the timezone your new or existing group operates within.
- (Optional) - Select a master group from the dropdown.
Learn how to create master groups here. - (Optional) - Enter a valid dispatch group email address (SMTP configuration required). The dispatch email address can be used for communication and communication automation with end-customers. For example, you may want to use a shared mailbox for communication with end-customers, so they can contact dispatch groups via email easily.
Use case: An end-customer could benefit from a configured dispatch group email address because there is another quick option to directly contact dispatch groups via email contact.
For automation purposes, you can also use the dispatch group email alias inside the Automated Actions/Custom Sender input field. Please note, if you don't configure a dispatch group email address at all, the system will try to use the project-SMTP email address instead, then the account email address, and then as a last resort, the Fieldcode default email address instead for configured automations. - (Enterprise only) - Decide if the fully automated dispatching option should be turned on or off for this particular dispatch group. If you don't turn it on, the Autodispatch toggle inside the Ticket Pool inside Work place is not activatable by users.
- Click Save.
-
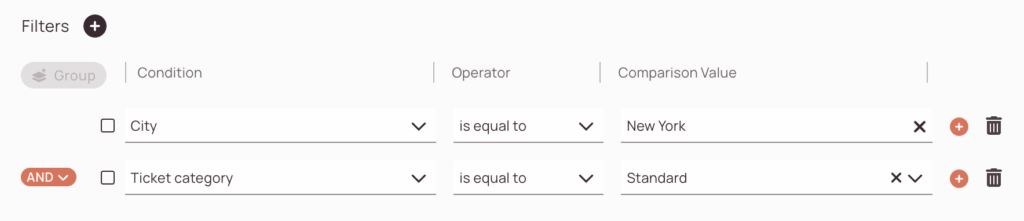
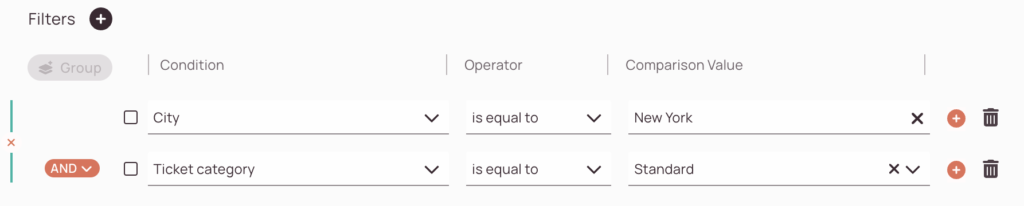
You can add more filters with the plus button.
This plus button will always add a filter under the last filter. -
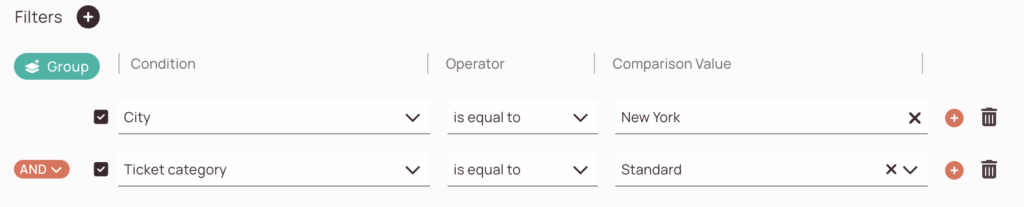
The group button lets you group filters after checking filters that are below another filter.
Grouping can only be enabled for consecutive filter conditions, otherwise, the grouping icon is disabled. -
You can select conditions from the condition drop-down.
You can learn what conditions are in the Filter examples section. -
You can select operators from the operator drop-down.
You can learn what operators are in the Filter examples section. -
You can enter comparison values in the comparison value field.
You can learn what comparison values are in the Filter examples section. -
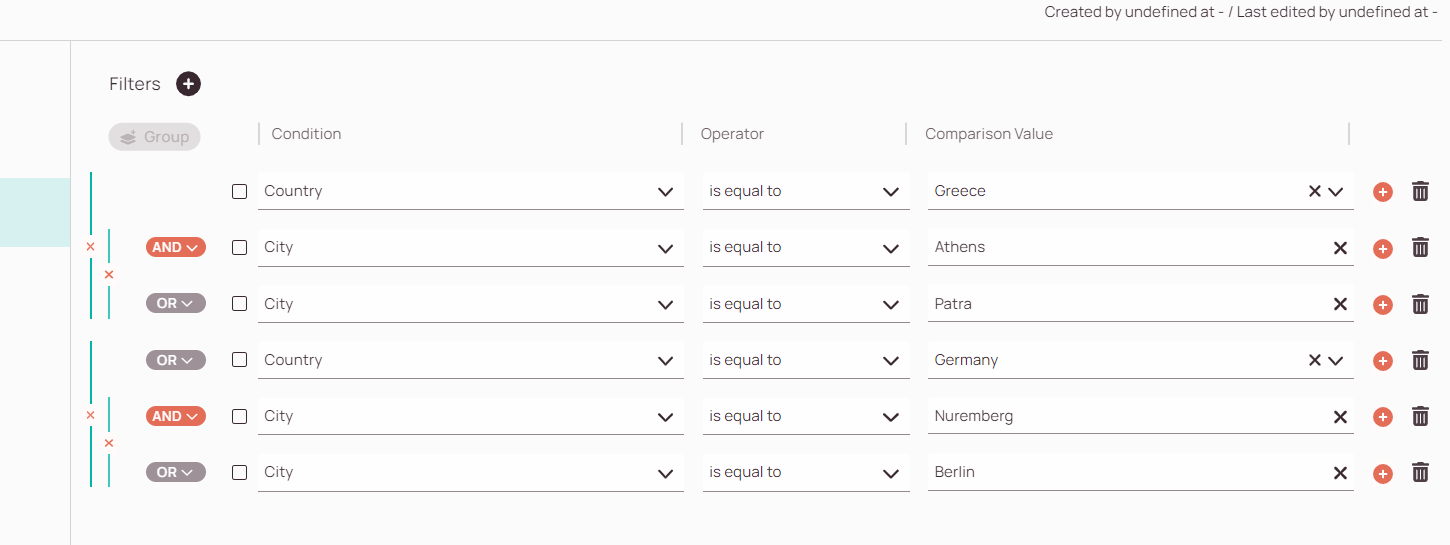
You can add more filters with the Plus button.
This plus button lets you add a filter in between two filters. -
You can delete individual filters with the Delete button.
-
You can decide which relation a filter should have with another filter.
It can either be an AND or an OR relation.
It is important to understand that filters within a group can only have the same relation type. -
The Ungroup button lets you ungroup connected filters.
The filters will remain inside the list without a group after ungrouping.
- You need at least one created and active dispatch group to use the optimizer with success
- If there is no active dispatch group set, the Ticket Pool in the Work Place (Dispatch tab) won’t display tickets and won’t display any engineers in the Timeline
- It is necessary to have at least one engineer assigned, otherwise, group creation will not work
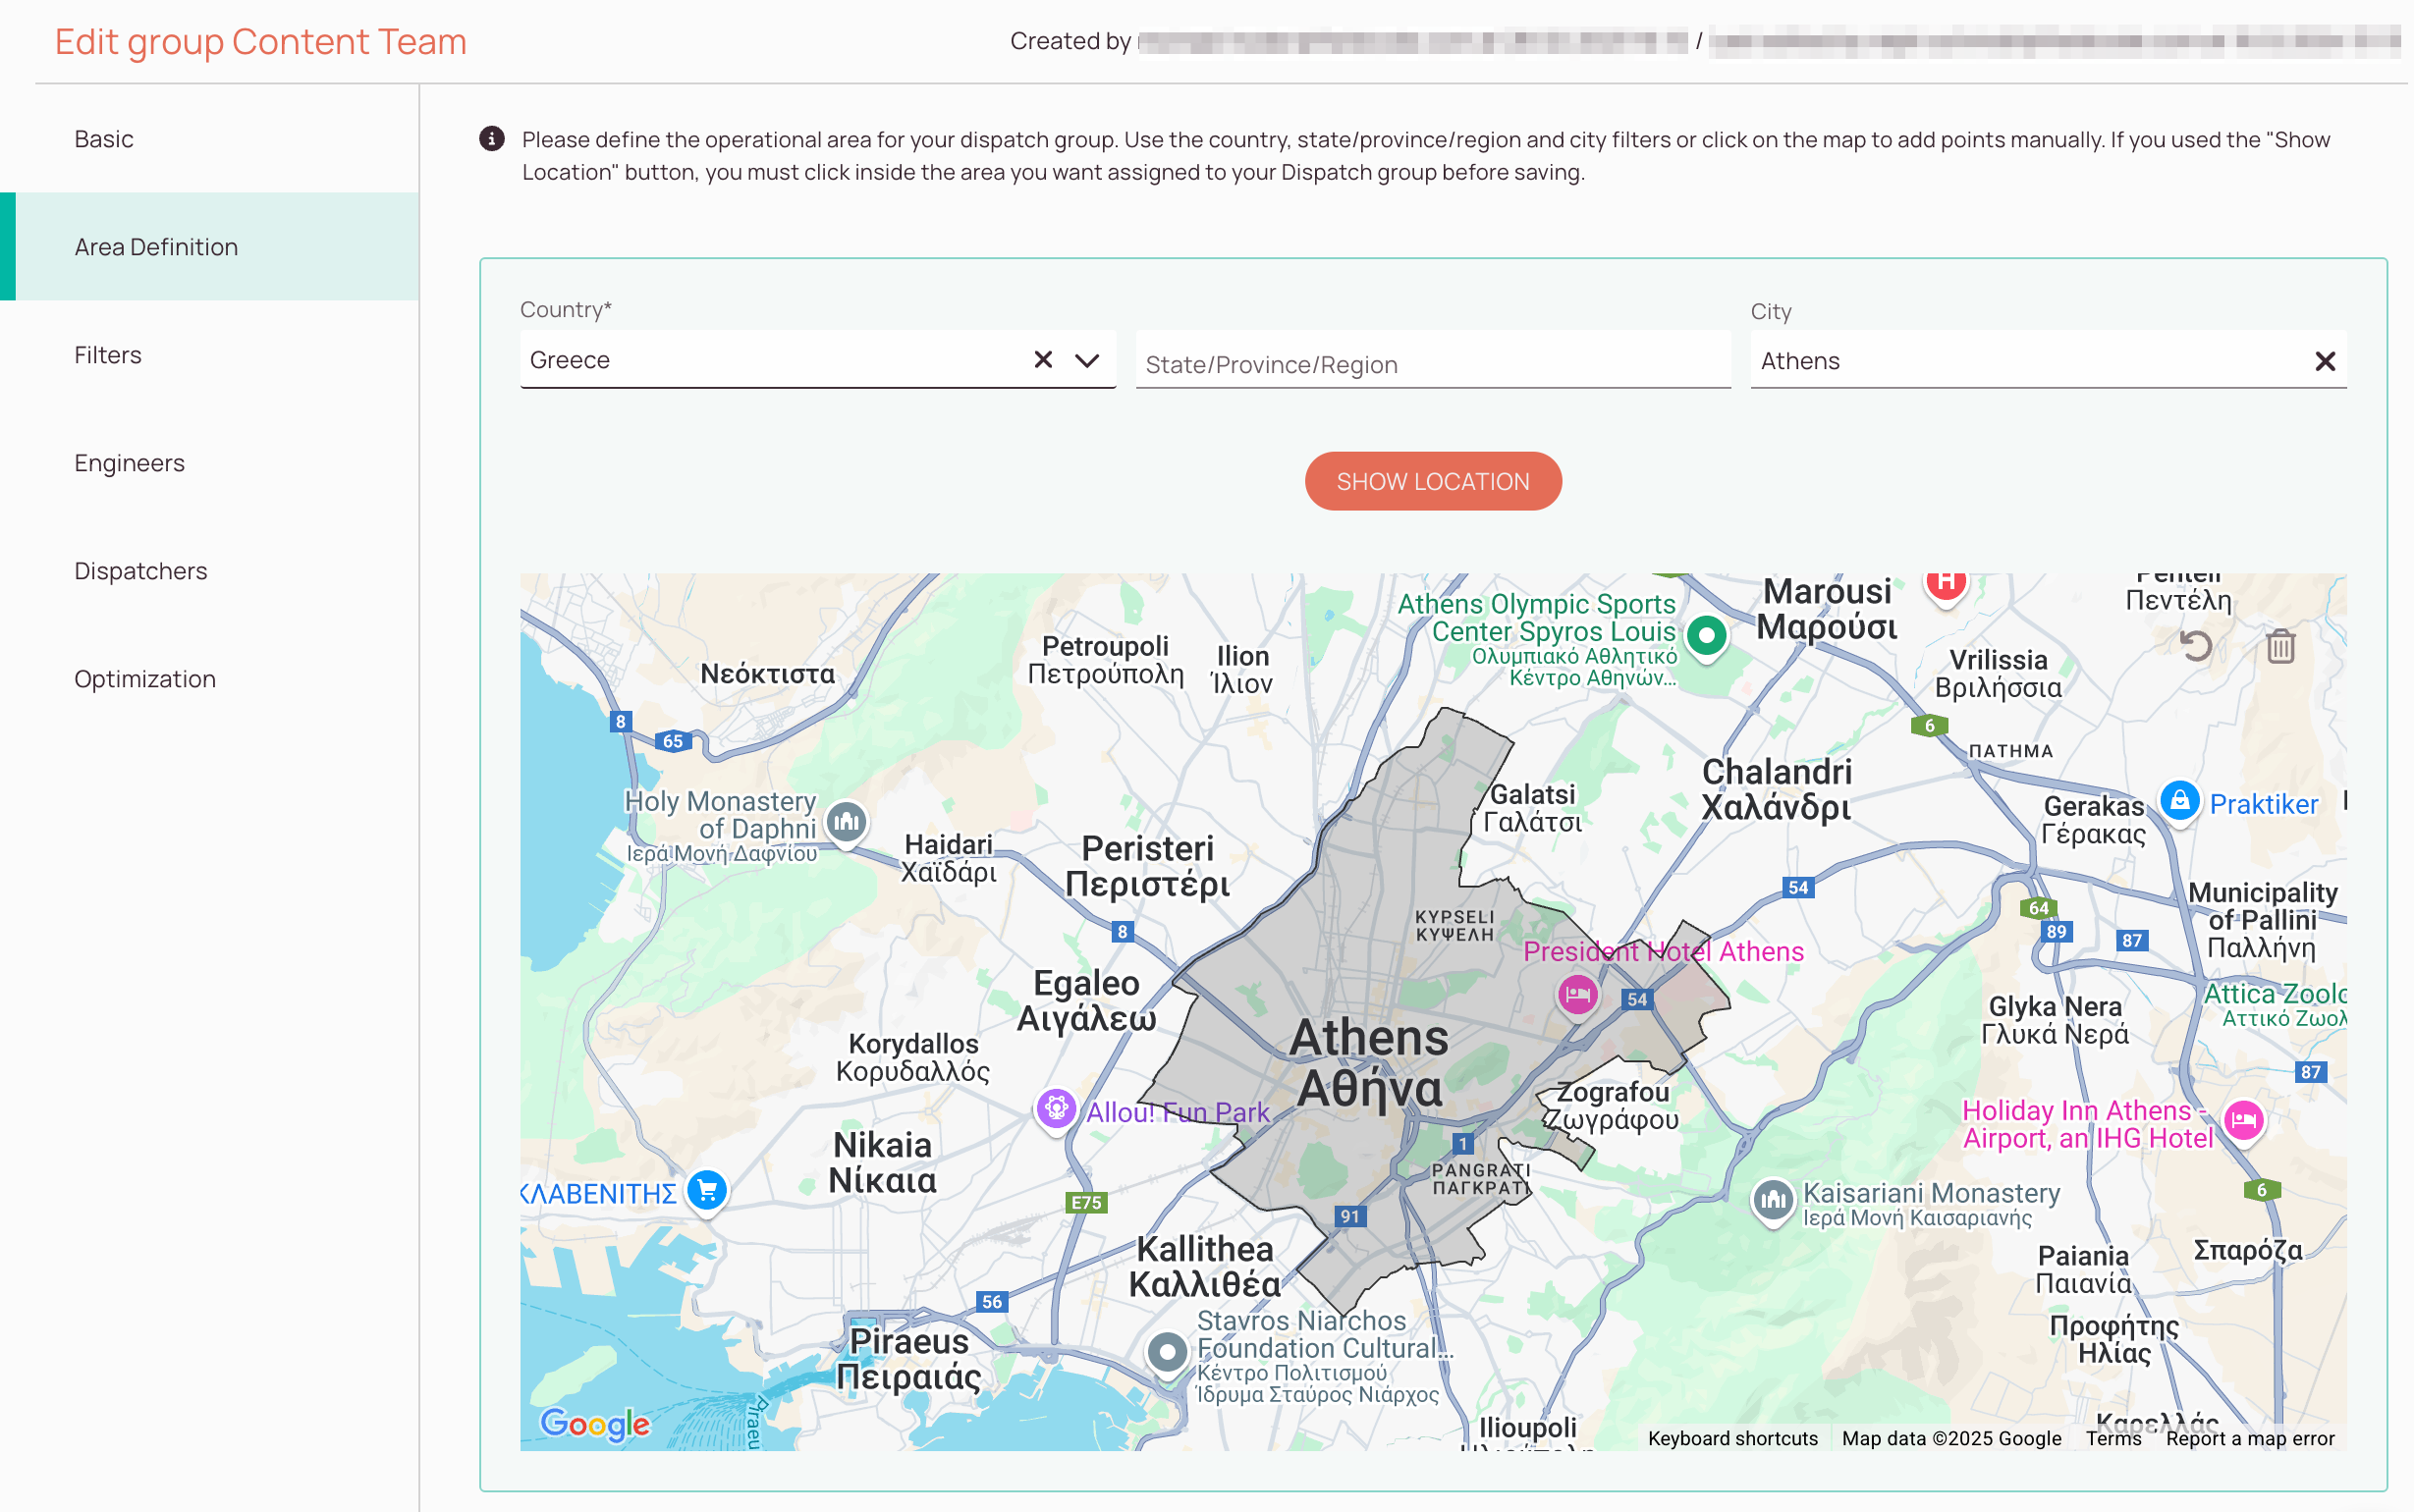
- It is necessary to have at least one area generally defined, otherwise, group creation will not work
- Please avoid creating groups with more than 30 engineers as it can negatively impact overall performance, rather try to create more groups in this case
- An engineer can be used for multiple dispatch groups, Admin panel therefore also offers the possibility to assign one engineer for multiple dispatch groups
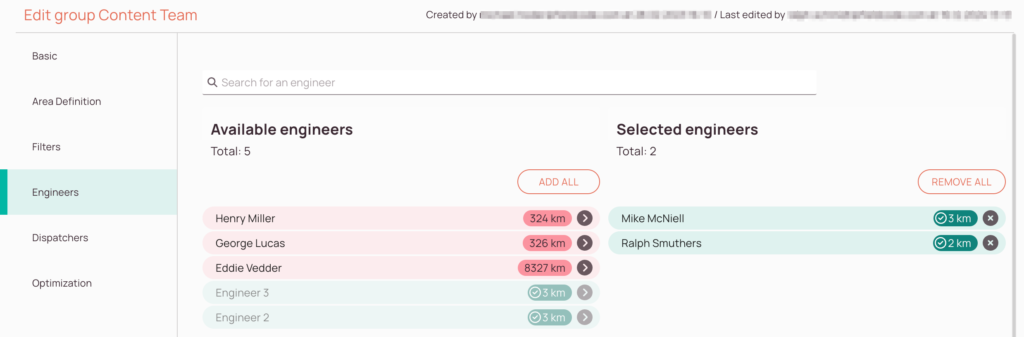
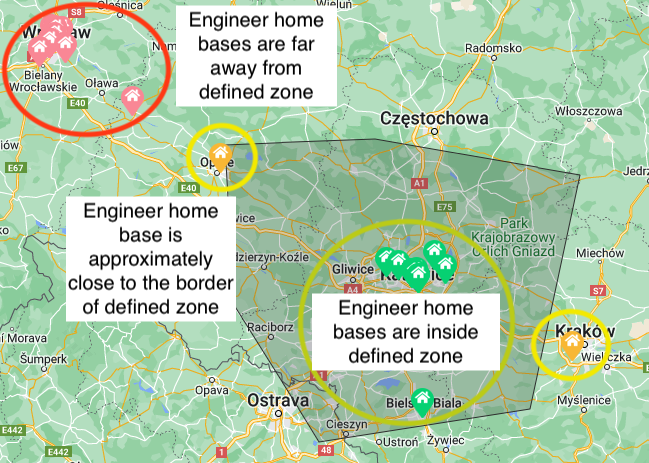
You will see engineer home bases with different colors inside the zone when defining or editing dispatch group zones.
Red: Engineers home base is far from the defined zone (calculated outgoing from the border of the selected zone).
Yellow: Engineer is some what close to the defined group zone (calculated outgoing from the border of the selected zone).
Green: Engineer is inside the defined group zone (calculated outgoing from the center of the selected zone).
If you change dispatch group settings, this message may appear. This message indicates that this is a change that also affects tied tickets. As there may be a large number of tickets involved, this change may take some time. To avoid problems during regular business operations, such fundamental changes should be made outside of normal operations if possible. However, edits won’t break anything, they just may impact current performance as these changes occur.
Due to processing may take up to 5 minutes to see your changes reflected in Work place.