Tip: You can use filters for better results
- Navigate to Incoming Mappings.
- Click on the plus button.
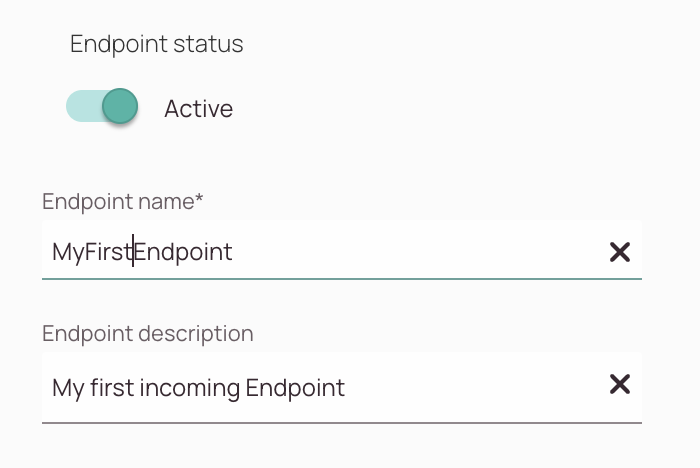
- The Create Endpoint section will open.

- The Active toggle is enabled by default. Decide if your endpoint should be activated after the configuration is completed or not.
- Enter a name for your new endpoint.
- (Optional) - Enter a description for your endpoint.
Tip: Use descriptive names to easily identify the purpose of each endpoint.
- You can pick a system from the list if you have already registered an external system.
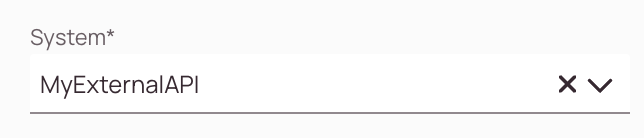
- (Optional) - If you haven't registered any system yet, you can click the register system button. This will open a window from the right side where you can register a new system, similar as on the Systems page.

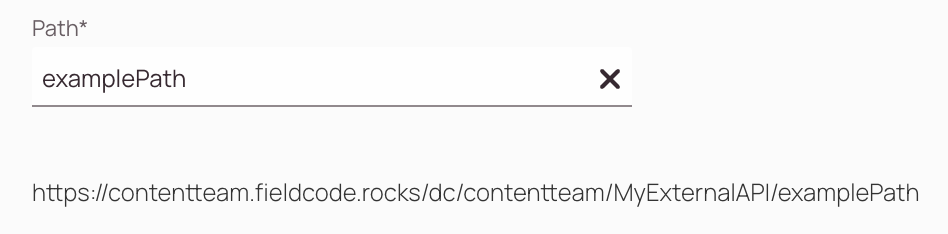
- Enter a path name. When configuring a new endpoint for incoming mappings, the path name defines the specific URL segment that identifies where the system should listen for incoming data. Think of it as the address or route that external systems use to send data into your platform.
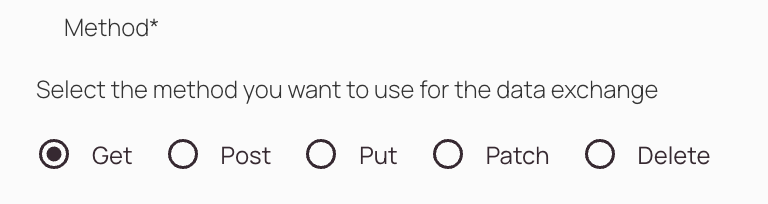
- Select the method you want to use for the data exchange. The methods are explained in more detail in the table below.
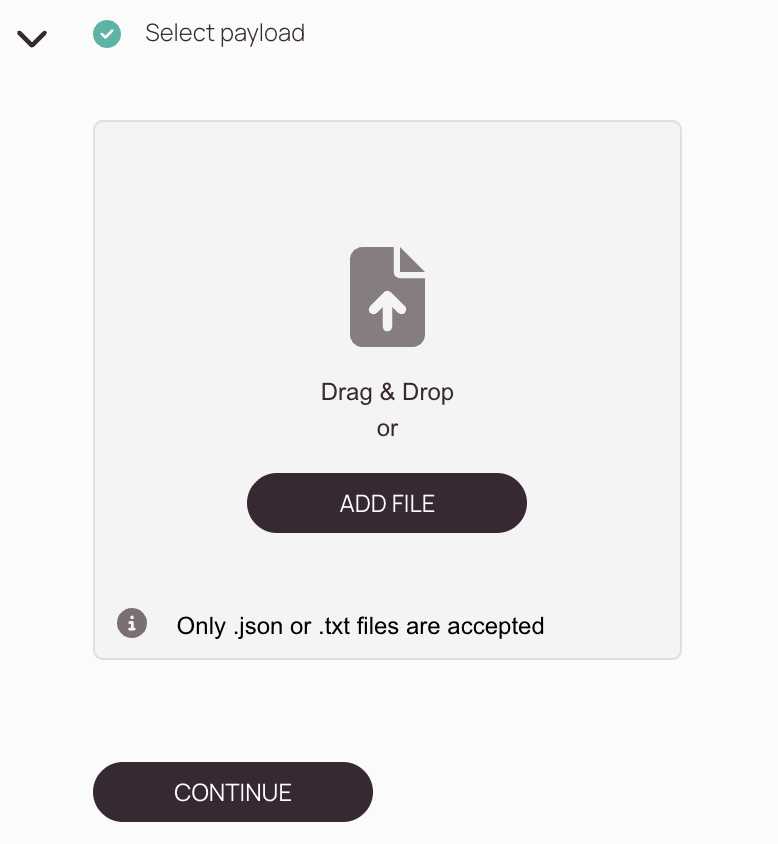
- Select if you want to add a body to the HTTP request. For example, you could select yes if you use a .json file.

- Click on the Next button to proceed to the Permissions step.

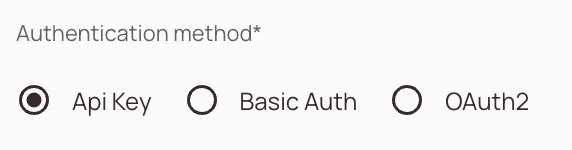
- Select one of the authentication methods for your incoming mapping.
API Key: An API key is a unique token that the sender includes in the request header or URL. It acts like a password to identify and authorize the sender.Basic Auth: Basic Authentication uses a username and password encoded in the request header. The credentials are sent with every request.
OAuth2: OAuth2 is a more advanced protocol that allows secure token-based authentication. It often involves an authorization server that issues access tokens.
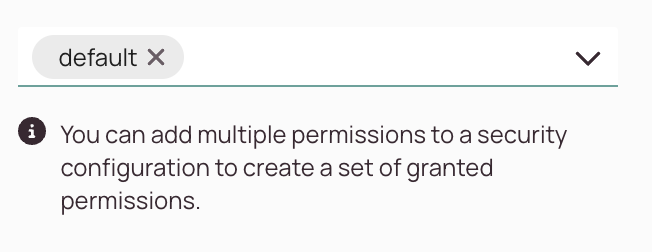
- Select interface permissions that should be used for the incoming mapping.
Important: Make sure to choose interface permissions that match you authentication method. If you do not have matching permissions you can create them on the interface permissions page. Then you can go and create an interface user and assign this permission to it. If you chose the authentication method API key, you can go and create a new API key and assign this permission to it.

- You can create new interface permissions from within the wizard as well if you don't have created interface permissions yet.

- Click on "Generate secure API key" if you don't have an existing API key or you don't want to use an existing one.
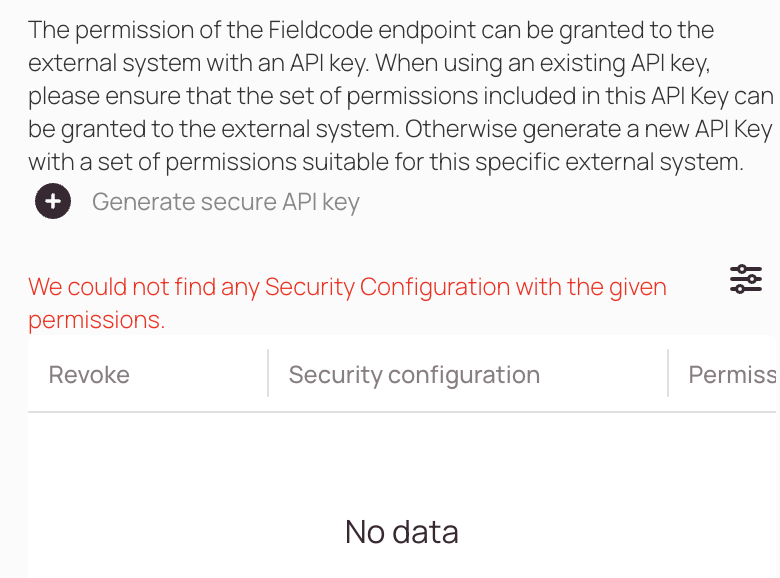
- The API Key page will open.
- The Active toggle for the "API Key status" is enabled by default. You could for example disable it so the other system has no access to send values.
- Enter a name for your API key.
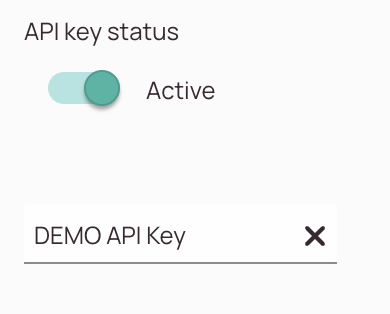
- You can now add related permissions with your API key. In this example we selected the default permissions. But you could also configure Interface Permissions by yourself.
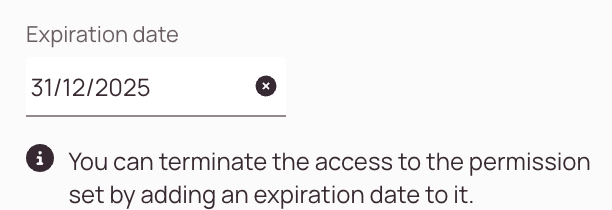
- (Optional) - You can configure an expiration date for your API key. After the expiration date the API key will be no longer valid.
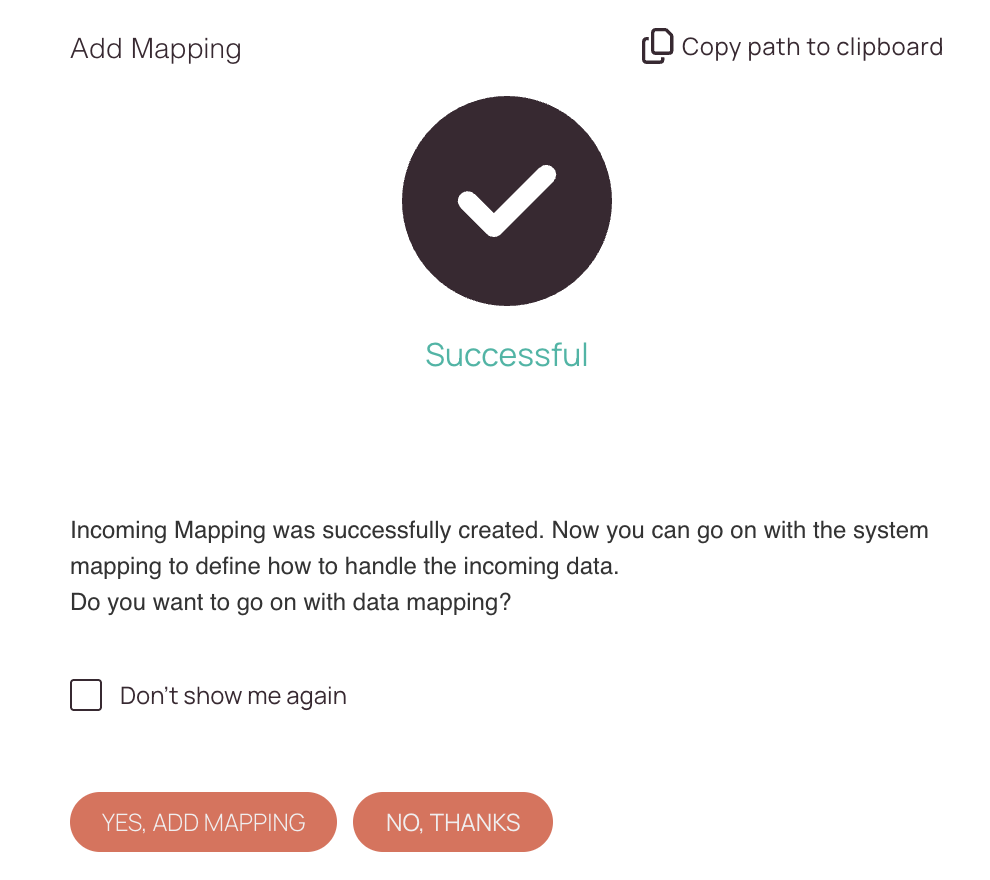
- Click on Save to finish the basic setup of your Incoming Mapping.

You will be asked to add a mapping right after finishing the basic setup. You can either skip the incoming mapping by clicking on "No, Thanks" or start to add your actual incoming mapping by clicking on "Yes, Add Mapping".
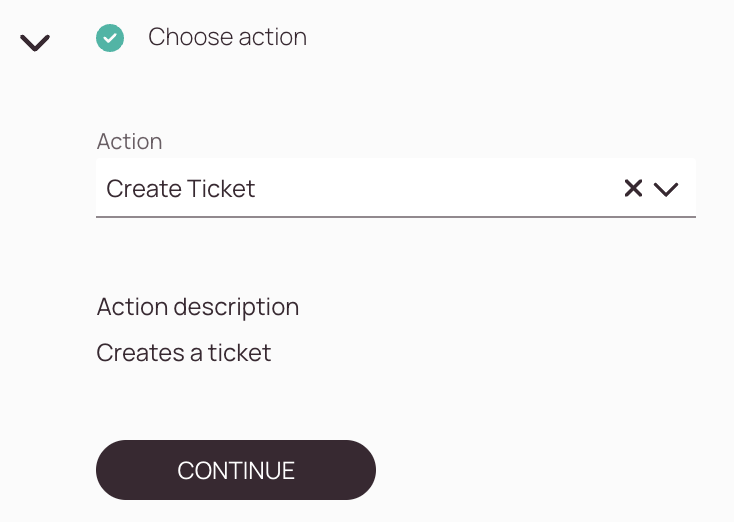
The first step is to pick an action from the dropdown.
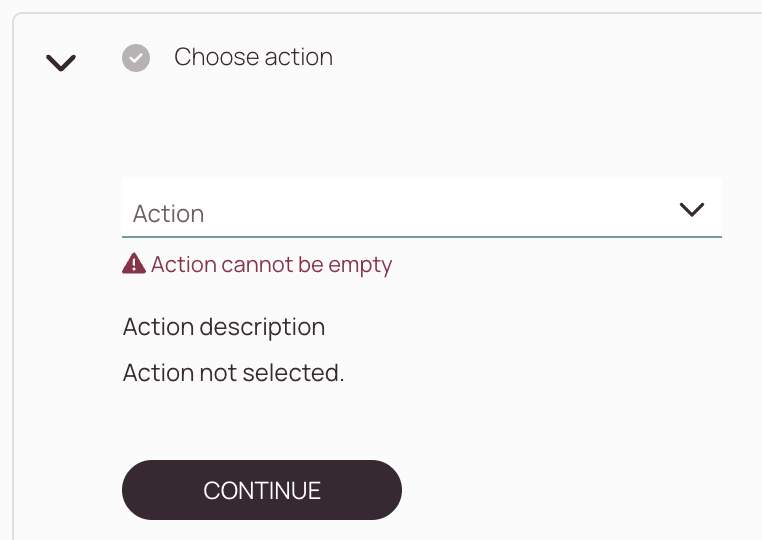
Let's assume you want to use the "Create Ticket" action.
You select it and click Continue.