Fieldcode Manual
Tip: You can use filters for better results

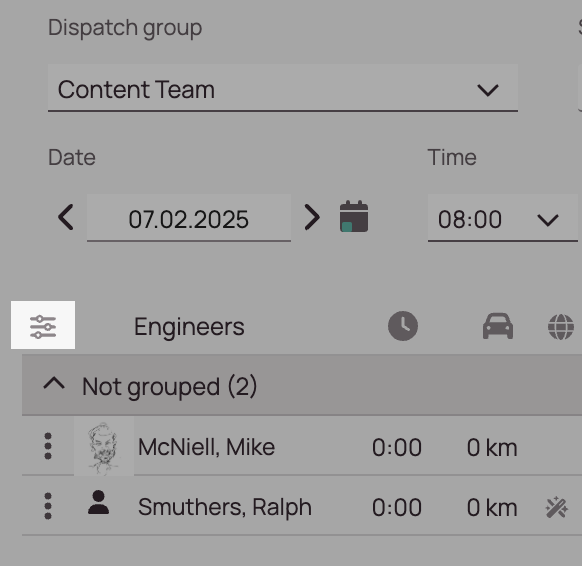
- Click on the Settings button in the Timeline to change Timeline Settings.
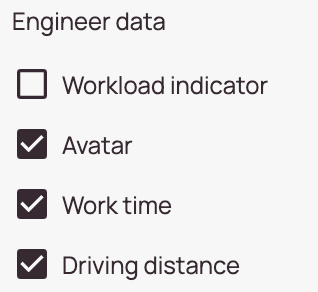
- In the Engineer data section, you can decide which engineer data should be displayed in the Timeline.
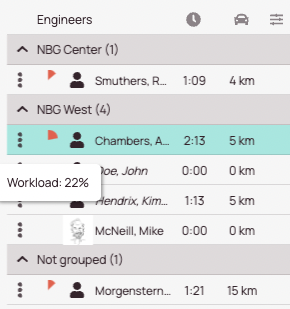
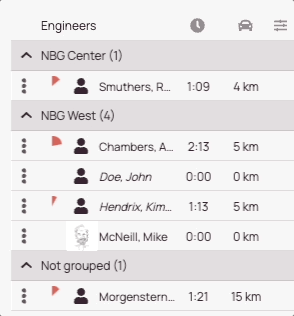
- (Optional) - Check or uncheck the Workload indicator. The Workload displays the current engineer workload in a pie chart.
- (Optional) - Check or uncheck the Avatar option. The Avatar is the picture one can set under Users.
- (Optional) - Check or uncheck the Work time indicator. The Work duration changes with tickets on the Timeline.
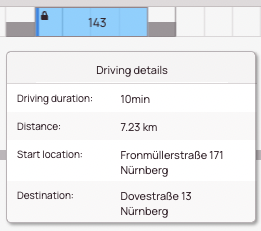
- (Optional) - Check or uncheck the Driving distance indicator. The driving distance changes with tickets on the Timeline.
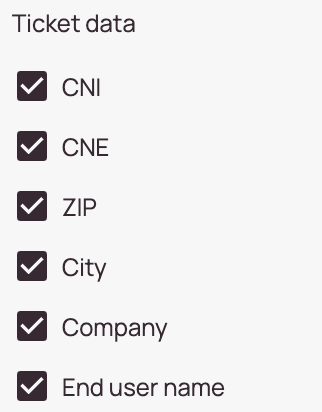
- In the Ticket data section, you can decide which ticket data should be displayed on tickets on the Timeline.
- (Optional) - Check or uncheck the CNI indicator.
- (Optional) - Check or uncheck the CNE indicator.
- (Optional) - Check or uncheck the ZIP indicator.
- (Optional) - Check or uncheck the City indicator.
- (Optional) - Check or uncheck the Company indicator.
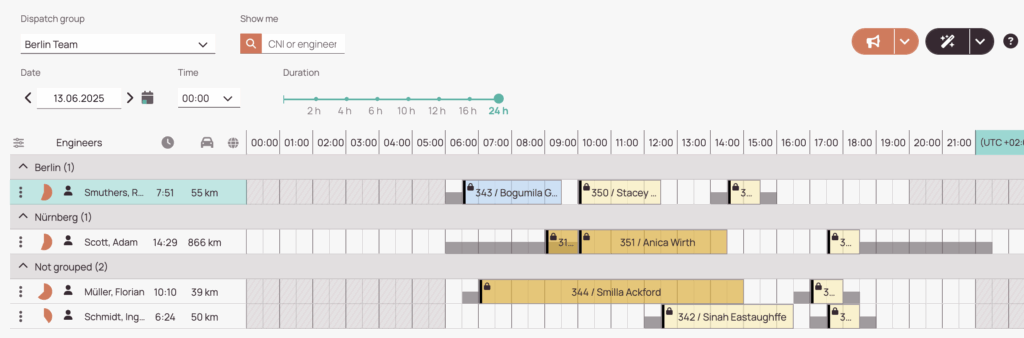
This is how ticket data is displayed on the Timeline with all the ticket data options checked. You could also uncheck all ticket data options to go for an ultra-minimalistic look (not recommended).

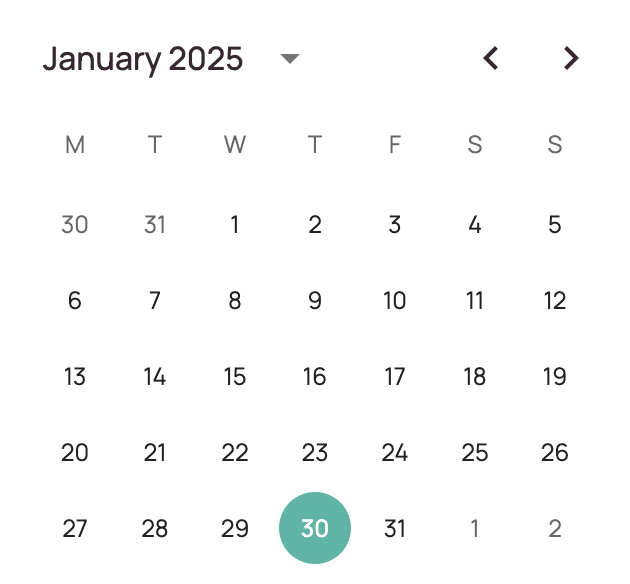
With the arrows, you can change the day.
The calendar button displays data on the Timeline for the current calendar day.
If you click inside the date have the flexibility to pick any date, which is described below.

- Clicking inside the Month/Year gives you the option to change the year.
- Clicking the downpointing arrow gives you the option to change the month.
- Clicking the left/right arrows gives you the option to change the month as well.