Tip: You can use filters for better results
-
Latest News
-
Getting Started
-
Work Place
-
-
-
- About Buttons
- Action Buttons
- Schedule Tickets
- Ticket Info and COMS Buttons
- Add Parts
- Assign Partners
- Remove Tickets from the Ticket Clipboard
- Inline Skill Editing
- Create Intervention Info
- Create Intervention Reports
- Cancel Tickets
- Cancel Appointments
- Clone Tickets
- Edit Ticket Details
- Edit Privat Notes
- Report Tickets
- Close Tickets
-
Admin Panel
-
FMA 2 App
-
Customer Portal
About PUDO Locations
PickUp-and-DropOff locations are used to temporarily store parts & goods. Engineers usually use those locations to pick up spare parts for service delivery.
Accessing the PUDO Locations Page
Navigate to Dispatch → PUDO to add/edit PUDO locations.
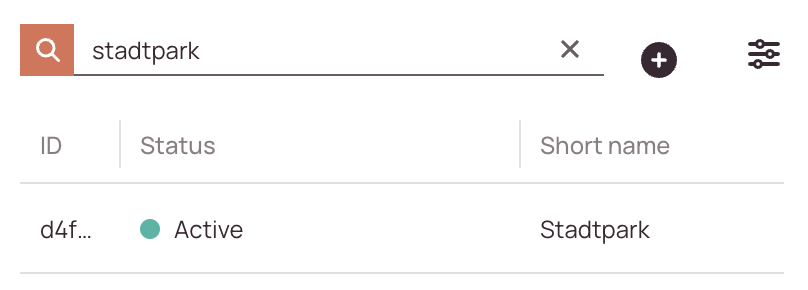
Searching for PUDO Locations
How to search:
- Navigate to Dispatch → PUDO Locations.
- Use the search bar at the top of the locations list.
- Enter any of the following:
- Description
- Creator
- Status (e.g., active, inactive)
-
As you type, the list will automatically filter to match your query.
Adding/Editing PUDO Locations
- Click on the Plus button to open the creation form.
- Fill in the Basic and Location tabs.
1. Basic tab
- Decide if your new or existing PUDO should be set to active in the system.
- Enter a name for your new or existing PUDO.
- (Optional) – Enter a short description for your new or existing PUDO.
- (Optional) – Enter Additional Information for your new or existing PUDO.
- Enter the start time for the opening hours of the PUDO in the FROM field.
- Enter the end time of the opening hours of the PUDO in the TO field.
- (Optional) – Enter break times for the PUDO, if they are mentioned.
Please make sure to enter the break times in this style: 12:00-16:00
Otherwise, you may run into the issue that Work place won’t take this setting into account.
It is a good practice to enter the opening hours exactly.
If your PUDO location is open for example 24x7, it is recommended to either enter 00:00 to 00:00 in the From and To fields or leave the opening hours blank.
2. Location tab
Fill in the Location form. You can either directly search and pinpoint a location on the map (Location fields will then be filled in automatically) or insert the location manually.
How to auto-search for a location
- In the search field enter an address as you would do in any other map application.
- The remaining fields will fill in automatically if the system recognizes the location.
- Click Save.
How to search for a location manually
- Insert the address of the PUDO in the address field.
- Insert the ZIP of the PUDO in the ZIP field.
- Insert the city of the PUDO in the city field.
- (Optional) Insert the state/province/region of the PUDO.
- Select the country from the drop-down, where your PUDO is located.
0 out of 5 stars
| 5 Stars | 0% | |
| 4 Stars | 0% | |
| 3 Stars | 0% | |
| 2 Stars | 0% | |
| 1 Stars | 0% |