Tip: You can use filters for better results
-
Latest News
-
Getting Started
-
Work Place
-
-
-
- About Buttons
- Action Buttons
- Schedule Tickets
- Ticket Info and COMS Buttons
- Add Parts
- Assign Partners
- Remove Tickets from the Ticket Clipboard
- Inline Skill Editing
- Create Intervention Info
- Create Intervention Reports
- Cancel Tickets
- Cancel Appointments
- Clone Tickets
- Edit Ticket Details
- Edit Privat Notes
- Report Tickets
- Close Tickets
-
Admin Panel
-
FMA 2 App
-
Customer Portal
About Skills
Adding engineer skills help you to solve tickets more efficiently and helps to assign engineers to the matching tickets. Each engineer has preferences and different technical skills and matching them together ensures efficient dispatching and planning. Setting skills is also purposeful for the Optimizer.
Accessing the Skills Page
Navigate to Dispatch → Skills to create/edit skills.
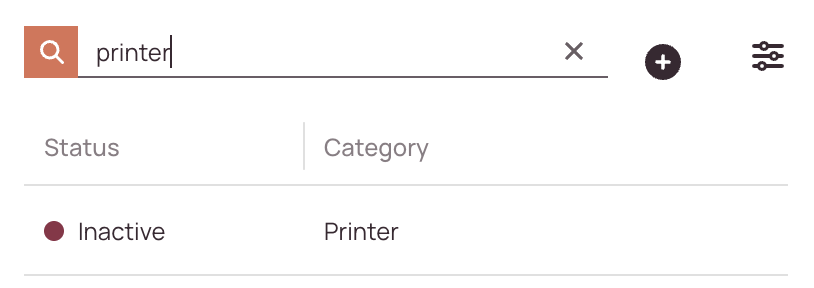
Searching for Skills
How to search:
- Navigate to Dispatch → Skills.
- Use the search bar at the top of the skills list.
- Enter any of the following:
- Skill Name
- Creator
- Status (e.g., active, inactive)
-
As you type, the list will automatically filter to match your query.
Creating/Editing Skills
- Click on the plus button to open the New skill form (or click on an item on the list to edit it).
- Fill in the Skill and Assign to tickets tabs.
1. Skill tab
- Decide if your new or existing skill should be set to active in the system.
- Enter a name for your new or existing skill.
- Select a category for your skill from the drop-down. If you don’t have created a category for your skill yet, you can do so by clicking the plus button.
- (Optional) – Enter a description for your new or existing skill.
- Select a skill importance level from the drop-down.
You also have the option decide if this particular skill should be mandatory or not.
Creating Skill Categories
- Enter a name for your new category.
- Enter a description for your new category.
2. (Optional) - Assign to tickets tab
Skills will apply automatically to tickets that are created based on the below conditions that you select. You have to set a filter or filters for which created tickets will receive the skill to define the Automatically assign to ticket. Otherwise the “Automatically assign to ticket” toggle will not have any effect.
- (Optional) – Enable the “Automatically assign to ticket” toggle.
- Define a filter or multiple filters.
Filters: Allows fine-tuning criteria for the tickets using comparison and logical operators.
Condition: Defines a condition for your filter criteria.
Operator: Compares the condition with the comparison (IS EQUAL TO, IS NOT EQUAL TO, IS LIKE, IS NOT LIKE, IN).
Comparison Value: Defines with which value the condition is compared.
Connector: Allows you to combine a monitored field with another monitored field (AND, OR)
All newly created tickets should have the skill: "General Printer Knowledge" assigned. To achieve this goal the Printer Solutions GmbH sets the following filter:
- Automatically Assign to ticket -> Enabled
- Filter: AffectedCompany equals Printer Solutions GmbH
Adding expiration date to a skill
You can add expiration dates to certain skills if you want specific skills to turn inactive after a certain amount of time.
This functionality is for example beneficial for skills with an expiring certificate (eg. First-Aid training, COVID vaccinations etc. pp).
Expiration dates for skills are not added inside the Skills menu, they are added inside the Users -> Skills tab.
5 out of 5 stars
1 rating
| 5 Stars | 100% | |
| 4 Stars | 0% | |
| 3 Stars | 0% | |
| 2 Stars | 0% | |
| 1 Stars | 0% |