Tip: You can use filters for better results
-
Latest News
-
Quick Start
-
Work Place
-
-
-
- Manage Parts
- Assign Partners
- Interaction Buttons
- Workflow Buttons
- Communications Usage
- Schedule Tickets
- Edit Ticket Details
- Cancel Tickets
- Remove Tickets from the Ticket Clipboard
- Report Tickets
- Create Intervention Info
- Create Intervention Reports
- Cancel Appointments
- Clone Tickets
- Edit Privat Notes
- Inline Skill Editing
-
Admin Panel
-
- Process Menu Explained
- Workflows Usage
- What are Appearances in context of workflows?
- What are Buttons in context of workflows?
- What are Automations in context of workflows?
- What are Guides in context of workflows?
- What are Actions in context of workflows?
- Projects Configuration
- Custom Forms Creation
- Lists Configuration
- Customer Portal Customization
- Automated Actions
- Conditions Configuration
- Indications Configuration
- Template Configuration
- Ticket Durations Configuration
- Custom Fields Configuration
- Value Sets Configuration
- SLA Profile Configuration
- Ticket Repair
-
Fieldcode FMA app
-
Customer Portal
We are currently in the process of updating our pricing plans, so please be patient until we have updated everything to reflect our new pricing plans.
How to configure and view account settings
Under this tab you can configure account settings. You can check and edit your account details in this menu, like your account email address, your company details, your main Fieldcode contact, and the selected payment method.
Inside the Admin panel go to Access → Account
Expand the menu by clicking the expand arrow in the navigation ![]() OR click directly on the Account button to reveal all options of Access.
OR click directly on the Account button to reveal all options of Access.
How to change and view the subscription plan
- When this limit is reached you are prompted to change to either to the business or enterprise plan.
- You can check our pricing plans on the Fieldcode website.
- By submitting your credit card information, you are automatically enrolled in the business pricing plan.
- After entering our business plan you will be charged per event.
If you do changes in the payment method tab, you need to click the Submit button before Save in order to first validate your payment method changes.
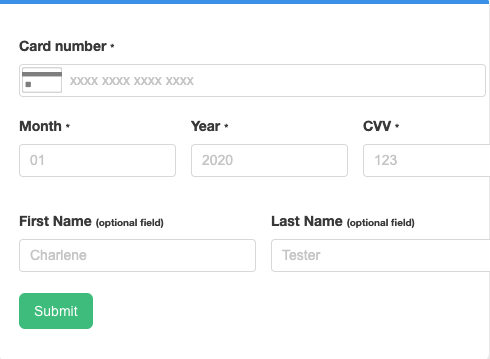
- The Upgrade can be initated by going to Access → Account → Pricing Plan → UPGRADE NOW
- Insert your credit card number.
- Insert the month.
- Insert the year.
- Insert the CVV of your card.
- (Optional) Insert the first name of the cardholder.
- (Optional) Insert the last name of the cardholder.
- Click Submit first.
- Click Save afterward.
Feel free to check out our different plans either on the pricing plan tab or the Fieldcode website. You can also find our terms & conditions there.

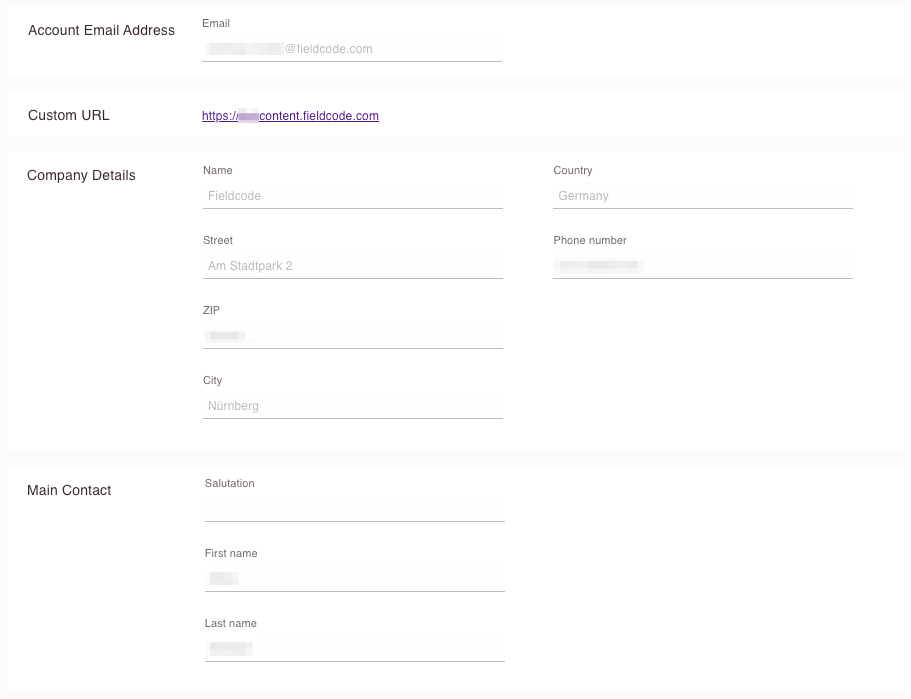
How to check the account details
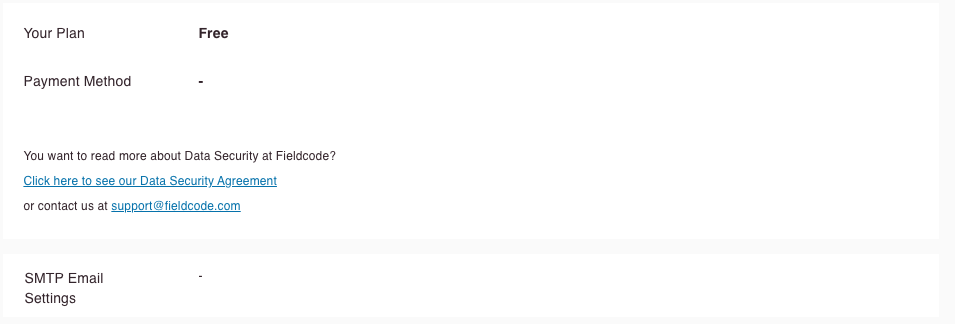
The main page allows you to check your account details, which you entered into the system when you registered. Your account details include information about the Account email address, the Custom URL, Company Details, Main Contact, Subscription type, Payment method, Data Security Agreement, and SMTP email settings.
How to edit the account details
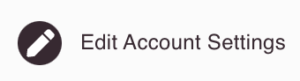
- To edit the Account you have to scroll on the main page of the Account to the right first.
- Then you should see the pencil button with Edit Account Settings.
- You can then edit the following tabs: Account Email Address, Company Details, Main Account tab, and SMTP Email address.
1. Account email address tab
You can change your Account Email Address in this tab:
- Click on the X on your current email address.
- Enter your new email address in the field.
- Click Save.

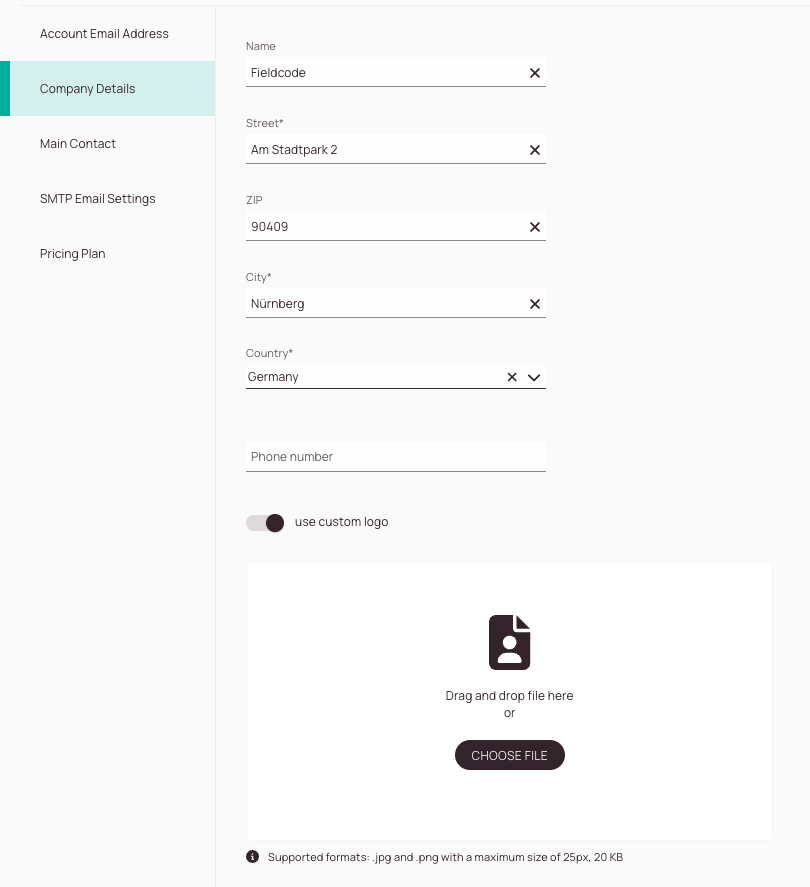
2. Company details tab
You can change your company details in this tab:
- Click on the X on the Name field and replace it with the new name.
- Click on the X on the Street field and replace it with the new Street name.
- Click on the X on the ZIP field and replace it with the new ZIP.
- Click on the X on the City field and replace it with the new city.
- Click on the X on the Country field and insert the new country.
- (Optional) Click on the X on the Phone number field and replace it with the new number.
- (Optional) Replace the default Fieldcode Logo with a custom logo for Work Place and Admin Panel by enabling the “Use Custom Logo” toggle.
The logo will afterwards be visible in the top-left header of both applications if the logo requirements are met. - Click Save.
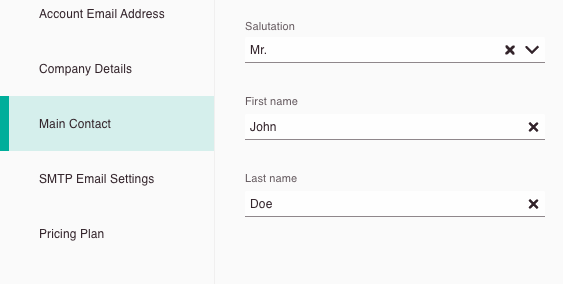
3. Main Contact tab
You can change your main contact in this tab:
- (Optional) Select the new salutation from the drop-down.
- Click on the X on the First Name field and replace it with the new First Name.
- Click on the X on the Last Name field and replace it with the new Last Name.
- Click Save.
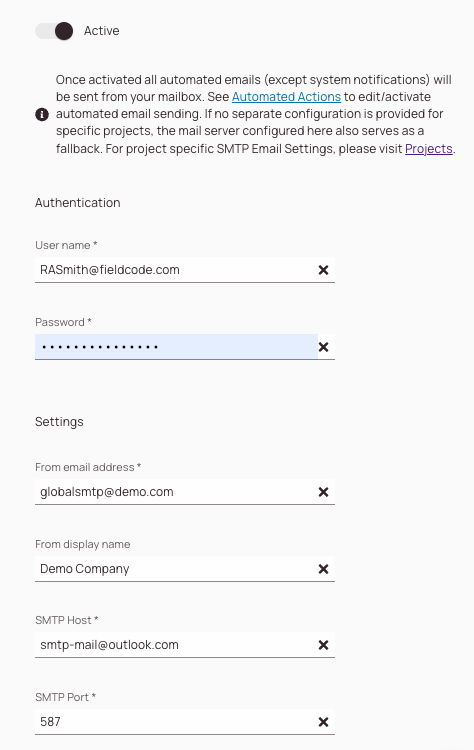
4. SMTP email settings tab
If you enable SMTP email all your automated emails will be sent from a dedicated email address. This is for example if you for example use some specific automated actions which requires that emails are not sent from a Fieldcode email address. Instead, you can use a dedicated SMTP Server configuration and use for example your company email address.
- In the Account menu, you configure the SMTP email settings on a global level, which means that the email sender will default to your choice.
- If you want to configure SMTP email settings on a project-base you have the option to do this inside Admin Panel -> Projects -> SMTP Email Settings.
- Expected behavior if SMTP and global SMTP is configured -> Project SMTP will be taken for configured projects, global SMTP for not configured ones.
- Configuring a "Custom Sender" inside Custom Automated Actions is only possible if the SMTP is configured either on project or global level.
-
Decide if you directly want to activate the global based SMTP email configuration.
-
Enter the user name that you use for logging in into the SMTP Account.
-
Enter the password that you use for logging in into the SMTP Account.
-
Enter the from email address. This email address will be later visible when sending out emails to customers for this project.
-
Enter the from display name. This display name will be later visible when sending out emails to customers for this project.
-
Enter the SMTP Host address. On the left, you can see what it might look like. You can find the SMTP host address for example by checking mail provider support pages.
-
Enter the SMTP Port. On the left, you can see what it might look like. You can find the SMTP host address for example by checking mail provider support pages.
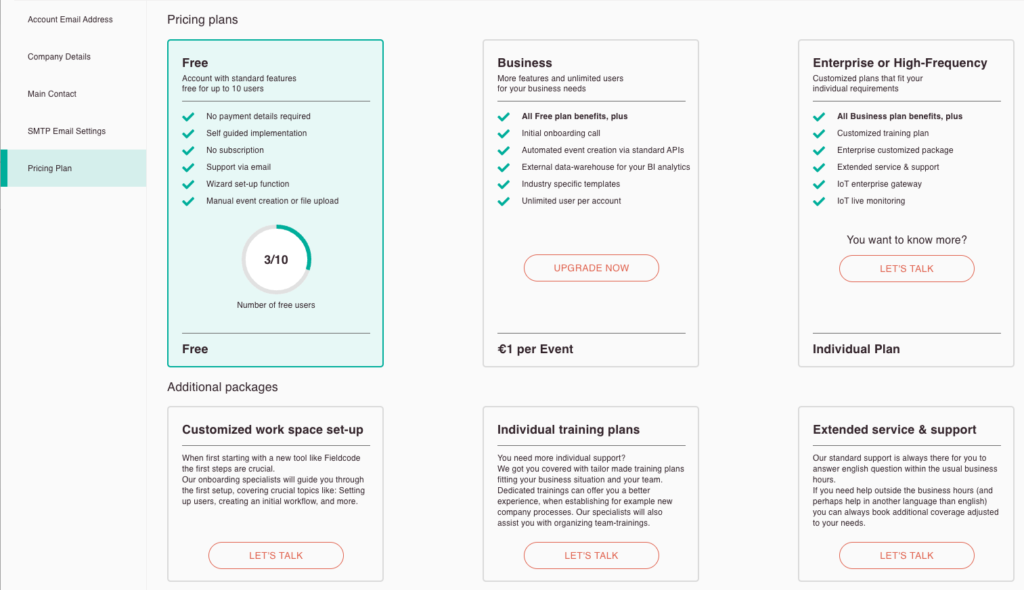
5. Pricing plan tab
In the pricing plan tab, you can view our different pricing plans and also check the current amount of users. Also, you have the possibility to book additional packages.
Check out the change/view subscription plan topic further above to learn more about upgrading your pricing plan.
0 out of 5 stars
| 5 Stars | 0% | |
| 4 Stars | 0% | |
| 3 Stars | 0% | |
| 2 Stars | 0% | |
| 1 Stars | 0% |