Tip: You can use filters for better results
-
Latest News
-
Getting Started
-
Work Place
-
-
-
- About Buttons
- Action Buttons
- Schedule Tickets
- Ticket Info and COMS Buttons
- Add Parts
- Assign Partners
- Remove Tickets from the Ticket Clipboard
- Inline Skill Editing
- Create Intervention Info
- Create Intervention Reports
- Cancel Tickets
- Cancel Appointments
- Clone Tickets
- Edit Ticket Details
- Edit Privat Notes
- Report Tickets
- Close Tickets
-
Admin Panel
-
FMA 2 App
-
Customer Portal
About Publish / Unpublish
When tickets have an appointment on the Timeline they are usually ready to be forwarded to the Fieldcode FMA app of the engineer(s). This process is called publishing. Tickets normally need to be published, when the color of a ticket is orange (ready to dispatch, refer to Ticket colors). When the ticket is waiting for an appointment, it should not be published yet.
You can configure various Publishing settings inside the Admin panel -> Dispatch -> Groups

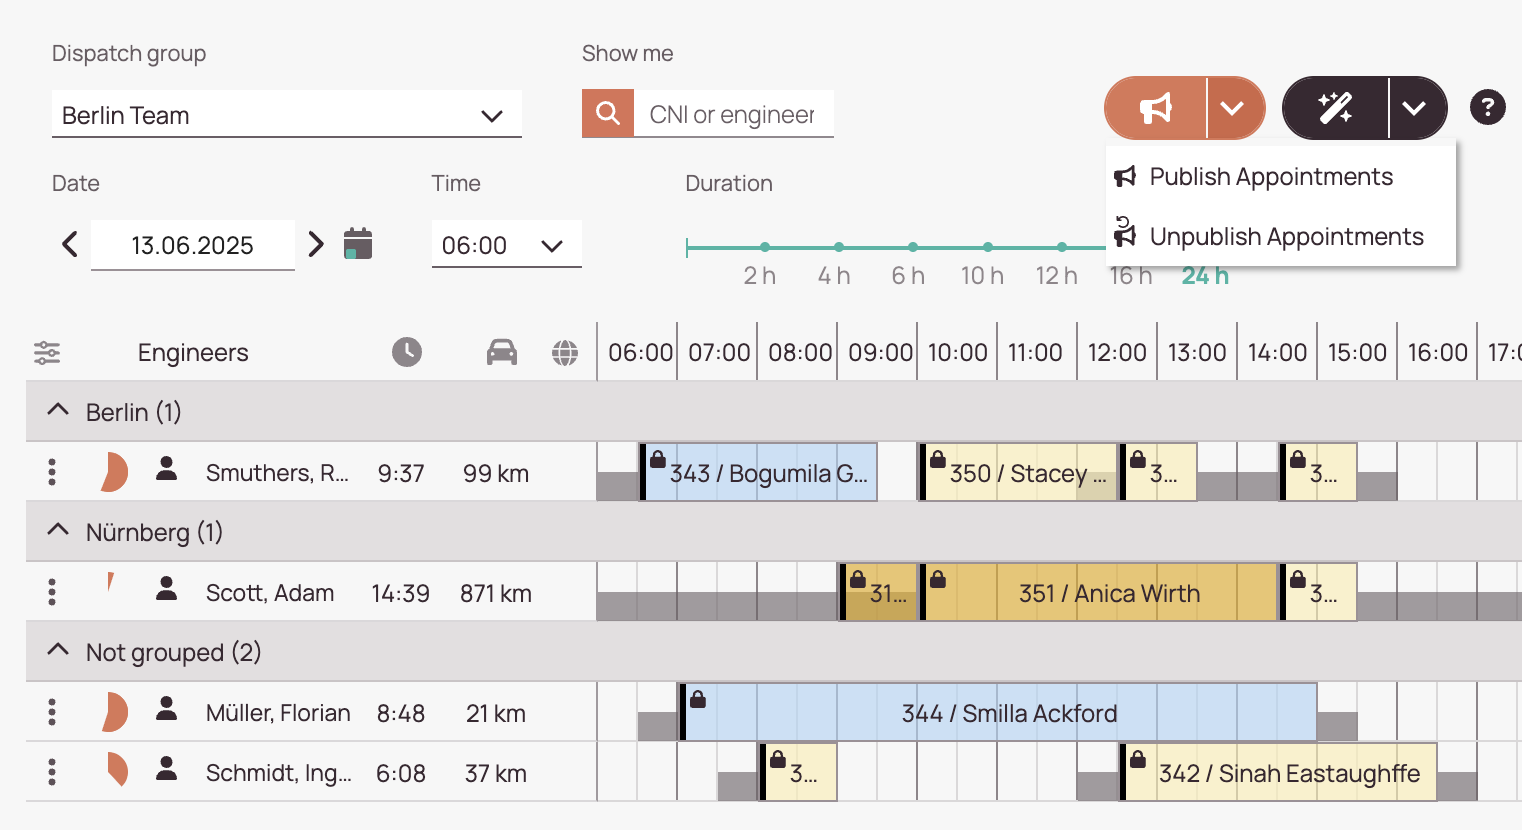
- Inside the Work place go to Timeline and search for the Speaker button.
- Click on the arrow to reveal the menu for Publishing and Unpublishing.
-
The Publish appointments and Unpublish appointments buttons in the Timeline. You can also publish/unpublish tickets quickly, by right-clicking on a ticket, opening the context menu, and clicking on Publish/Unpublish.
-
Ready – Ticket which has been moved to Timeline.
-
Scheduled – Ticket which has been scheduled.
-
Published – Ticket waiting to be synchronized inside the engineers’ FMA app.
Publish Tickets
If you want to publish a ticket or ticket(s), proceed as follows:
- Expand the Publish menu by clicking on the down-pointing arrow.
- Click on Publish ticket(s).
You will be prompted with a popover to select the engineers which should be tasked with the tickets. You can either select all engineers at once by clicking the Select All checkbox (which will select all engineers in the list) or select individual engineers, which should be tasked. After that click on PUBLISH again. The tickets will be transferred to the mobile application and should change their status. Click UNDO. The sent tickets will move back into the state and will be removed from the engineers’ FMA app.
The for the PUBLISH selected tickets will (by default) move from APPOINTMENT status to PENDING WAIT ONSITE status.
Unpublish Tickets
Unpublishing removes selected tickets from engineers’ FMA app. Proceed as follows to undo the publishing:
- Expand the Publish menu by clicking the down-pointing arrow.
- Click on Undo Publishing.
You will be prompted with a popover to select the engineers which should be not tasked with handed-over tickets. You can either select all engineers at once by clicking the Select All checkbox (which will select all engineers in the list) or select individual engineers, which should be not tasked with handed-over tickets. After that click on UNDO. The sent tickets will move back in status and will be removed from the engineers’ FMA app.
0 out of 5 stars
| 5 Stars | 0% | |
| 4 Stars | 0% | |
| 3 Stars | 0% | |
| 2 Stars | 0% | |
| 1 Stars | 0% |