Tip: You can use filters for better results
-
Latest News
-
Getting Started
-
Work Place
-
-
-
- About Buttons
- Action Buttons
- Schedule Tickets
- Ticket Info and COMS Buttons
- Add Parts
- Assign Partners
- Remove Tickets from the Ticket Clipboard
- Inline Skill Editing
- Create Intervention Info
- Create Intervention Reports
- Cancel Tickets
- Cancel Appointments
- Clone Tickets
- Edit Ticket Details
- Edit Privat Notes
- Report Tickets
- Close Tickets
-
Admin Panel
-
FMA 2 App
-
Customer Portal
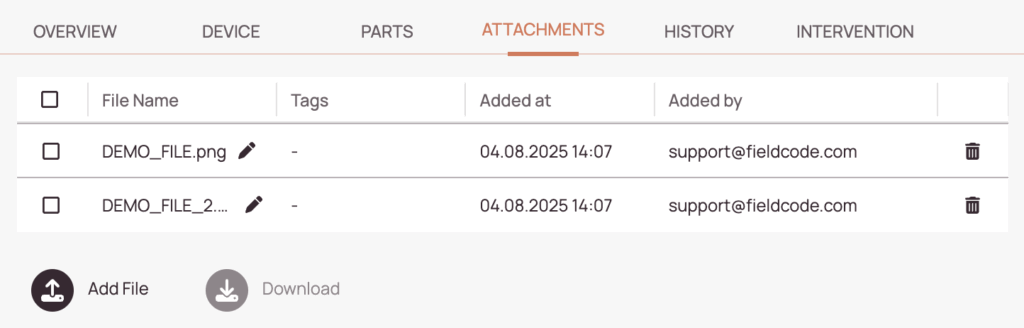
About the Attachments tab
The Attachments tab displays attached files to the ticket. You can add files, download ticket attachments, and/or create notes in this tab.
Inside the Work place go to Ticket Details and move to the Attachments tab.
Sorting attachments
You can sort attachments by clicking the on up/down arrow of a column header.
Adding attachments
Files can be added to a ticket by clicking add files in the Attachments tab of the Ticket Details. This is useful for providing work orders and other important notes for a ticket. The add file option is especially useful because it supports any file type.
- Inside the Work place go to the Ticket Details.
- Click on the Attachments tab.
- Click on Add file button.
- The file explorer will open and you will be able to select a file.
Previewing attachments
You may preview text and image attachments by clicking on the file name. Attachment preview is supported for the following file types:
- png
- .jpg / .jpeg
- .gif
- .webp
- .bmp
- .svg
- .txt
- .csv
- .json
- .md
- .xml
- .docx
- .xlsx
Downloading ticket attachments
The Download button is context sensitive - which means - no file uploaded - no download button available.
Files can be downloaded by clicking the Download button after selecting and ticking a file. It may come in handy when you want to check on a file eg. a work order.
- Inside the Work place go to Ticket Details
- Click on the Attachments tab
- Check the file you want to download.
- Click the Download button.
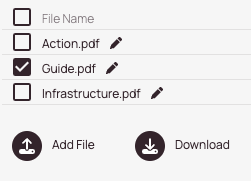
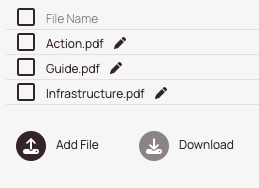
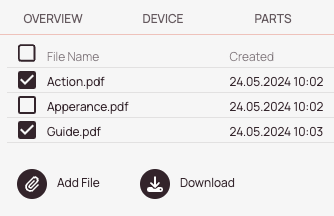
You can also download multiple files at once by simply selecting multiple ones or ticking the box left to the File name to automatically select all files.
-
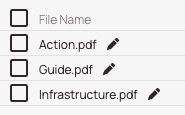
You can select all files at once by checking the check box next to the File Name header.
-
You can individually select files that should be downloaded.
-
The Add file button allows you to add new files to the ticket.
-
The Download button allows you to download selected ticket attachment files.
Renaming attachments
You have the option to rename attachments at any time.
- Inside the Work place go to the Ticket Details.
- Click on the Attachments tab.
- Check the item that should be renamed.
- Click the rename button in the matching row.
- Rename your attachment.
- Confirm the rename confirmation prompt.
Deleting attachments
You have the option to delete attachments at any time.
- Inside the Work place go to the Ticket Details.
- Click on the Attachments tab.
- Check the item that should be deleted.
- Click the trash button in the matching row.
- Confirm the deletion prompt.

0 out of 5 stars
| 5 Stars | 0% | |
| 4 Stars | 0% | |
| 3 Stars | 0% | |
| 2 Stars | 0% | |
| 1 Stars | 0% |