Tip: You can use filters for better results
-
Latest News
-
Getting Started
-
Work Place
-
-
-
- About Buttons
- Action Buttons
- Schedule Tickets
- Ticket Info and COMS Buttons
- Add Parts
- Assign Partners
- Remove Tickets from the Ticket Clipboard
- Inline Skill Editing
- Create Intervention Info
- Create Intervention Reports
- Cancel Tickets
- Cancel Appointments
- Clone Tickets
- Edit Ticket Details
- Edit Privat Notes
- Report Tickets
- Close Tickets
-
Admin Panel
-
FMA 2 App
-
Customer Portal
Create tickets
It is possible to create new tickets directly in the Work place. The ticket creation form can be customized per project requirements.To create a new ticket, proceed as follows:
- Inside the Work place go to the sidebar and click on the Create ticket button.
- Select a project to which the ticket should be assigned.
- You are able to search for certain projects by using the search bar at the top of the project menu.
- This is helpful if your company has a lot of projects going on.
- Your mileage of what fields you see inside the ticket creation form may vary - the reason behind these are custom fields.
- Fields marked with an asterisk are mandatory to be filled, otherwise, the ticket cannot be created. Mandatory fields ensure that tickets have enough relevant data inside them, so they can be processed inside the system properly. However - mandatory fields may also come in as helpful if your company uses custom fields, as the company itself can decide what input data is relevant to them.
1. Contact form
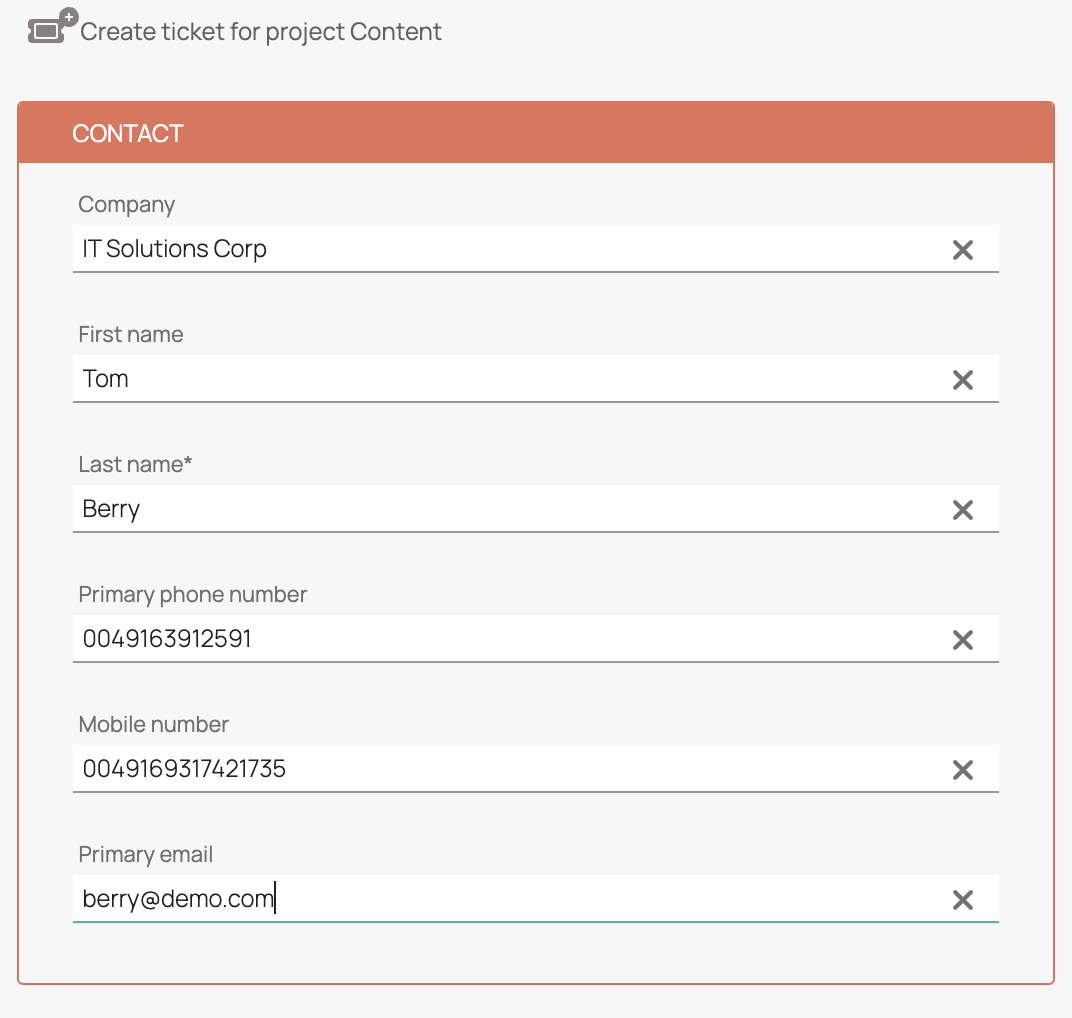
Use the Contact form to provide details about the person or company requesting the ticket. While most fields are optional, entering accurate contact information helps ensure smooth communication. You can specify the company name, first and last name of the contact person, and optionally add phone numbers and an email address. These details are especially useful for follow-ups or when dispatchers need to reach out directly.
- (Optional) – Enter the company name.
- (Optional) – Enter the first name of the ticket requestor/contact person.
- Enter the last name of the ticket requestor/contact person.
- (Optional) – Enter the primary phone number of the ticket requestor/contact person.
- (Optional) – Enter the mobile phone number of the ticket requestor/contact person.
- (Optional) – Enter the primary email address of the ticket requestor/contact person.
2. Address form
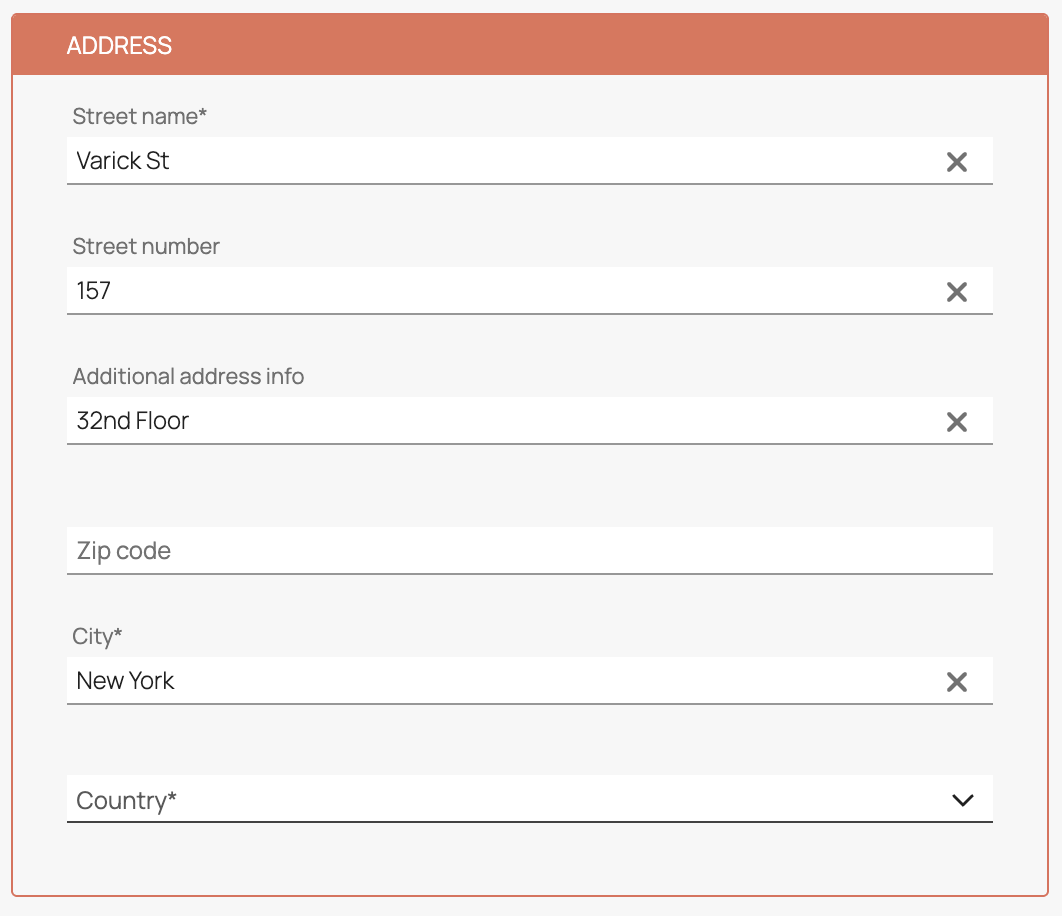
The Address form captures the address where the service is needed. This includes mandatory fields like street name, city, and country, while additional fields such as street number, ZIP code, and extra address info (e.g., floor or door) are optional. Providing a complete and precise location helps engineers arrive at the correct destination without delays.
- Enter the street name of the affected person.
- (Optional) - Enter the street number of the affected person.
- (Optional) - Enter some additional address info, eg. which floor, door, etc.
- (Optional) - Enter the ZIP code.
- Enter the city.
- Select the country of the affected person from the drop-down.
3. Device form
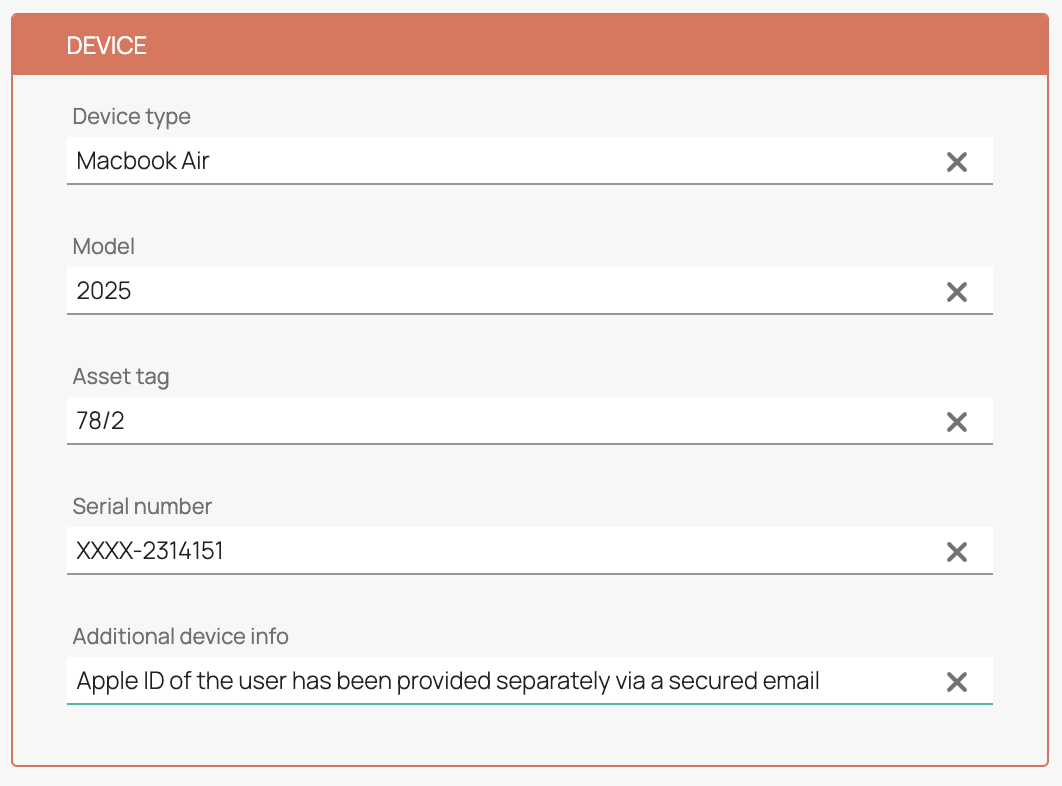
In the Device form, you can describe the affected equipment. This section is optional but highly recommended when dealing with hardware-related issues. You can enter the device type, model, asset tag, and serial number. Including these details helps technicians prepare appropriately and ensures that the right parts or tools are brought to the job.
- (Optional) - Enter the device type of the problematic/affected device.
- (Optional) - Enter the model of the problematic/affected device.
- (Optional) - Enter the asset tag of the problematic/affected device.
- (Optional) - Enter the serial number of the problematic/affected device.
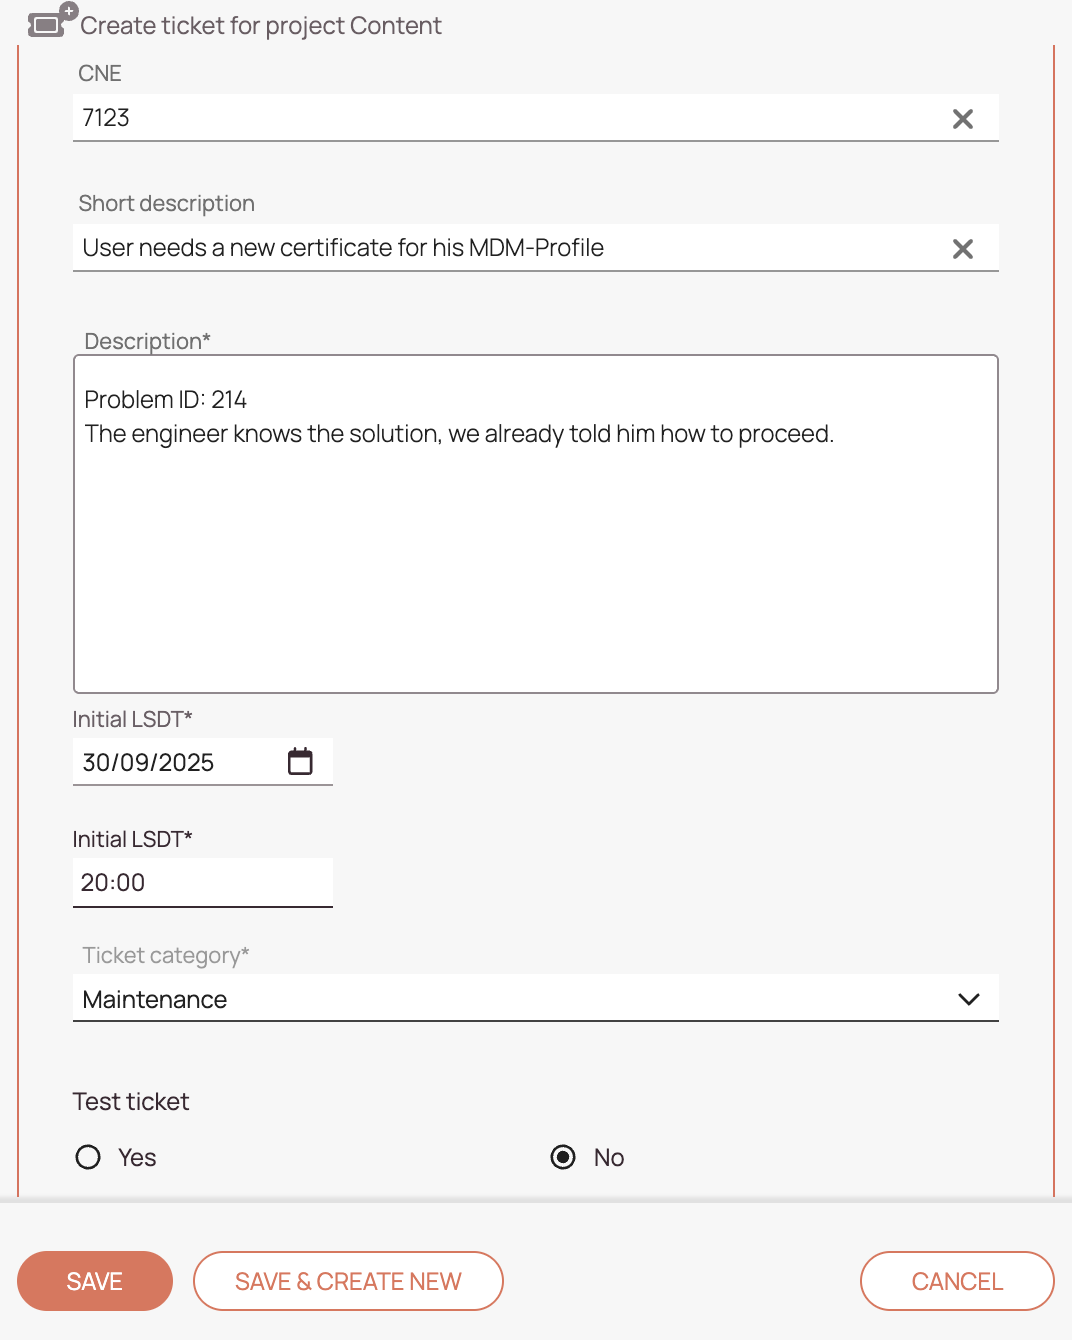
4. Delivery form
The Delivery form is where you define the core ticket details. You can enter a short and detailed description of the issue, set the initial LSDT (Latest Service Delivery Time), and choose a ticket category. The LSDT defines the earliest possible time for service delivery and can be adjusted later. Once all required fields are filled, click Save to create the ticket, or use Save & Create New to quickly start another ticket. If needed, you can also cancel the process.
- (Optional) - Enter a Call Number External for the ticket.
- (Optional) - Add a short description of the ticket problem.
- Add a description of the ticket problem. Be as precise as possible and follow company standards.
Please note that the ticket description cannot exceed 100.000 characters. - Pick an initial LSDT date inside the calendar. The initial LSDT is the first Latest Service Delivery date that is configured for the ticket (can be edited later).
Initial LSDT = Earliest Service Delivery date and time - Pick an initial LSDT time inside the calendar. The initial LSDT is the first Latest Service Delivery time that is configured for the ticket (can be edited later).
Initial LSDT = Earliest Service Delivery date and time - Select a ticket category for the ticket.
- Select if the ticket is a test ticket. Test tickets will not appear in Analytics.
- Click Save. The ticket will appear in the Ticket Pool shortly.
- (Optional) - Click Save & Create New to quickly create a new ticket without the need of opening the sidebar again.
- (Optional) - You can click Cancel to abort the ticket creation. Entered ticket details will be lost if you click on Cancel.
0 out of 5 stars
| 5 Stars | 0% | |
| 4 Stars | 0% | |
| 3 Stars | 0% | |
| 2 Stars | 0% | |
| 1 Stars | 0% |