Tip: You can use filters for better results
-
Latest News
-
Getting Started
-
Work Place
-
-
-
- About Buttons
- Action Buttons
- Schedule Tickets
- Ticket Info and COMS Buttons
- Add Parts
- Assign Partners
- Remove Tickets from the Ticket Clipboard
- Inline Skill Editing
- Create Intervention Info
- Create Intervention Reports
- Cancel Tickets
- Cancel Appointments
- Clone Tickets
- Edit Ticket Details
- Edit Privat Notes
- Report Tickets
- Close Tickets
-
Admin Panel
-
FMA 2 App
-
Customer Portal
About the Partner Portal
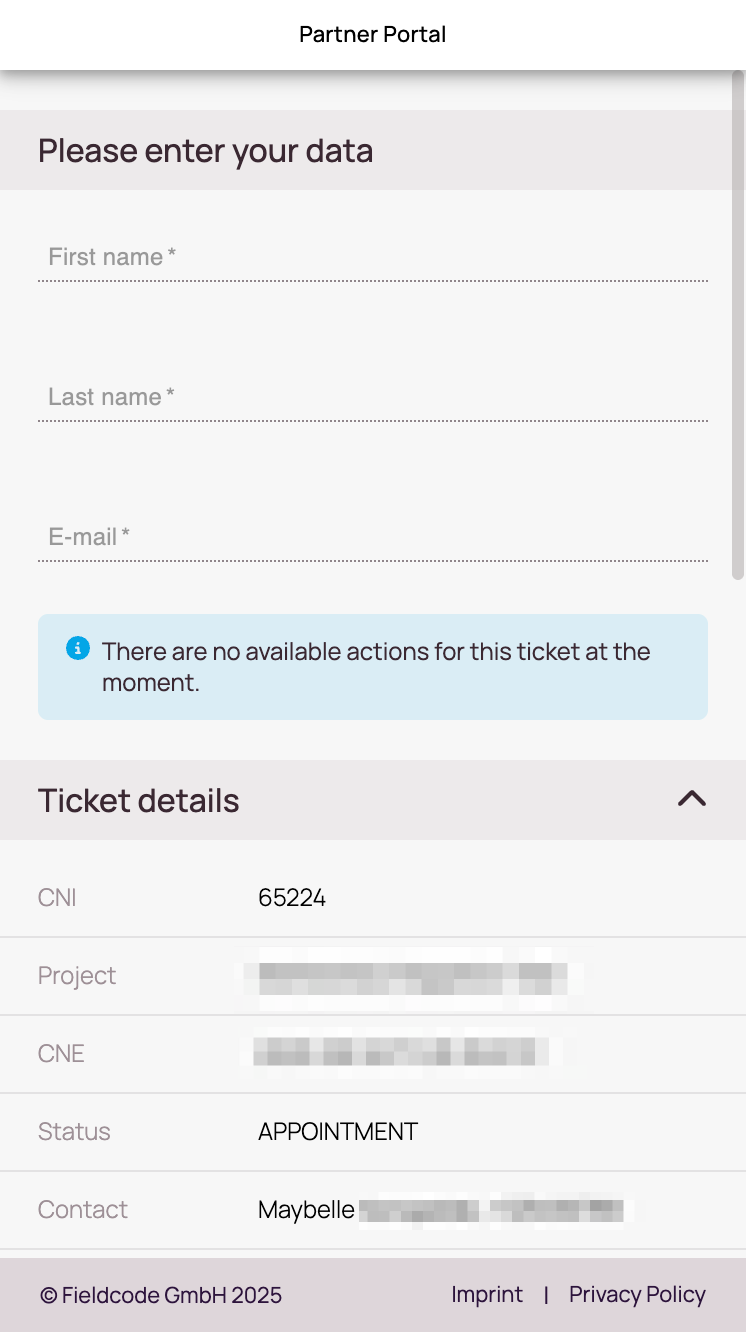
The Partner Portal gives external engineers the ability to receive, complete and report tickets in a mobile view. The Account Partner is required to enable the Partner Portal functionality first. Tickets can then, after activation, be opened in any (mobile) browser via a link that takes the partner to the Partner Portal page.
- If a ticket is assigned to a Account Partner, they will have the option to schedule tickets via a dedicated “Schedule Ticket” button. Account Partners can then open a simplified scheduling window to proceed the ticket further.
- The Partner Portal can be customized in various ways. You can learn about some basic customization options further below.

Enable Partner Portal
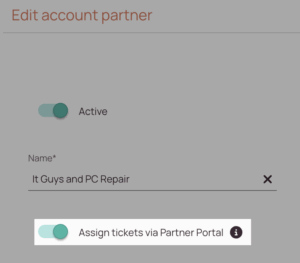
You can enable the Partner Portal functionality by toggling the Partner Portal toggle to the right in Partner Accounts. The Partner Portal is designed for Account Partners who want to receive their tickets by email and do their reporting through the Partner Portal. A few configuration steps are required first in order to utilize the Partner Portal:
- The Account Partner has to enable the “Assign tickets via Partner Portal” on his side on the Account Partner page in the Admin panel first.
- The partner initiator has to configure an automated action that creates the Partner Portal link.
Note: The option to publish tickets will be disabled for the Account Partner using the “Assign tickets via Partner Portal” toggle.
- The engineer working on the Partner ticket will be able to access the Partner Portal via a link to access the Partner Portal.
- The engineer then enters his first name, last name, and his email address and can then click (by default if not configured otherwise) on the Report Ticket button.
- The engineer fills in the Report and submits the report.
- The engineer clicks on the Save button.
The Report will submitted and the tickets status will change.
Enterprise: Customizing Partner Portal
You can always contact Fieldcode Support if you need further assistance with workflow customization.
You can add more functionality to the Partner Portal yourself if business requires it. If you have full access to the Workflow designer, you can generate/adjust a simple workflow with some basic buttons, for example.
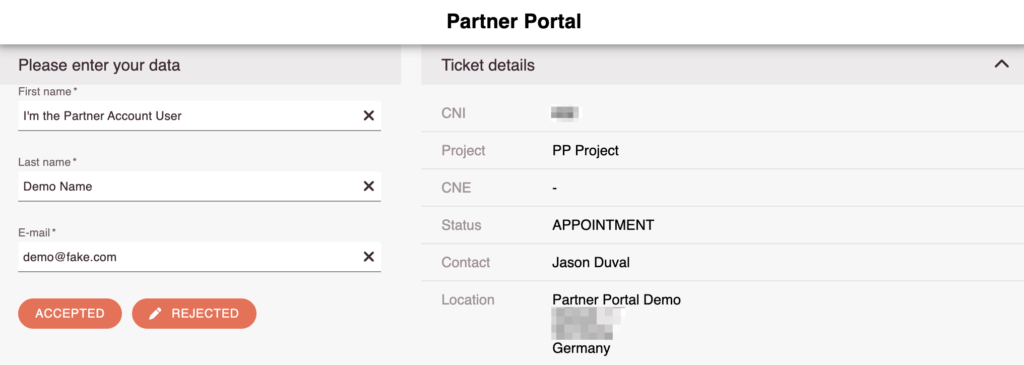
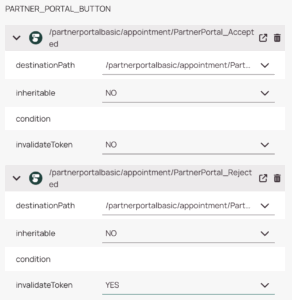
This simple custom workflow could include buttons such as “Accepted” and “Rejected”, allowing partners to accept incoming partner tickets or return them to the Ticket Pool via a simple button press.

What you can do in order to achieve this extra validation step is to add for example “Accepted” and “Rejected” Partner Portal buttons to your workflow in the Workflows designer. In the example below we added those two Partner Portal buttons to the “Appointment” step of our existing basic workflow.
Tip: You can customize the Partner Portal in various ways with the configuration of custom workflows.
- For example you could add new buttons (like e.g. the partner portal button) to further customize the Partner Portal.
- Another example of Partner Portal customization would be forms, for example you can create/edit custom forms to be displayed inside the Partner Portal (which can be filled with custom content by users) such as for example the the Partner Portal Report form.
5 out of 5 stars
1 rating
| 5 Stars | 100% | |
| 4 Stars | 0% | |
| 3 Stars | 0% | |
| 2 Stars | 0% | |
| 1 Stars | 0% |