Tip: You can use filters for better results
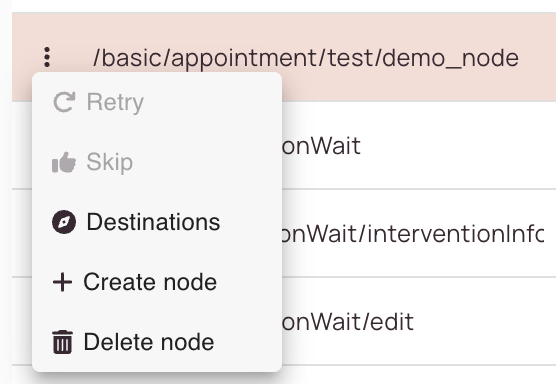
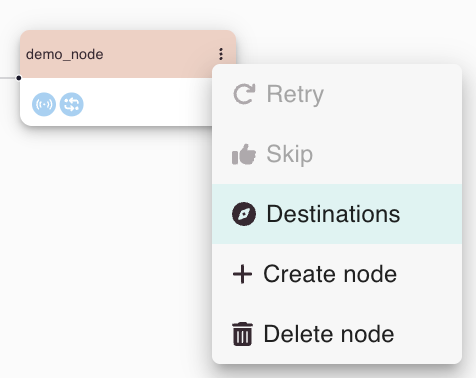
Option 1 (List view): You can check node destinations via the context menu of a node by clicking on the three-dots button and selecting the destinations button in the list view.
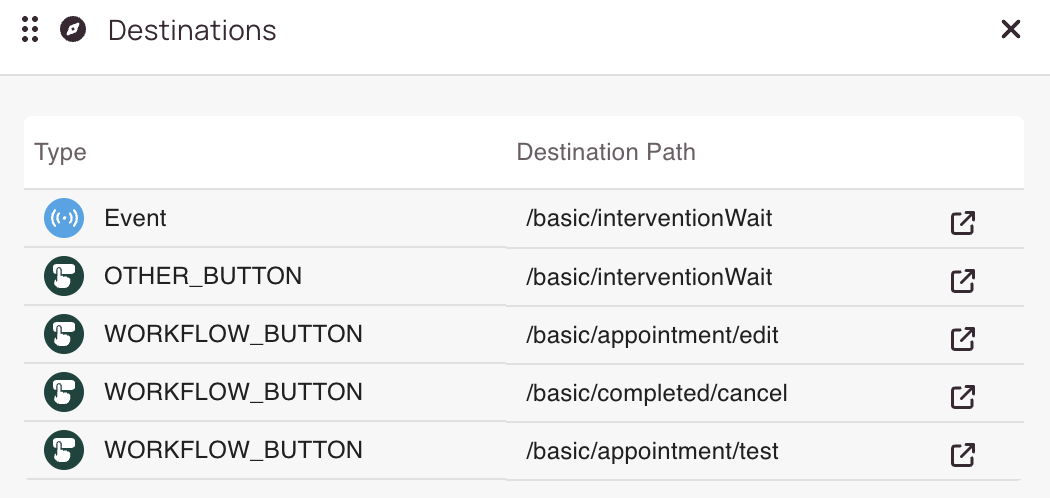
All the various node destinations will be displayed in a list.
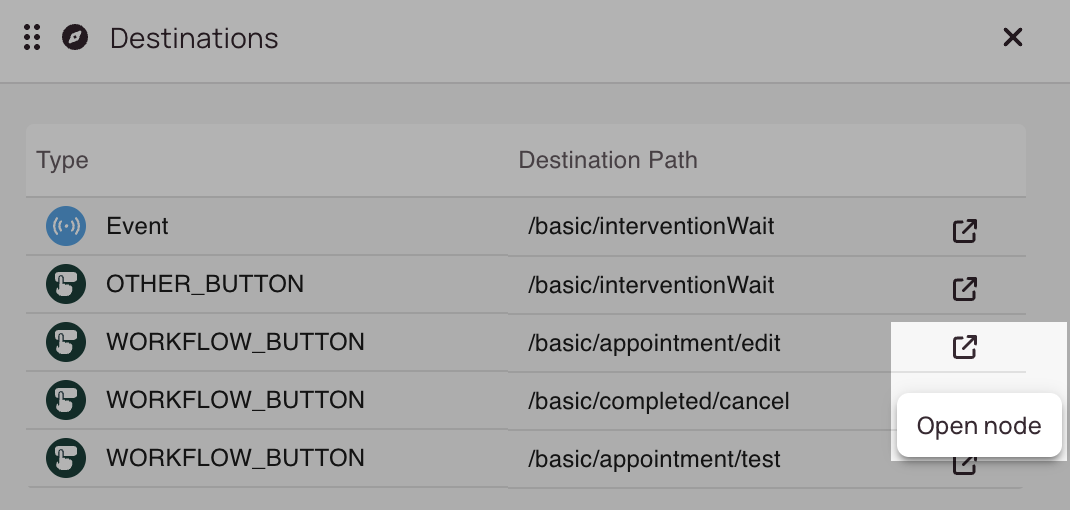
You can directly switch to a destination by clicking on the open node button of a list item.
The Workflow designer will then automatically switch to that destination, where you can proceed with edits.
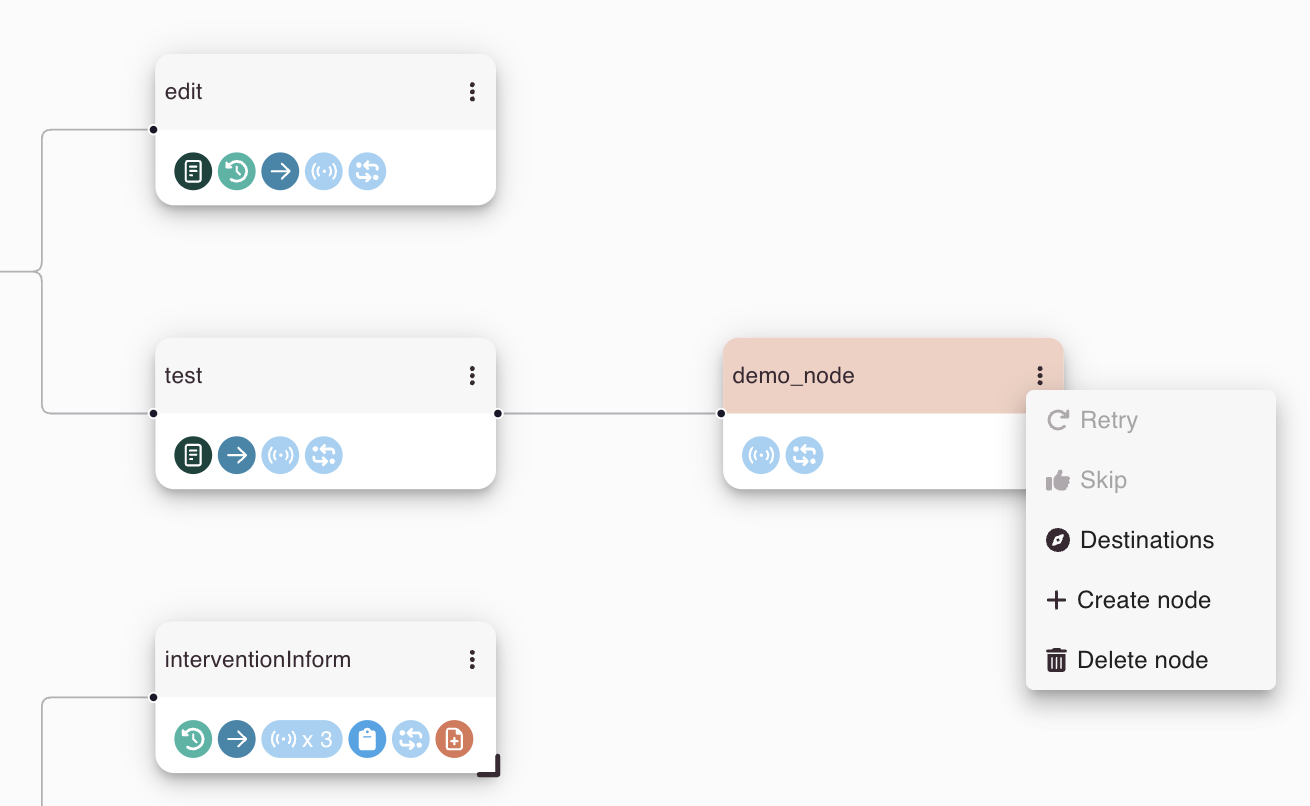
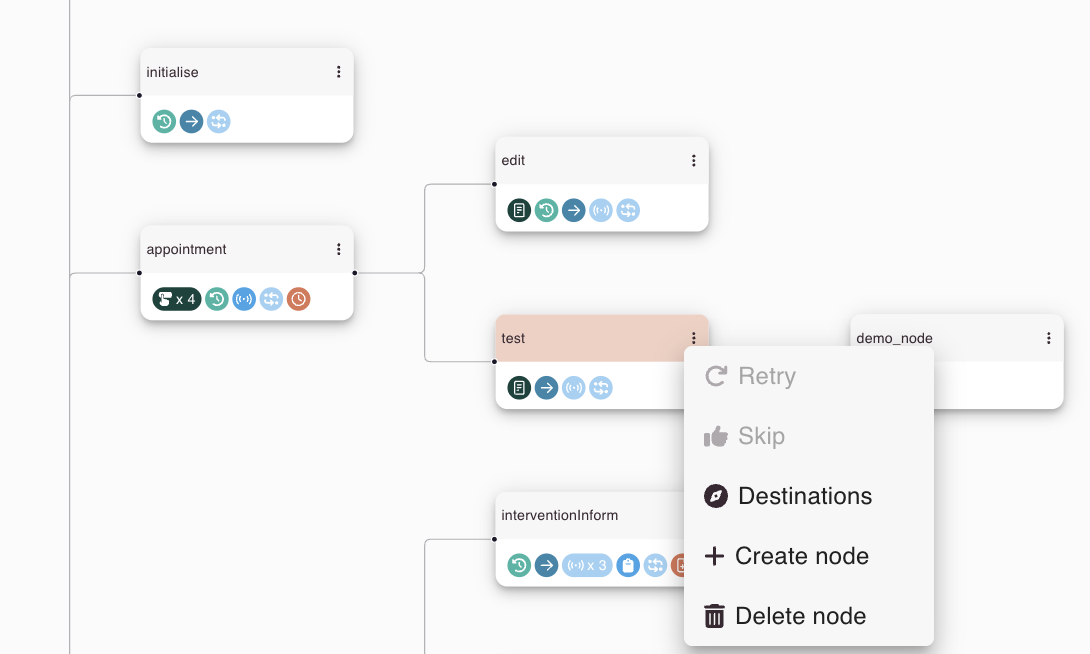
Option 2 (Hierarchy view): You can check node destinations via the context menu of a node by clicking on the three-dots button and selecting the destinations button in the hierarchy view.
All the various node destinations will be displayed in a list.
You can directly switch to a destination by clicking on the open node button of a list item.
The Workflow designer will then automatically switch to that destination, where you can proceed with edits.
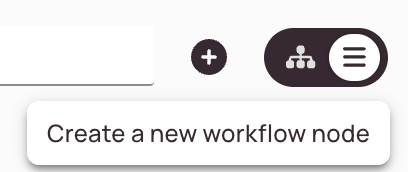
Option 1: The first possibility is to create a node from the Workflow designer's header. To do so, click on the plus button next to the view filter.
If the plus button is grayed out, as shown in the picture, you first have to select a node. This prompt teaches you:
New nodes are always created under a main node.
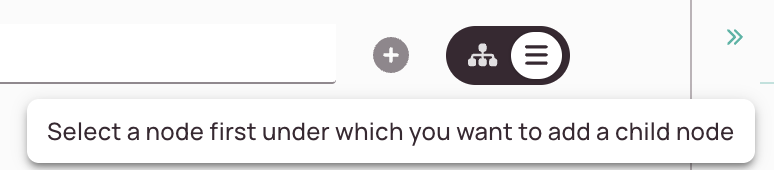
Therefore, to create a new node, you have to select a node in one of the views first.

You can then click the plus button after selecting a node.
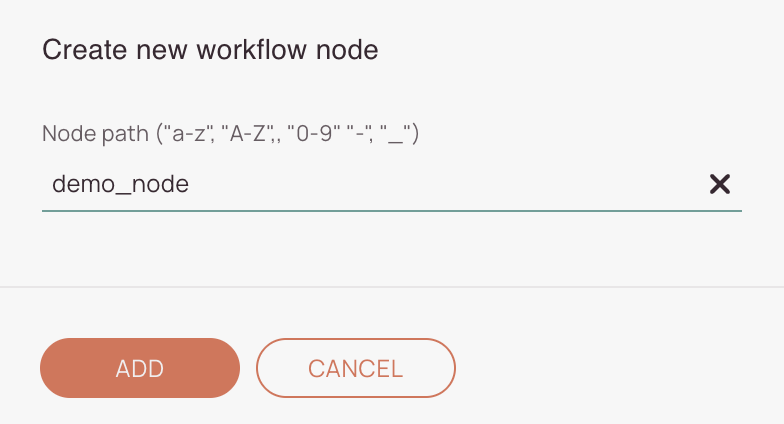
You can then enter a name for your new node and click on the add button.
The new node will appear under the previously selected node.

Option 2 (List view): You can create new nodes via the context menu of a node by clicking on the three-dots button and selecting the create node button.
You can then enter a name for your new node and click on the add button.
The new node will appear under the previously selected node.

Option 3 (Hierarchy view): You can create new nodes via the context menu of a node by clicking on the three-dots button and selecting the create node button.
You can then enter a name for your new node and click on the add button.
The new node will appear under the previously selected node.
Drag & Drop: You can drag & drop nodes in the Hierarchy view. If you want to move a node to a different location, hold the node and simply move it to your desired location.
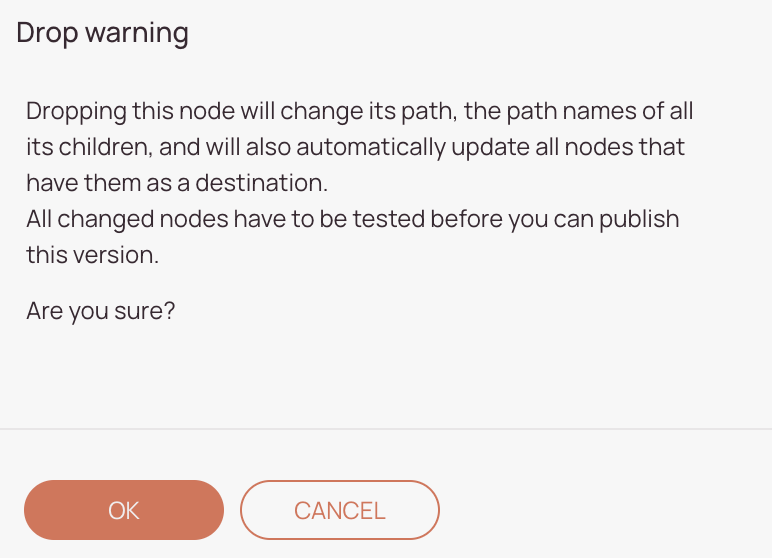
Drop warning: If you drop a node to another parent, a drop warning will be displayed, telling you that the path of this dropped node will change, as well as all the path names of its children nodes. All nodes that have the changed node as a destination will change their destination as well.
Important: Before you can publish your changes, you have to test the nodes that have been changed after dragging and dropping.
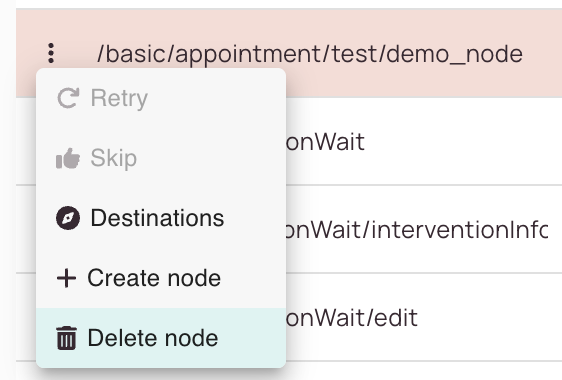
Option 1 (List view): The first possibility is to delete a node from the context menu in the list view. To do so, first select a node in the list view, click on the three-dots button, and select the delete node button.
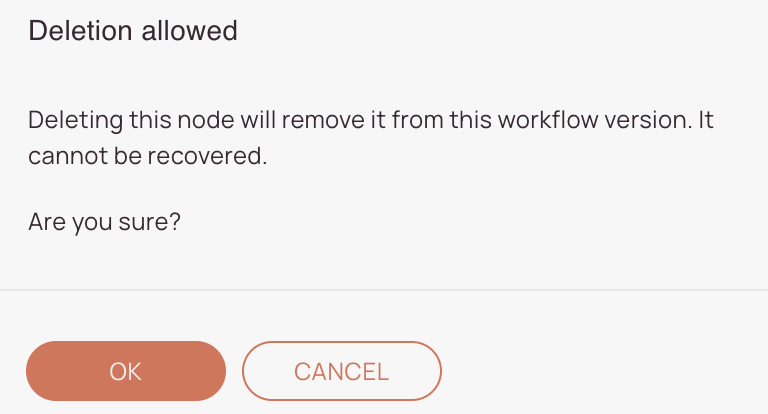
A prompt about the consequences of deletion will appear, you can confirm your node deletion it by clicking the ok button.
Option 2 (Hierarchy view): The second possibility is to delete a node from the context menu of the hierarchy view. To do so, first select a node in the list view, click on the three-dots button, and select the delete node button.
A prompt about the consequences of deletion will appear, you can confirm your node deletion it by clicking the ok button.