Tip: You can use filters for better results
-
Latest News
-
Getting Started
-
Work Place
-
-
-
- About Buttons
- Action Buttons
- Schedule Tickets
- Ticket Info and COMS Buttons
- Add Parts
- Assign Partners
- Remove Tickets from the Ticket Clipboard
- Inline Skill Editing
- Create Intervention Info
- Create Intervention Reports
- Cancel Tickets
- Cancel Appointments
- Clone Tickets
- Edit Ticket Details
- Edit Privat Notes
- Report Tickets
- Close Tickets
-
Admin Panel
-
FMA 2 App
-
Customer Portal
About Incoming Mappings
This topic is intended for advanced users familiar with system integrations. If you're unsure, please contact your system administrator or Fieldcode support.
Incoming Mapping allows you to define how external data is received, interpreted, and processed by Fieldcode. This guide walks you through the process of creating and configuring an incoming endpoint using the integrated wizard, how to define triggers and actions, and how to test your setup.
What are Incoming Mappings?
Incoming mappings allow external systems to send data into Fieldcode – for example, to create or update tickets automatically. This helps reduce manual work and ensures systems stay in sync.
When to use Incoming Mappings?
- You want to receive ticket data from a partner system
- You want to automate ticket creation or updates from external tools
- You need to integrate Fieldcode with a third-party platform
- A partner system sends a POST request to your /ticket-create endpoint with ticket data. The mapping logic extracts the ticket ID, customer name, and ticket description, and creates a new ticket in Fieldcode.
- You want to automatically create tickets from an external CRM system:
-> Create an endpoint named Ticket creation
-> Assign it to your CRM system
-> Configure it to accept POST requests with a JSON payload
-> Test the setup using the Interface Monitoring page
🔧 Wizard Step 1: Endpoint Creation
Start by creating a new endpoint using the Incoming Mapping wizard.
What is a endpoint?:
An endpoint is where the data for a specific action should be sent from the external system.
If you change the endpoint path or the permissions of the endpoint please make sure to send out the new endpoint link and an API key that includes the new permissions.
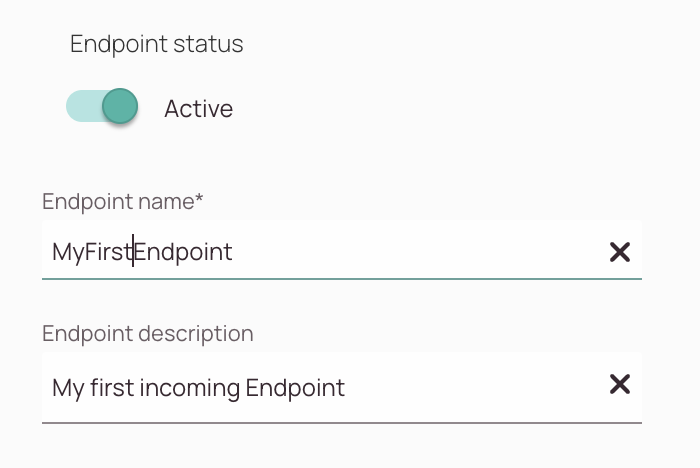
- The Active toggle is enabled by default. Decide if your endpoint should be activated after the configuration is completed or not.
- Enter a name for your new endpoint.
- (Optional) - Enter a description for your endpoint.
Tip: Use descriptive names to easily identify the purpose of each endpoint.
- You can pick a system from the list if you have already registered an external system.
- (Optional) - If you haven't registered any system yet, you can click the register system button. This will open a window from the right side where you can register a new system, similar as on the Systems page.
- Enter a path name. When configuring a new endpoint for incoming mappings, the path name defines the specific URL segment that identifies where the system should listen for incoming data. Think of it as the address or route that external systems use to send data into your platform.
Purpose of the Path Name:
- Routing Incoming Requests: The path name tells the system where to direct incoming HTTP requests. For example, if your base URL is
https://api.example.com, and your path name is/orders, then external systems should send data tohttps://api.example.com/orders. - Endpoint Differentiation: It allows you to create multiple endpoints for different types of data. For instance,
/orders,/customers, and/inventorycould each handle different payloads and mapping rules. - Mapping Association: The path name links directly to a specific incoming mapping configuration. This ensures that the correct transformation logic is applied to the incoming data.
HTTP Methods Explained:
| Method | Explanation |
|---|---|
| Get (Read) | The client retrieves a resource from the server. The client should not send data, only retrieve. |
| Post (Add) | The client sends data to the server, so that the server can create a new resource out of it. |
| Put (Create/Replace) | The client specifies a location, and sends some data. If no resource exists on that location, a new one will be created using the data the client sent, if it already exists. It will be replaced by the new data. |
| Patch (Update) | The client sends instructions to the server how to change an existing resource. |
| Delete (Remove) | The client requests the deletion of a resource from the server. |
What Does “Do you want to add a body in the HTTP request” mean?
When this option is enabled, the system wraps the incoming data in an additional JSON object – commonly referred to as a box. This box acts as a container for the actual payload and can help standardize or structure incoming requests.
Why Use a Box?
- Standardization: If different external systems send data in varying formats, wrapping the payload in a box ensures a consistent structure for processing.
- Metadata Inclusion: The box can include not just the payload, but also metadata like timestamps, source identifiers, or versioning info.
- Mapping Simplicity: It can simplify mapping rules by providing a predictable structure to work with.
When to Enable It?
- Enable this option if your mapping logic expects the payload to be wrapped.
- Leave it disabled if the external system already sends data in the expected format.
🔧 Wizard Step 2: Define Permissions
- Select interface permissions that will make the Fieldcode endpoint accessible for the external system.
- Interface permissions control which users or systems are allowed to access and interact with specific interfaces – such as incoming or outgoing mappings – within your platform.
- You can choose from existing permissions or create new interface permissions.
- Select one of the authentication methods for your incoming mapping.
API Key: An API key is a unique token that the sender includes in the request header or URL. It acts like a password to identify and authorize the sender.Basic Auth: Basic Authentication uses a username and password encoded in the request header. The credentials are sent with every request.
OAuth2: OAuth2 is a more advanced protocol that allows secure token-based authentication. It often involves an authorization server that issues access tokens.
- Select interface permissions that should be used for the incoming mapping.
Important: Make sure to choose interface permissions that match you authentication method. If you do not have matching permissions you can create them on the interface permissions page. Then you can go and create an interface user and assign this permission to it. If you chose the authentication method API key, you can go and create a new API key and assign this permission to it.
- You can create new interface permissions from within the wizard as well if you don't have created interface permissions yet.
🔐 Wizard Step 3: Secure with API Key
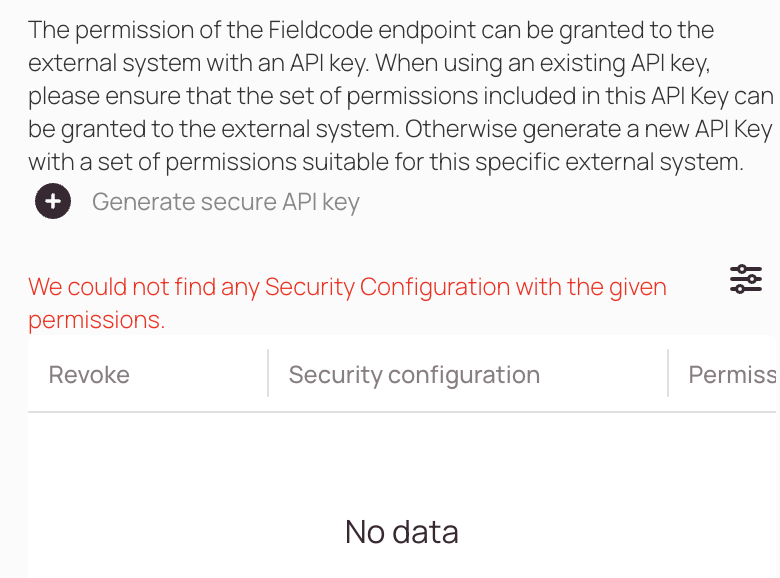
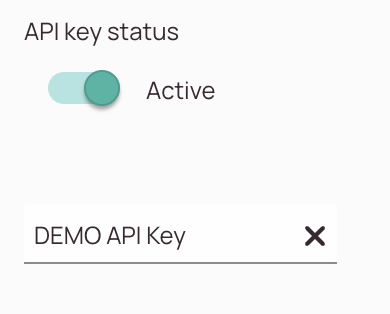
If your chosen authentication method from previous step is API Key, then the permission of the Fieldcode endpoint can be granted to the external system with an API Key. When using an existing API Key, please ensure that the set of permissions included in this API Key can be granted to the external system. Otherwise, generate a new API Key with a set of permissions suitable for this specific external system.
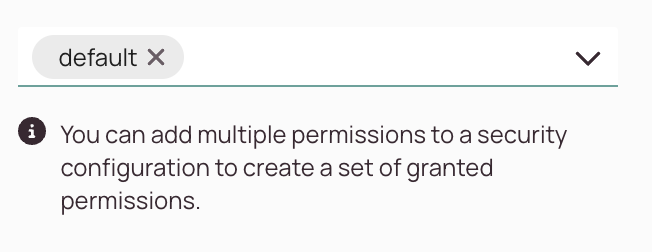
- You can now add related permissions with your API key. In this example we selected the default permissions. But you could also configure Interface Permissions by yourself.
2. Actual Endpoint Mapping
2.1. Trigger
Triggers define how and when the incoming data is processed. The trigger tab includes:
1. Edit Endpoint
- Modify endpoint settings like path, method, and permissions.
2. Upload Payload
- Upload a sample payload (e.g., JSON) from the external system.
- This helps in schema validation and mapping setup.
3. Fine-Tune Schema
- Adjust the expected data structure.
- Useful for aligning incoming data with Fieldcode’s internal models.
4. Group Definition
- Group your incoming mapping payloads for monitoring based on your preferred criteria
2.1.1. Edit Endpoint
- If you have used the wizard previously to setup the incoming mapping you can skip this step
- If you haven’t used the wizard you have the option to edit your endpoint (Described in Wizard Step 1).
2.1.2. Select Payload and Fine Tune Schema
If you previosly selected "No Body", you will not have be able to select a payload.
This section allows you to upload a sample payload – typically in JSON format – that represents the kind of data the external system will send to Fieldcode.
🛠 How to Use:
- Click Upload Payload.
- Select a sample JSON file or paste the payload directly.
- Fieldcode will parse the payload and display its structure.
- You can preview the schema and make adjustments if needed.
- Click on Continue.
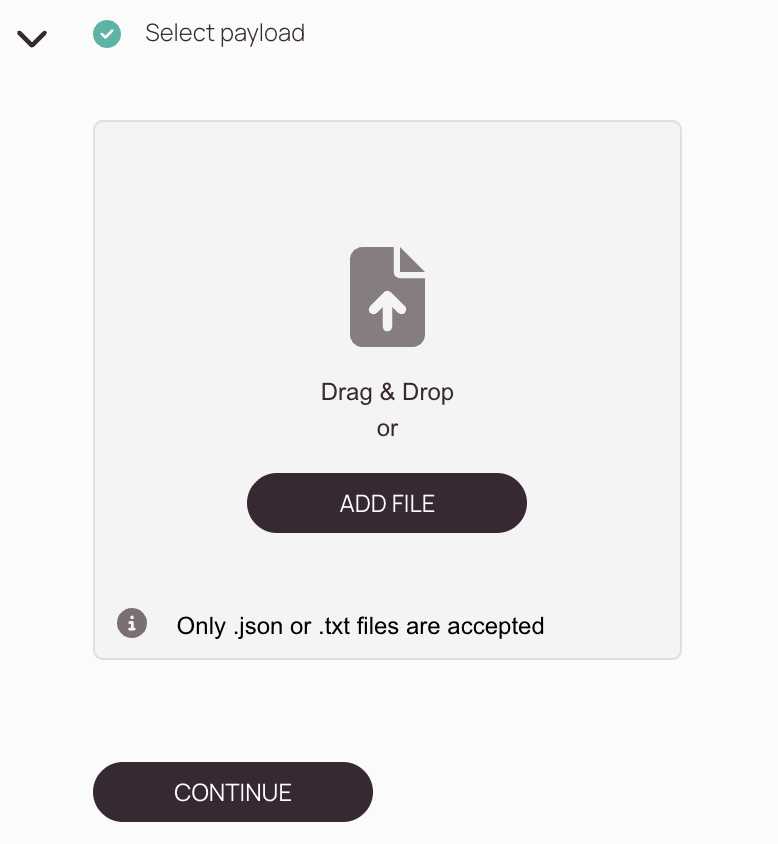
🔍 Purpose:
- Helps Fieldcode understand the structure of incoming data.
- Automatically generates a schema based on the uploaded payload.
- Serves as a reference for mapping fields later in the process.
Use a realistic payload that includes all expected fields to avoid missing mappings later. Non-required fields can be marked as optional during the fine tuning.
Once the payload is uploaded, Fieldcode generates a schema which you can finetune. The schema is a blueprint of the data structure. The Fine tune schema section lets you review and refine that schema.
🔧 What You Can Do:
- Rename fields for clarity or consistency.
- Change data types (e.g., string → number).
- Mark fields as required or optional. (Fields are set as optional by default.)
- Add or remove fields manually if the payload doesn’t cover all cases.
🧭 Why It Matters:
- Ensures accurate mapping between external data and Fieldcode’s internal models.
- Prevents errors during data processing.
- Improves flexibility when dealing with varied payloads.
Be cautious when modifying field types or required status.
2.1.3 Group Definition
The payloads of this mapping will be grouped under the same queue within the Interface monitoring page, providing an easier to understand list of reported issues.
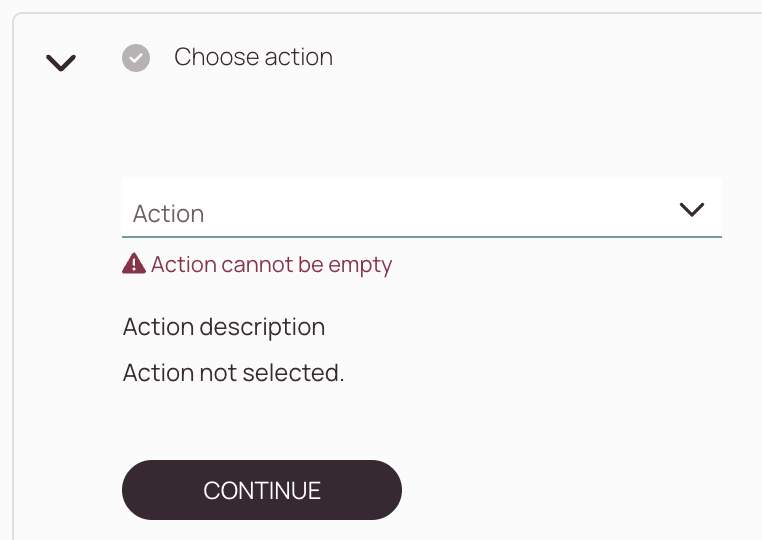
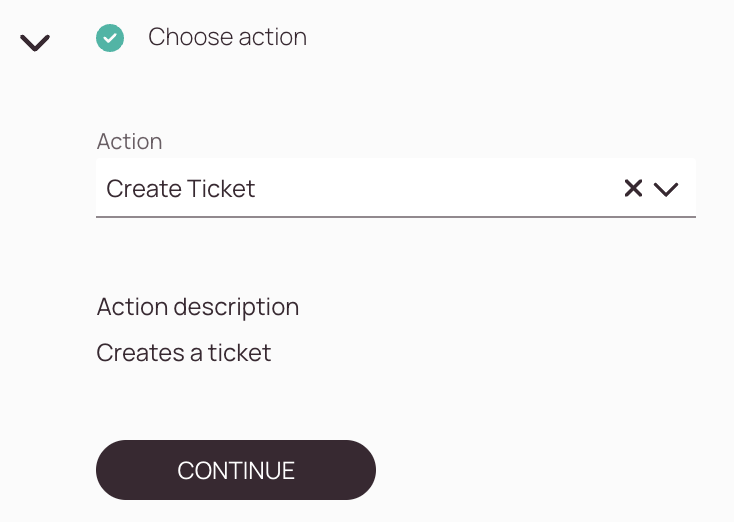
2.2.1. Choose Action
Select one of the following actions:
| Action Type | Description | Purpose |
|---|---|---|
| Save Absence | Stores absence information (e.g., vacation, sick leave) for a user or resource. | Useful for managing availability and ensuring scheduling accuracy. |
| Create Ticket | Creates a new ticket in the system based on the provided data. | Ideal for initiating service requests, incidents, or tasks from external systems. |
| Create and Update Items | Creates new items or updates existing ones in the system (e.g., devices, contacts, addresses). | Helps keep your data synchronized with external sources. |
| Update Absence | Modifies existing absence records. | Use this to correct or extend previously saved absence entries. |
| Create Ticket Info | Adds informational messages to a ticket (e.g., internal notes, customer updates). | Supports communication and documentation within the ticket lifecycle. |
| Save Document | Uploads and attaches a document to a ticket or entity (e.g., PDFs, images, reports). | Useful for storing service reports, contracts, or evidence. |
| Submit Interface Form | Submits a structured form to Fieldcode via an interface, triggering a defined workflow. | Ideal for collecting and processing external input like feedback, surveys, or structured requests. |
2.2.2. Define Actions -> Actual Mapping
The Fieldcode schema will be loaded based on the action you have chosen. Only the relevant portion will be provided.
Here you will create the actual mapping between Fieldcode and the external system. Definitions can be assign at the object or field level.
You can use Constants, Payloads, or Operations.
- Constants are unchanging values.
- The payload is what you defined in the Trigger tab in the previous step.
- Operations are used for logic, mathematics, and a variety of other needs.
2.2.3. Mapping with Expert Mode
Fieldcode provides an embedded Python language to write Incoming and Outgoing Mappings more efficiently. Click here for more details.
Related Topics
0 out of 5 stars
| 5 Stars | 0% | |
| 4 Stars | 0% | |
| 3 Stars | 0% | |
| 2 Stars | 0% | |
| 1 Stars | 0% |


