Tip: You can use filters for better results
-
Latest News
-
Getting Started
-
Work Place
-
-
-
- About Buttons
- Action Buttons
- Schedule Tickets
- Ticket Info and COMS Buttons
- Add Parts
- Assign Partners
- Remove Tickets from the Ticket Clipboard
- Inline Skill Editing
- Create Intervention Info
- Create Intervention Reports
- Cancel Tickets
- Cancel Appointments
- Clone Tickets
- Edit Ticket Details
- Edit Privat Notes
- Report Tickets
- Close Tickets
-
Admin Panel
-
FMA 2 App
-
Customer Portal
About Queries
The Queries feature in Fieldcode allows users to create and manage customized search filters for tickets and other objects. These queries help streamline workflows by enabling quick access to frequently used search criteria.
Queries are saved search configurations that allow you to:
- Filter tickets or objects based on specific criteria
- Save and reuse your search settings
- Share useful queries with colleagues or teams
In the search queries topic, you can learn all the details about the ticket/object search functionality.
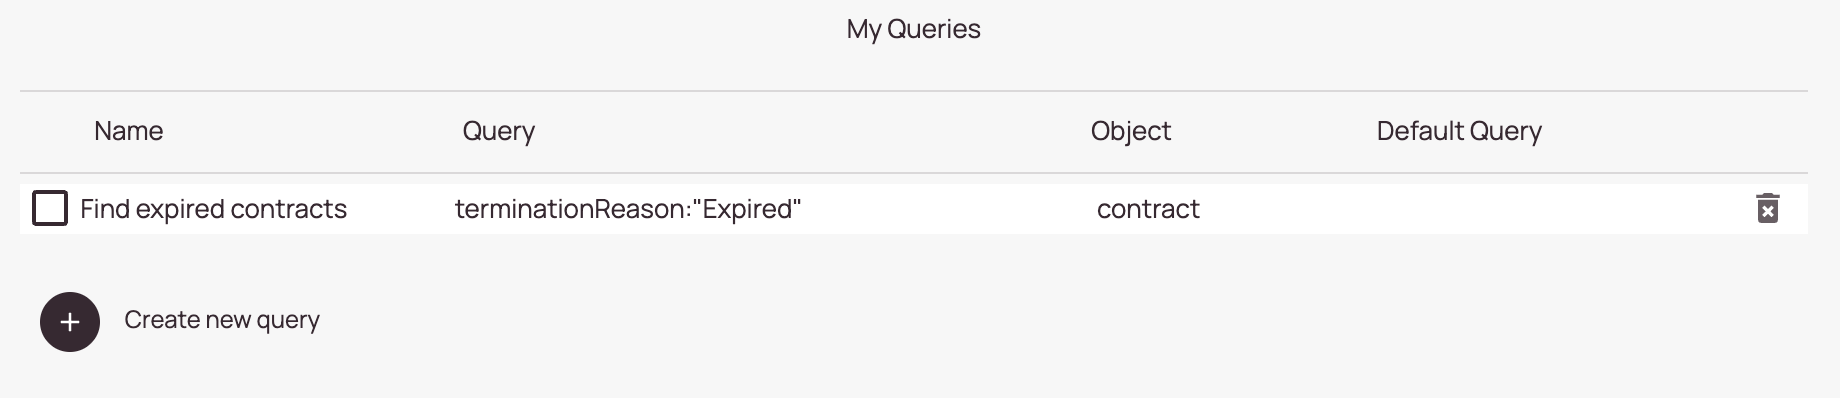
Accessing Queries
Navigate to the Sidebar -> My queries to open the My queries page.
Query Types
| Type | Description | Visibility |
|---|---|---|
| My Queries | Personal queries created by the user | Visible only to you |
| Shared Queries | Queries shared with other users or teams | Visible to selected roles or groups |
1. My Queries
The Queries feature in Fieldcode allows users to create and manage customized search filters for tickets and other objects. These queries help streamline workflows by enabling quick access to frequently used search criteria.
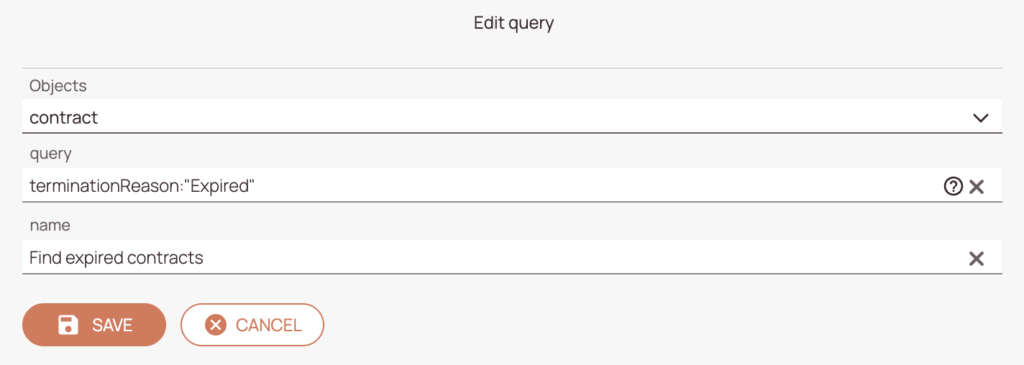
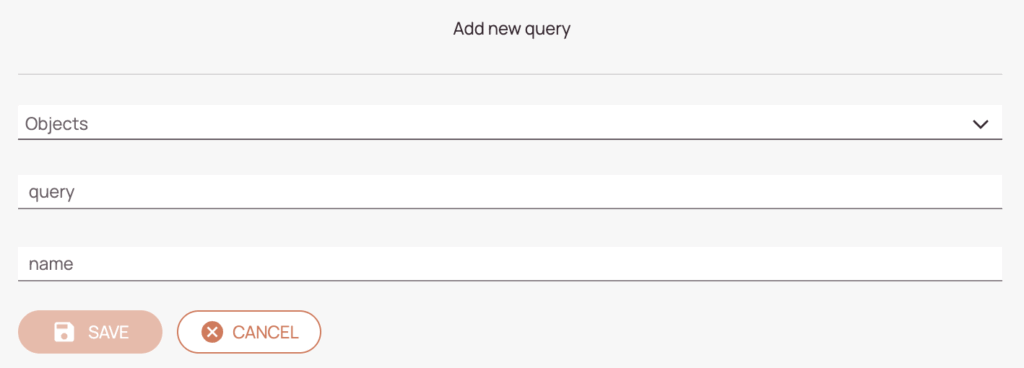
1.1. Creating Queries
- Click on the Create new query button – that will open a new menu on the right side.
- Select an object from the Objects dropdown.
The object you select here determines for which object the search query can be applied. - Define a search query in the query field.
- Enter a name for your search query in the name field.
The name will later be displayed in the My queries overview list and in the Predefined tab. - (Optional) – Decide if your query should be a default query.
- Click Save.
Your query should now be selectable in the General Tab and in your My Queries list.
Setting a query as default will automatically pre-select it in the Ticket Pool’s General tab.
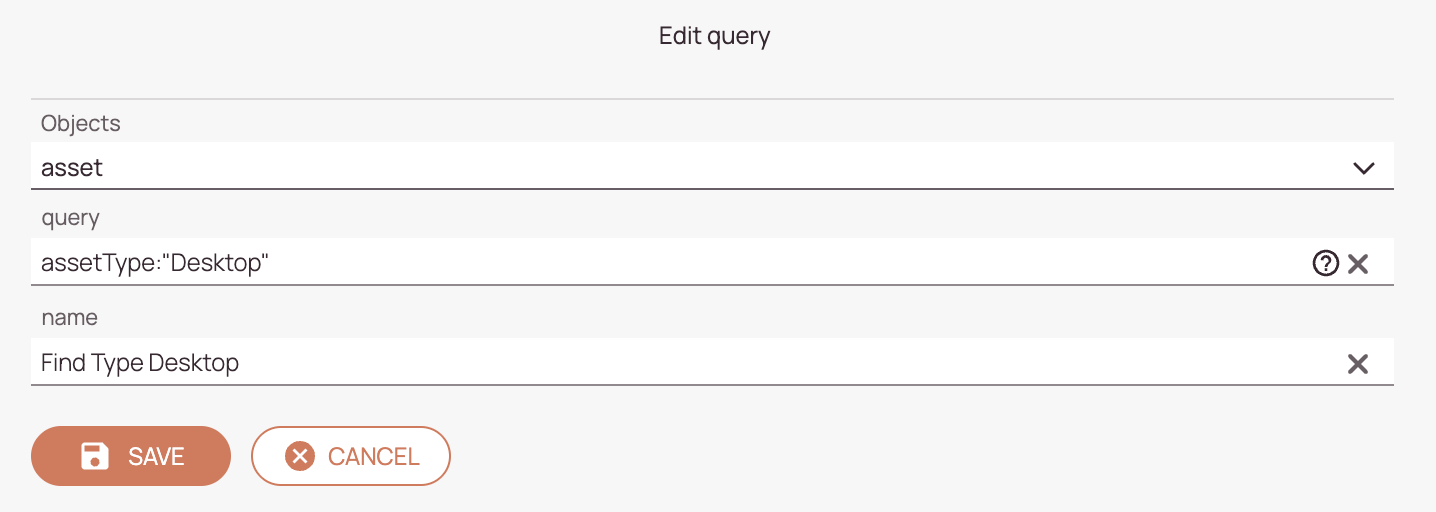
1.2. Editing Queries
- Click on the checkbox of a query or on a query – that will open a new menu on the right side.
- Modify the necessary form fields (name, query criteria) to your new needs and/or switch the Default toggle.
- Click on Save to save your edits.
1.3. Deleting Queries
- Check the query you want to delete.
- Click on the trash button on the query you want to delete from the My queries list.

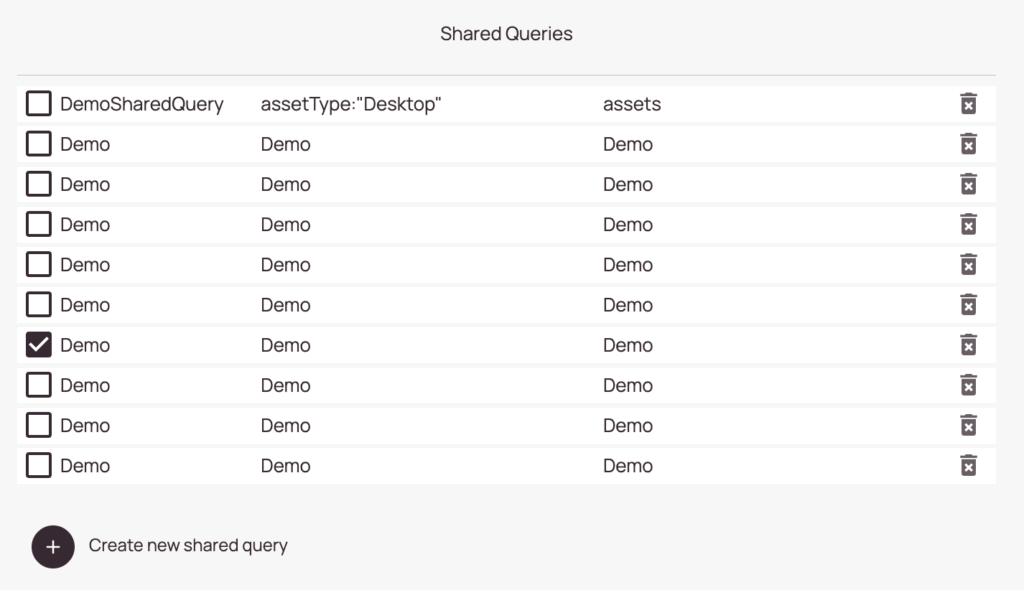
2. Shared Queries
Shared Queries are predefined search filters created by users with the appropriate permissions and made available to others in the organization. They help teams align on common workflows by providing consistent, reusable views of tickets or other objects.
About Permissions:
- You are required to add view and edit permissions to your role in order to see the Shared Queries section:
Permissions -> Security Resource Tab -> Work place -> Sidebar: Queries / Shared Queries
- You cannot edit predefined queries

2.1. Creating Shared Queries
- Click on the Create new shared query button – that will open a new menu on the right side.
- Define a search query in the query field.
- Enter a name for your search query in the name field. The name will later be displayed in the My queries overview list.
- (Optional) – Decide if your new query should be a default query.
- Click on Save.
Shared queries will be available in the General tab for other users with access.
Setting a query as default will automatically pre-select it in the Ticket Pool’s General tab.
2.2. Editing Shared Queries
- Click on the checkbox of a query or on a query – that will open a new menu on the right side.
- Modify the necessary form fields (name, query, criteria) to your new needs and/or switch the Default toggle.
- Click on Save to save your edits.
2.3. Deleting Shared Queries
- Check the query you want to delete.
- Click on the trash button on the item you want to delete from the Shared Queries list.

Best Practices
- Use clear and descriptive names for queries.
- Set default queries for commonly used filters.
- Regularly review and clean up unused queries.
- Use shared queries to align team workflows.
0 out of 5 stars
| 5 Stars | 0% | |
| 4 Stars | 0% | |
| 3 Stars | 0% | |
| 2 Stars | 0% | |
| 1 Stars | 0% |