Fieldcode Manual
Tip: You can use filters for better results
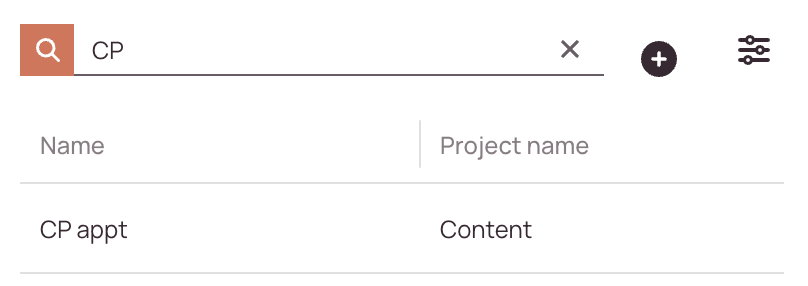
🔎 Searching for Automated Actions:
- Use the search bar at the top of the automated actions list.
- Enter any of the following:
- Description
- Creator
- Status (e.g., active, inactive)
As you type, the list will automatically filter to match your query.
- Click on the plus button to create a new automated action.

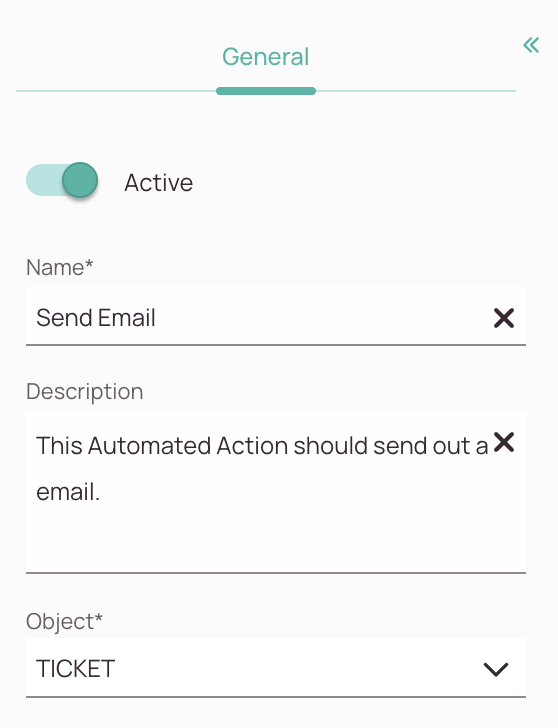
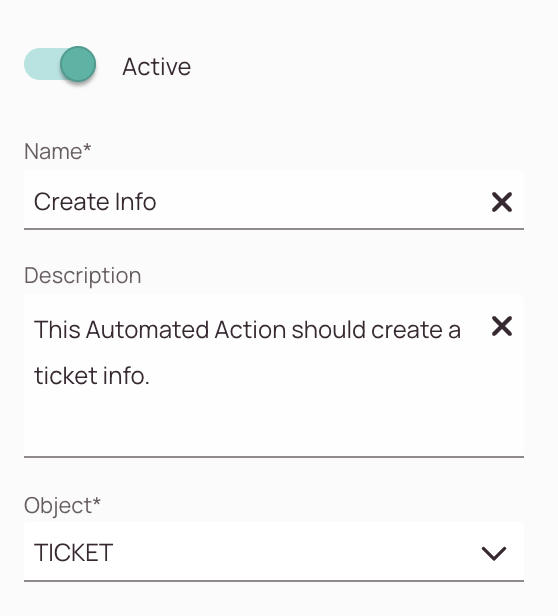
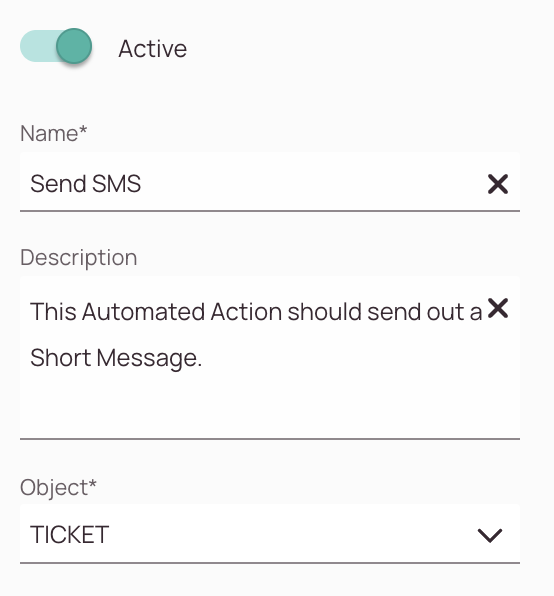
- Decide if your automated action should be activated in the system after creation.
- Enter a name for your custom automated action.
- (Optional) - Enter a description for your new automated actions. If you make your description clear and distinctive now, you will make it easier to distinguish between different automated actions.
- Select the object from the dropdown. The action will only apply for this specific object. The ticket object can be used for default Workflows.
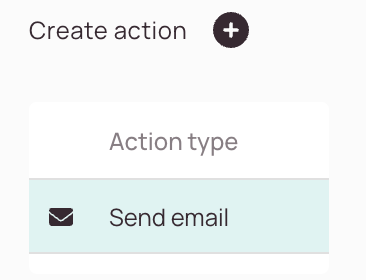
- Click on the plus button.
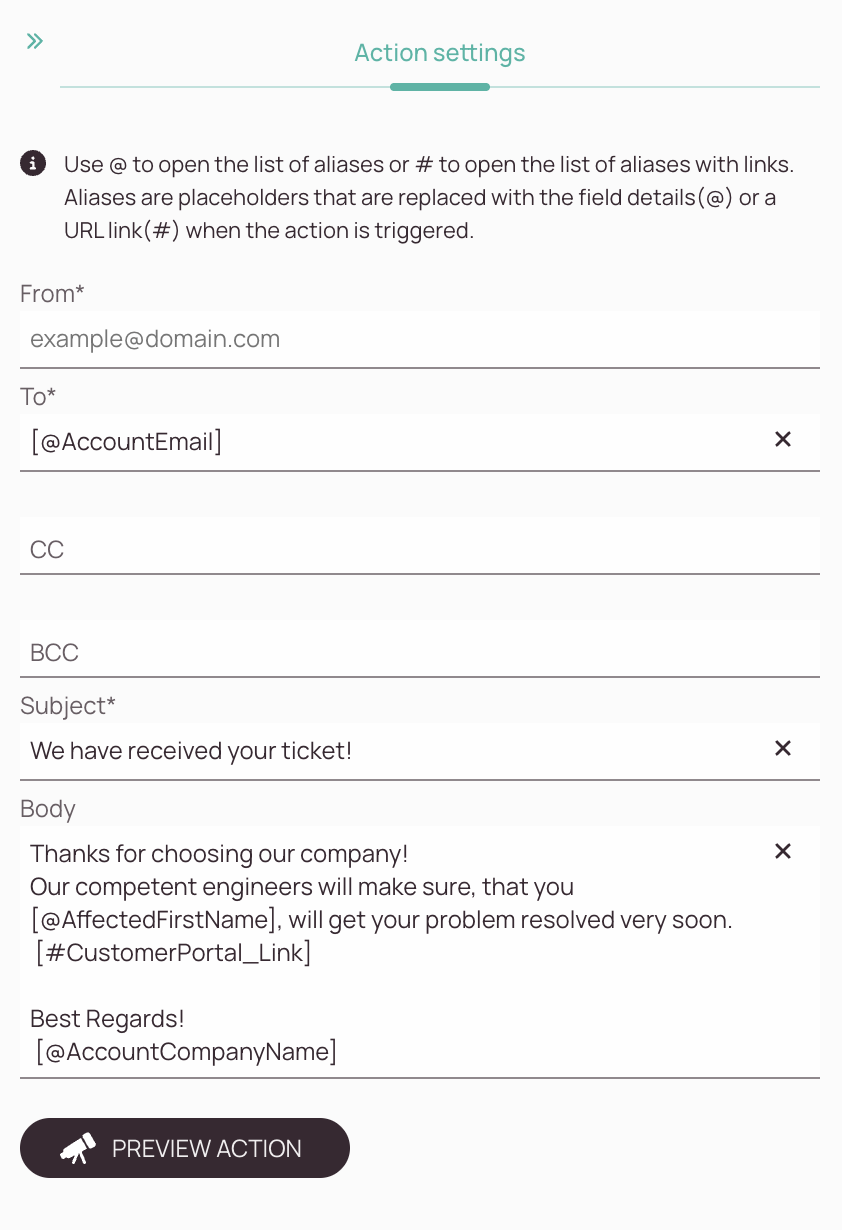
- Select the "Send email" action.
- From field: Please make sure to use a SMTP configuration.
- To field: Enter who should receive the email.
You can use aliases.
You can use hashtags. - CC field: Enter one or more carbon copy recipient(s).
You can use aliases.
You can use hashtags. - BCC field: Enter one or more blind carbon copy recipient(s).
You can use aliases.
You can use hashtags. - Body field: Draft your email text.
You can use aliases.
You can use hashtags
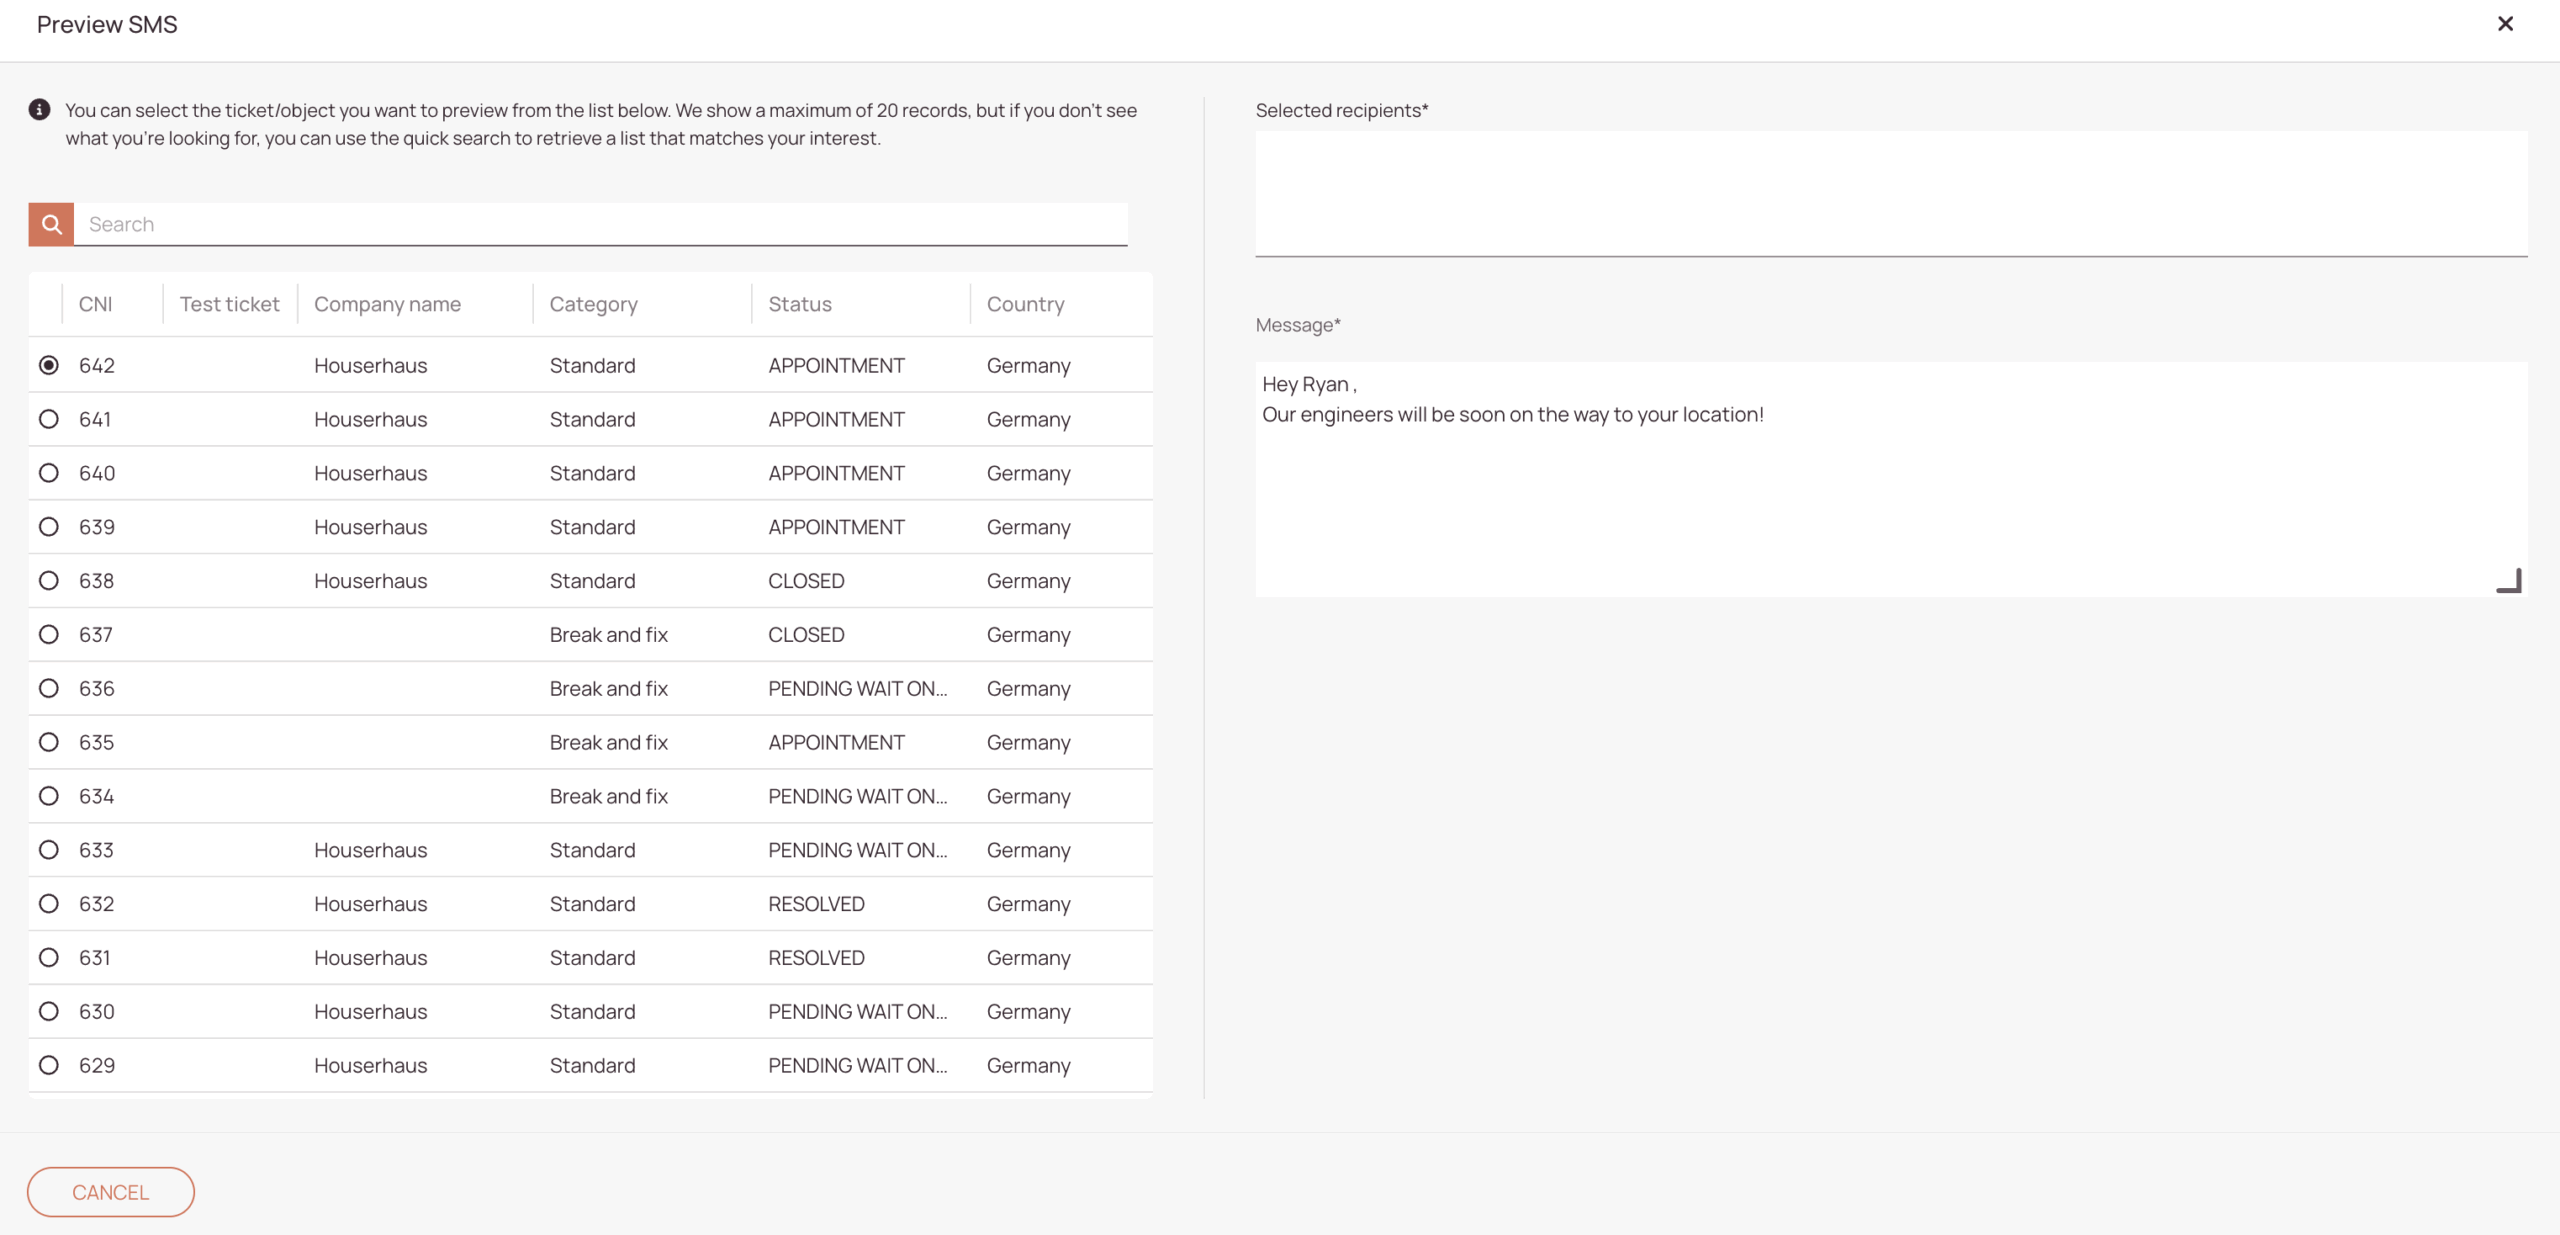
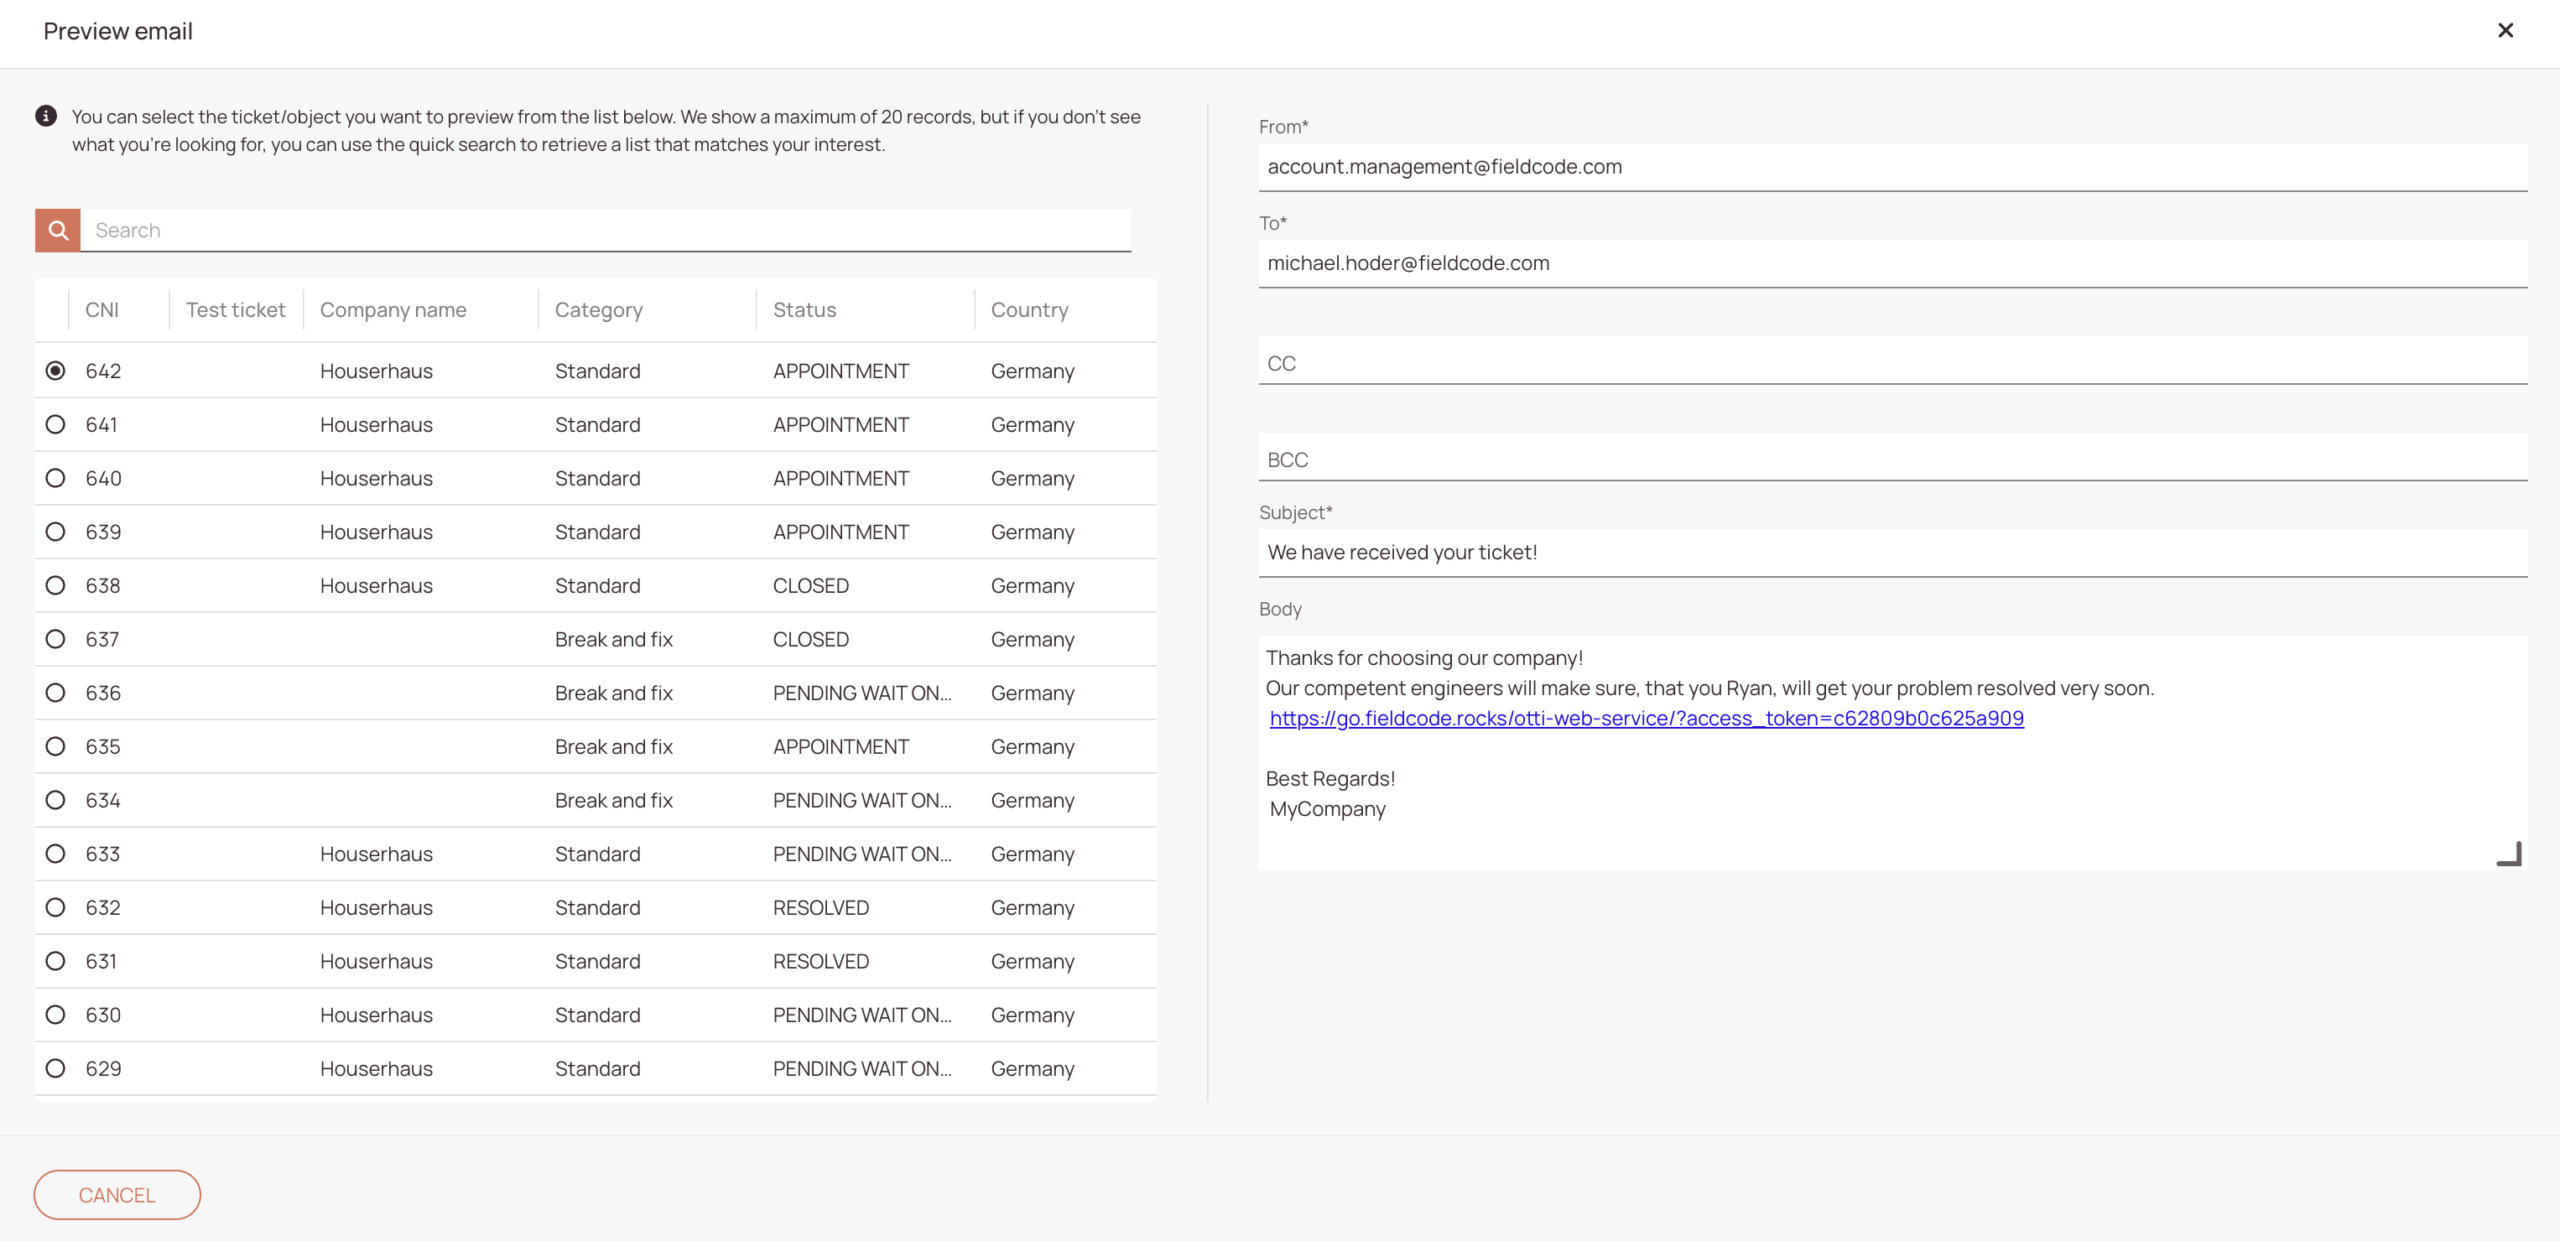
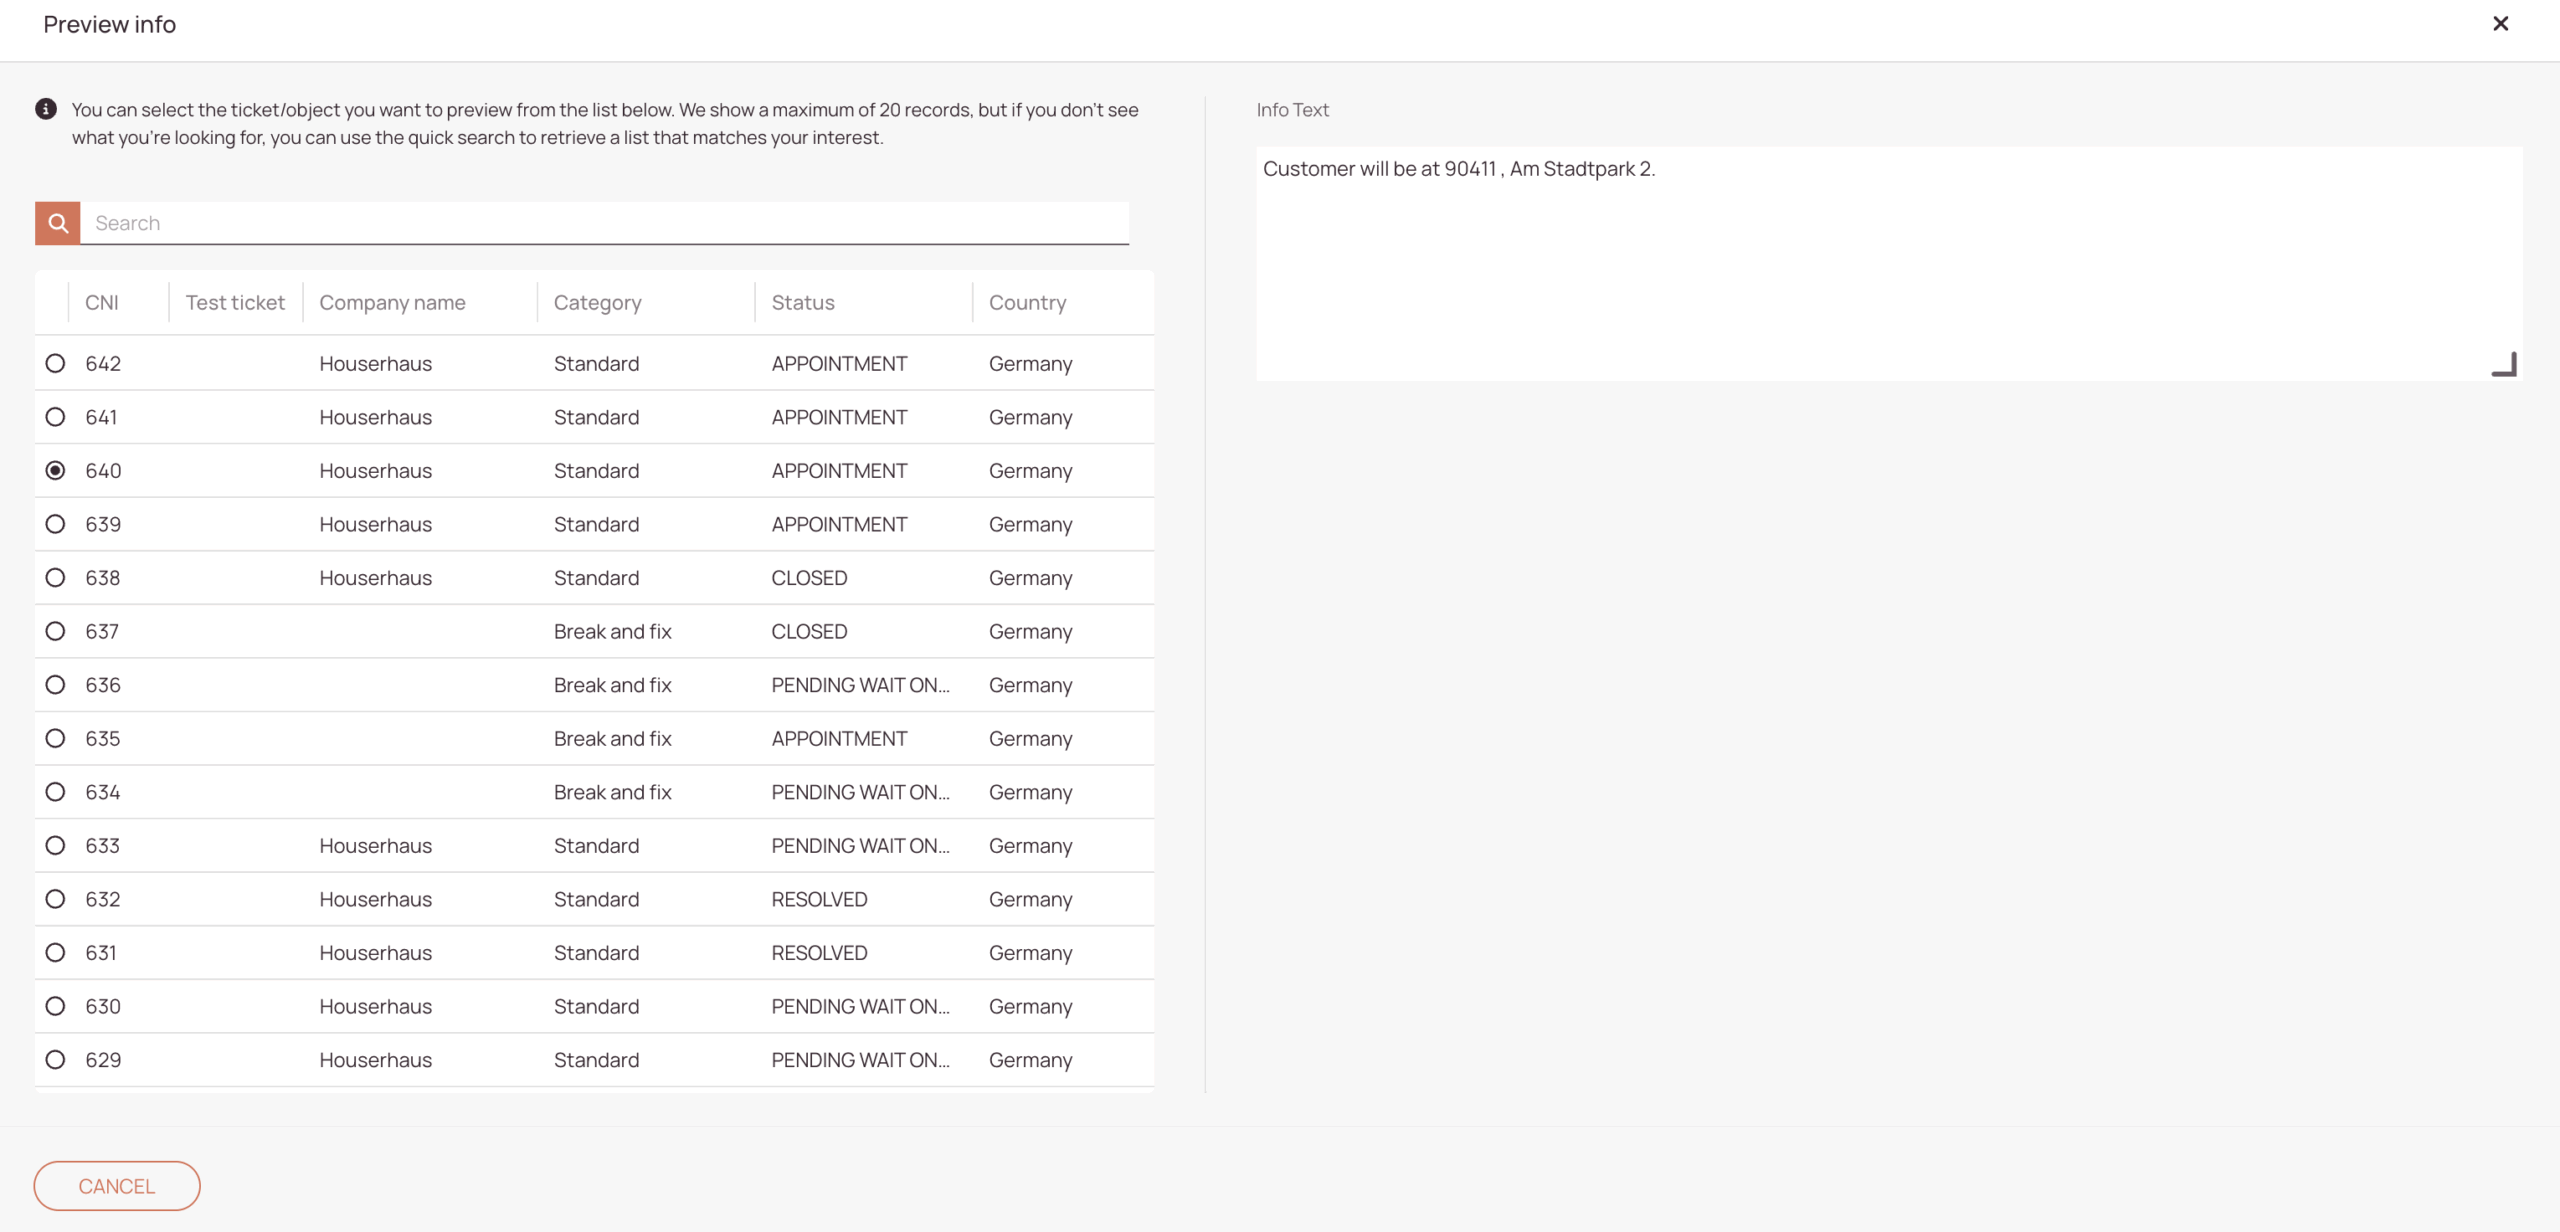
- Preview your action. Object records or actual tickets are required in order to test if your action performs as expected.
- Decide if your automated action should be activated in the system after creation.
- Enter a name for your custom automated action.
- (Optional) - Enter a description for your new automated actions. If you make your description clear and distinctive now, you will make it easier to distinguish between different automated actions.
- Select the object from the dropdown. The action will only apply for this specific object. The ticket object can be used for default Workflows.
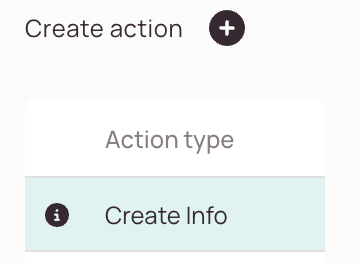
- Click on the plus button.
- Select the "Create info" action.
- Select a ticket info type from the dropdown.
- Draft your info text.
You can use aliases.
You can use hashtags.
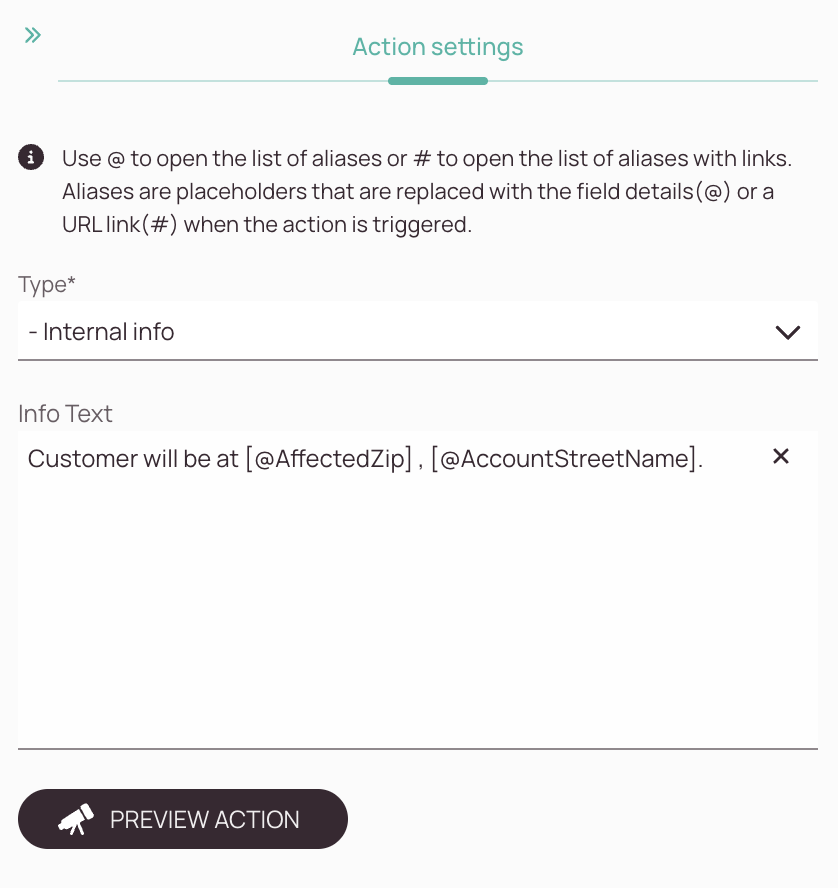
- Preview your action.
Object records or actual tickets are required in order to test if your action performs as expected.
- Decide if your automated action should be activated in the system after creation.
- Enter a name for your custom automated action.
- (Optional) - Enter a description for your new automated actions. If you make your description clear and distinctive now, you will make it easier to distinguish between different automated actions.
- Select the object from the dropdown. The action will only apply for this specific object. The ticket object can be used for default Workflows.
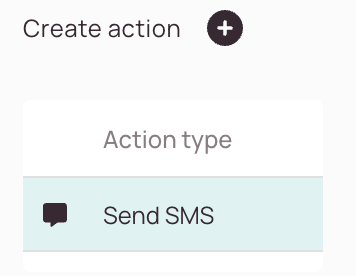
- Click on the plus button.
- Select the "Send SMS" action.
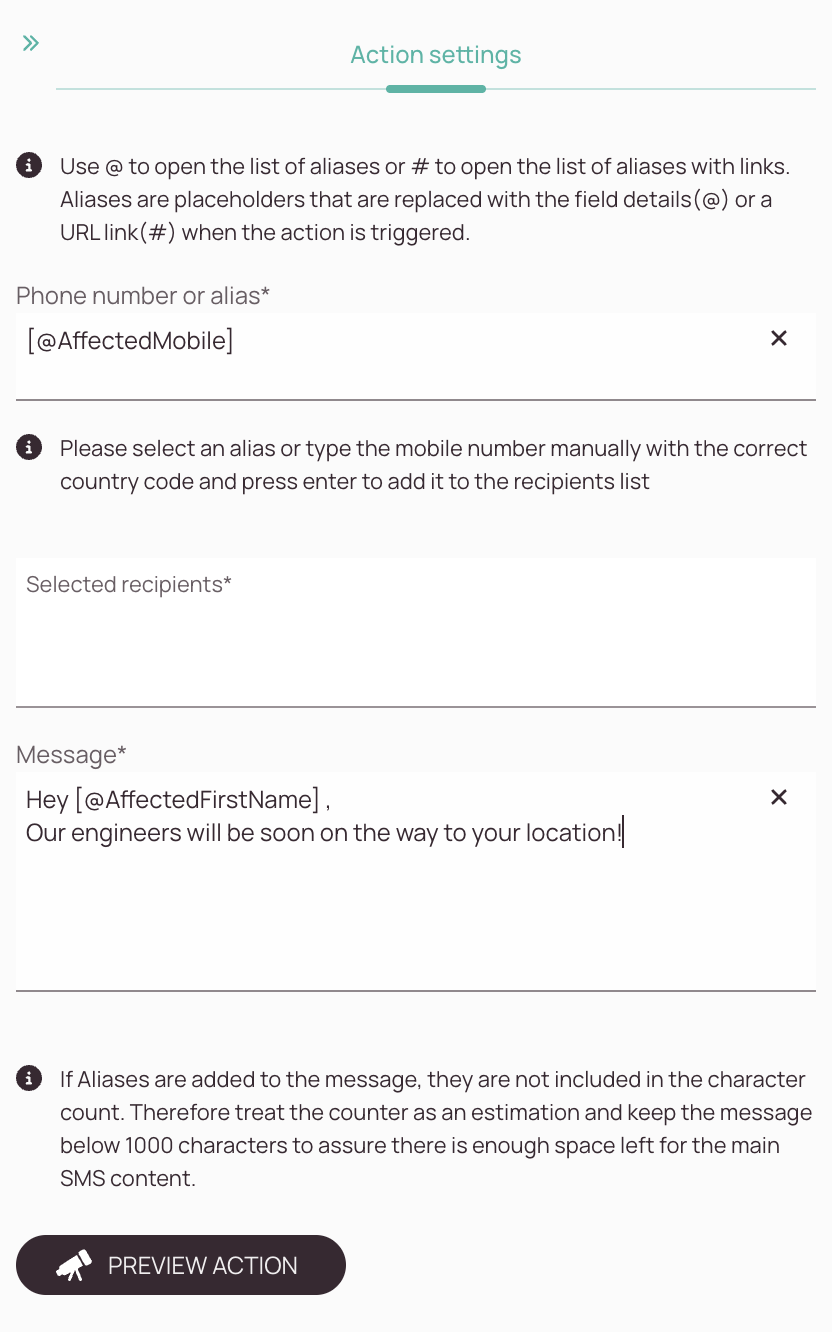
- Preview your action. Object records or actual tickets are required in order to test if your action performs as expected.