Fieldcode Manual
Tip: You can use filters for better results
-
Latest News
-
Getting Started
-
Work Place
-
-
-
- About Buttons
- Action Buttons
- Schedule Tickets
- Ticket Info and COMS Buttons
- Add Parts
- Assign Partners
- Remove Tickets from the Ticket Clipboard
- Inline Skill Editing
- Create Intervention Info
- Create Intervention Reports
- Cancel Tickets
- Cancel Appointments
- Clone Tickets
- Edit Ticket Details
- Edit Privat Notes
- Report Tickets
- Close Tickets
-
Admin Panel
-
FMA 2 App
-
Customer Portal
Last updated:November 7, 2024
How to configure the outgoing mapping
Copy the URL link to this section to share
Recommended for advanced users
Outgoing mapping configuration doesn't require a developer to be involved - however - configuration is suggested for advanced users of our applications.
Inside the Admin panel go to Settings → Outgoing Mapping to open the table view.
You can click on the plus button to create a new outgoing mapping.
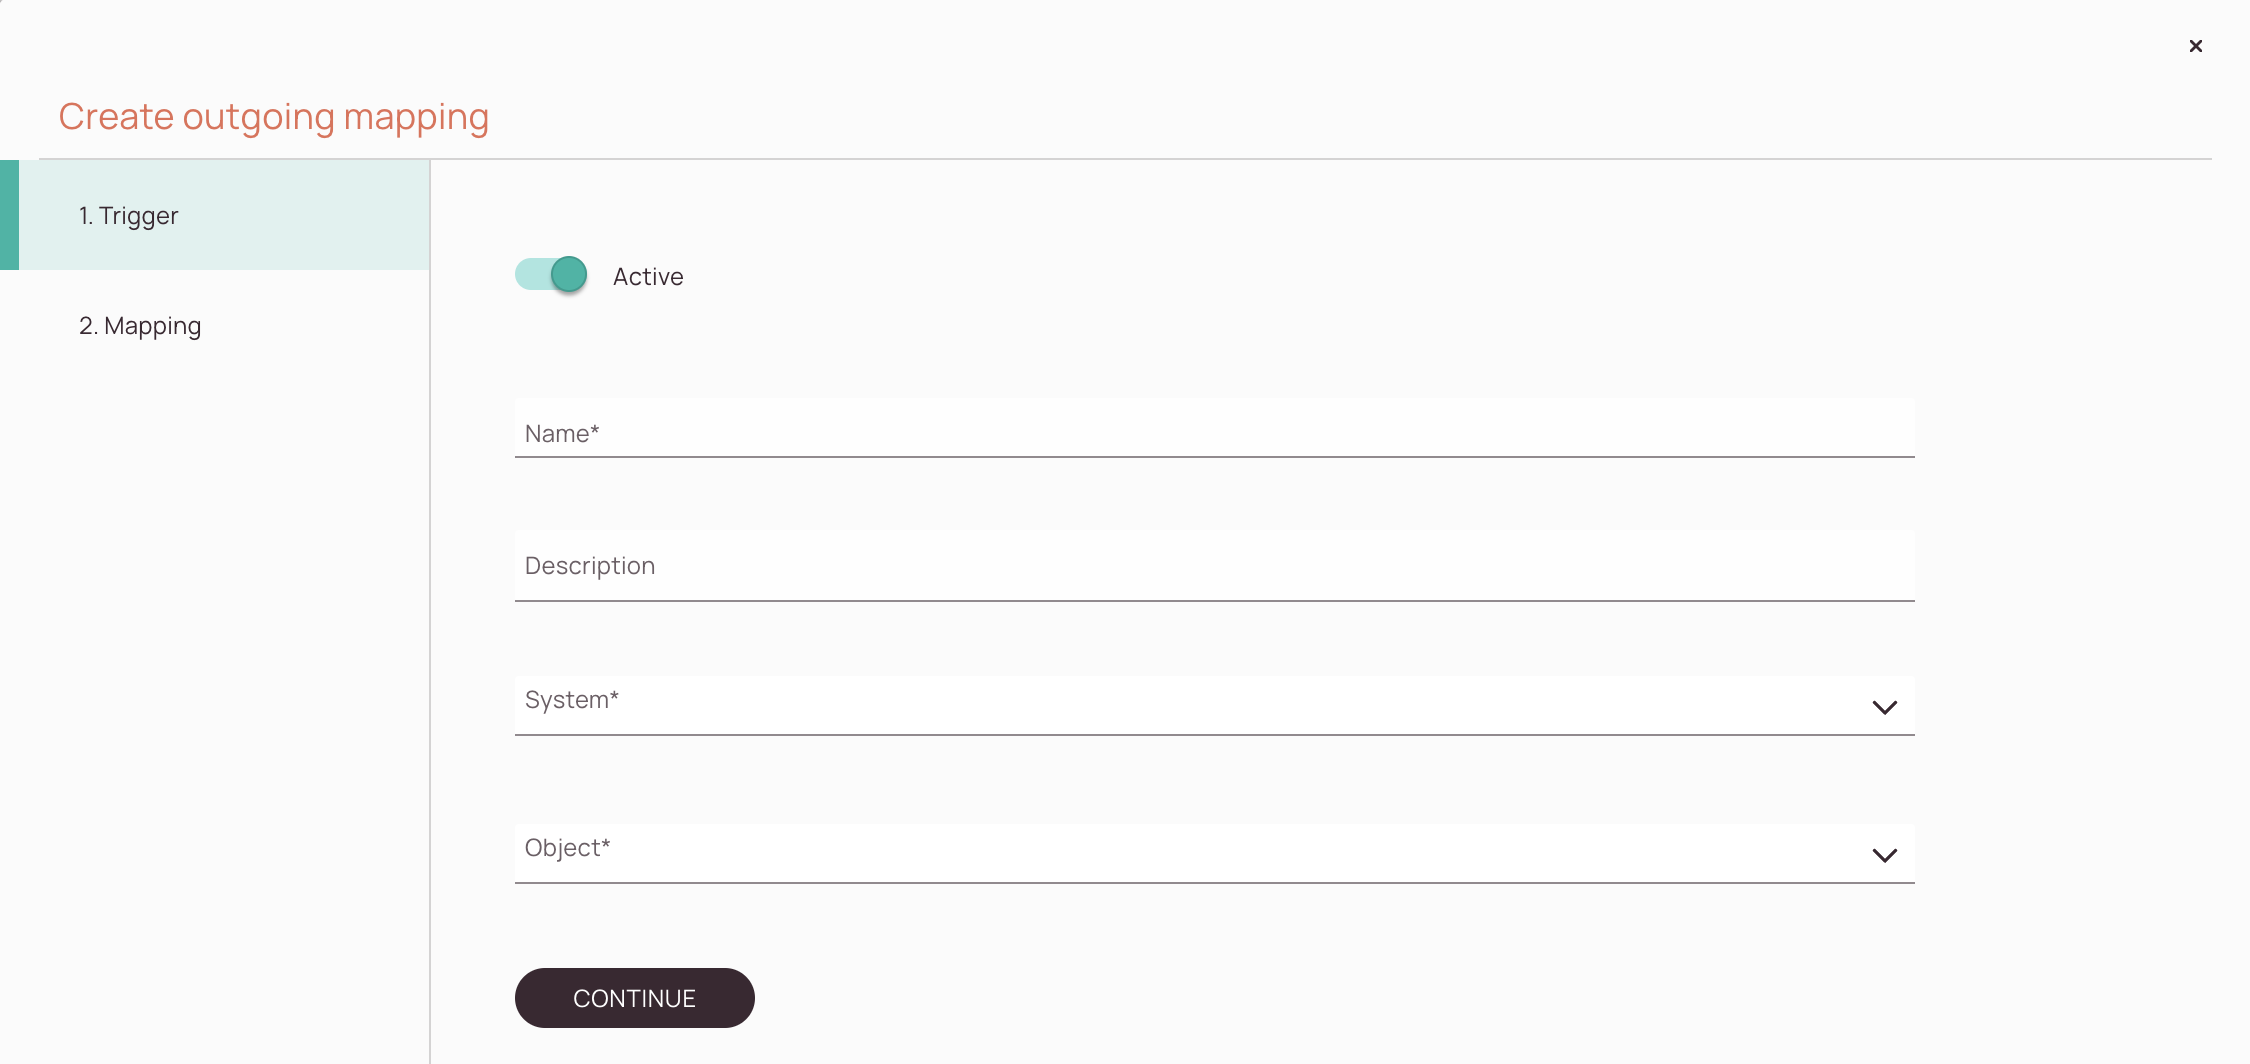
1. Configure Trigger
Copy the URL link to this section to share
-
Active toggle
-
Name field
-
Description field
-
System drop-down
-
Object drop-down
-
Continue button
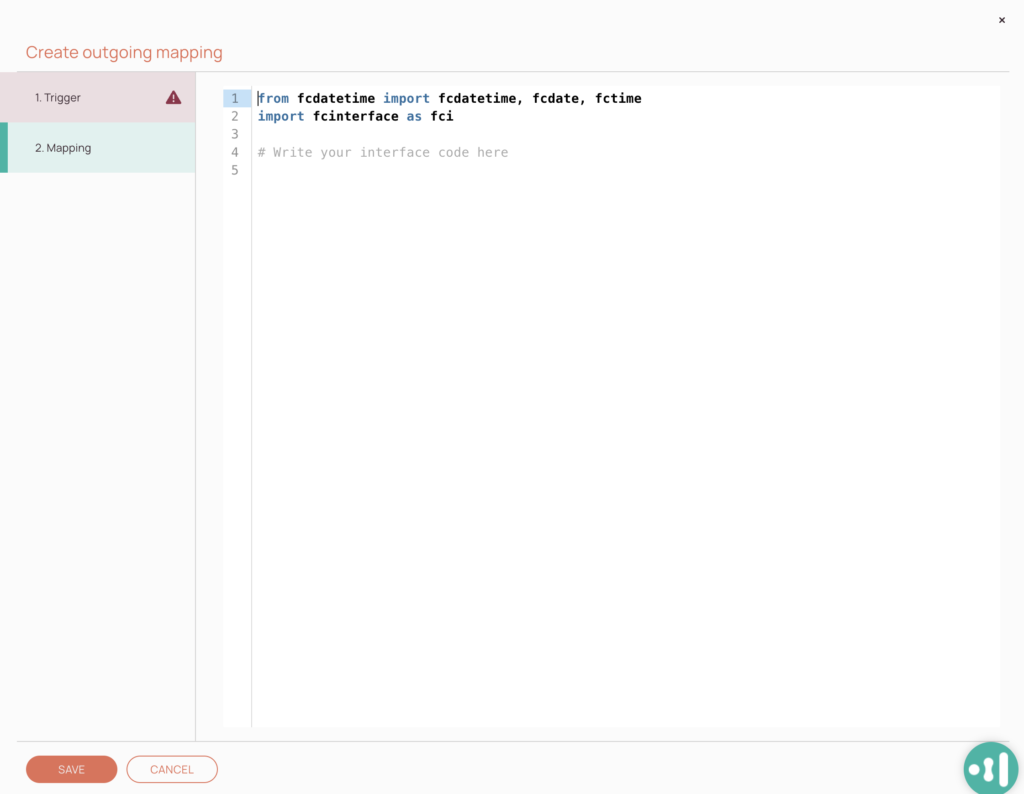
2. Configure Mapping
Copy the URL link to this section to share
You can use the Fieldcode Python API for the Mapping
Learn more about the Fieldcode Python API.
Was this topic helpful?
0 out of 5 stars
| 5 Stars | 0% | |
| 4 Stars | 0% | |
| 3 Stars | 0% | |
| 2 Stars | 0% | |
| 1 Stars | 0% |
5
Navigation